*My posts may contain affiliate links, which means I may receive a small commission, at no cost to you, if you make a purchase through a link! Thank you for supporting my website!*
Last updated on March 4th, 2024 at 01:26 pm
Wondering when the best time to install a new pre-hung door is while you’re renovating a house? Well, look no further because I have your answer!
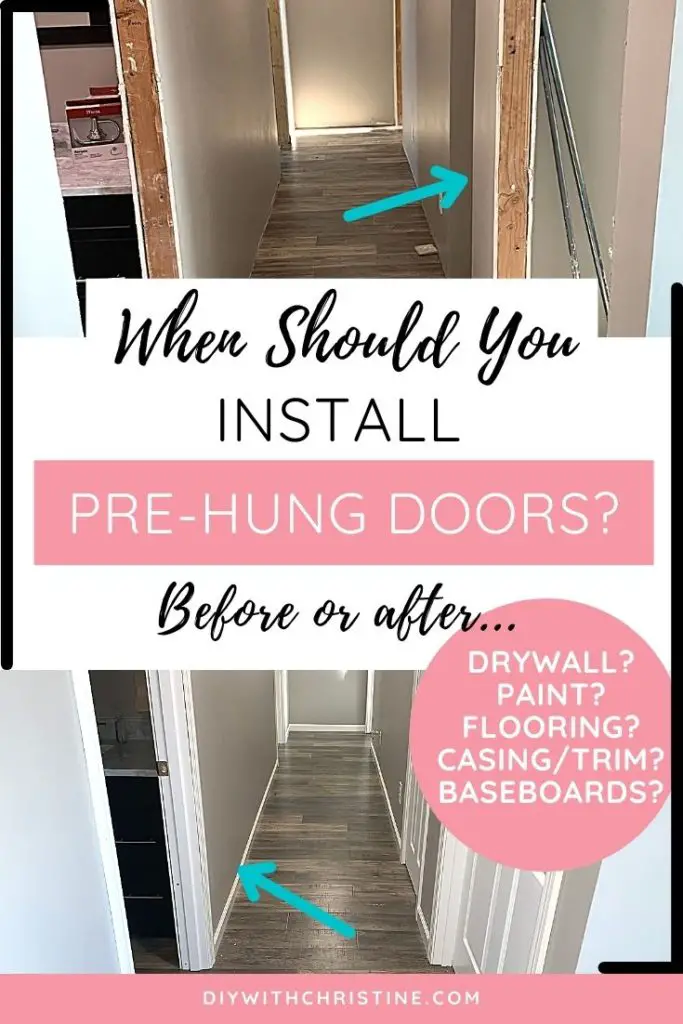
Pre-hung doors should be installed after drywall and paint are complete and before flooring, baseboards, and trim are installed. This order helps the door avoid dust, paint, or damage and allows proper flooring and trim installation.
Now that we’ve got the basics covered, let’s break down the details further so you can finish your renovation project with ease.
Let’s dive in!
Quick Navigation: When To Install Doors During New Construction/Major Renovation
- Pre-Hung Doors Should Be Installed After Drywall
- Pre-Hung Doors Should Be Installed After Paint
- Pre-Hung Doors Should Be Installed Before Flooring (Carpet, Vinyl, Laminate, Tile, Etc.)
- Pre-Hung Doors Should Be Installed Before Casing/Trim
- Pre-Hung Doors Should Be Installed Before Baseboard
- Other FAQs About Door Installation Order
- Final Thoughts
Pre-Hung Doors Should Be Installed After Drywall
There are a few general rules of thumb that come into play when deciding when to install doors during a renovation or new construction project.
Pre-hung doors should be installed after drywall to minimize the amount of dust, spackle, and general construction damage that the doors will see (i.e. large, heavy building materials being carried through rooms and dinging existing walls or doors).
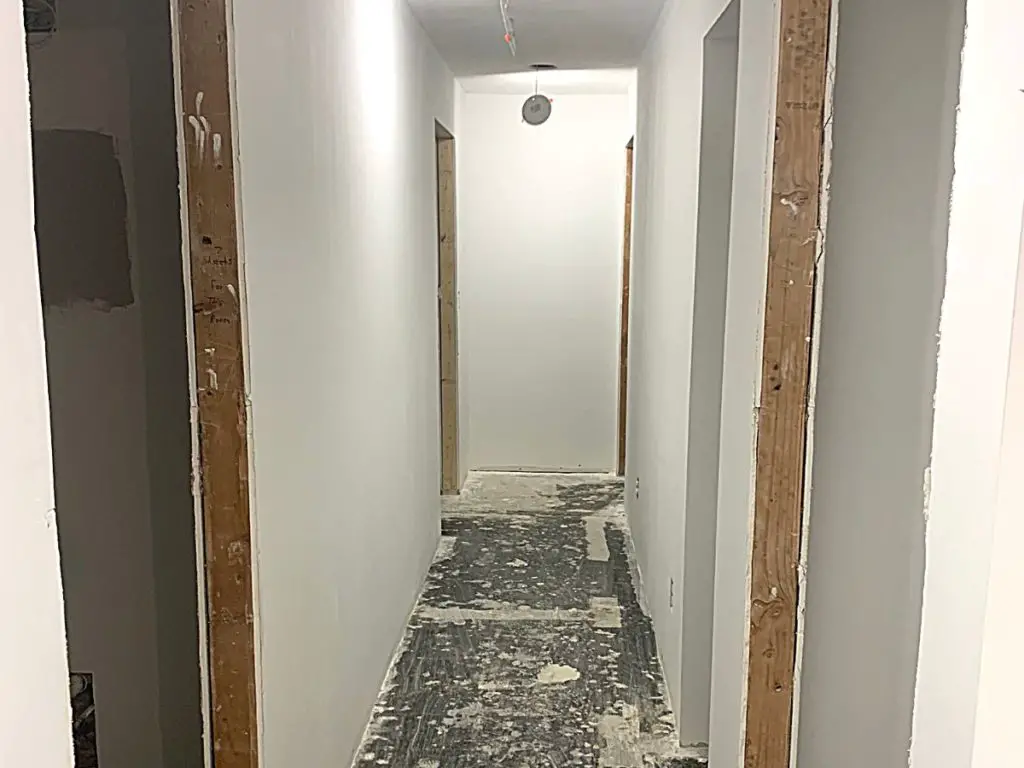
The exception to this rule is if the door is an exterior door that leads to the outside of the house.
In that case, the door will need to be installed before drywall to prevent any water damage, bugs, or other exterior elements from damaging the new drywall.
Pre-Hung Doors Should Be Installed After Paint
Installing doors before or after the paint is the next general rule of thumb that comes into play.
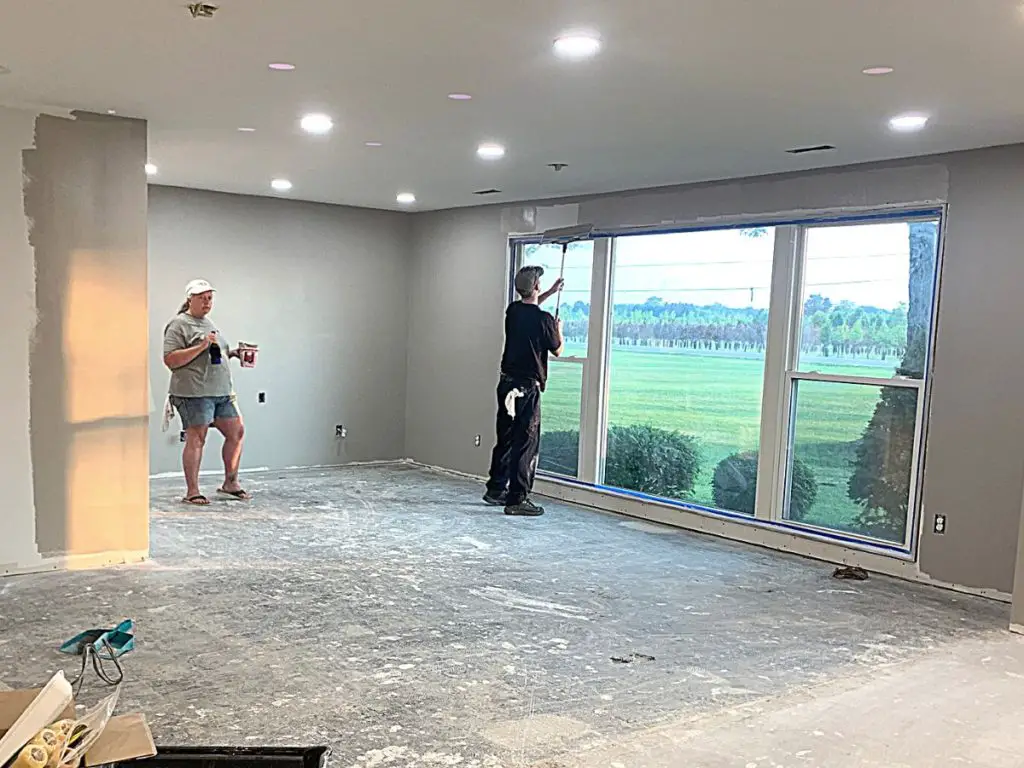
Pre-hung doors should be installed after the paint to avoid any paint from dripping or splattering onto the new door. This is important if the ceiling needs to be painted still because paint splatters easily while painting the ceiling.
Rolling paint on a ceiling inevitably causes little drips and splatters while you work, so if the door is installed already, it is going to see some of those paint drips.
Also, having the doors out of the way will make painting go faster because there will be nothing to worry about painting around or accidentally getting paint on.
However, if for some reason, the doors can be installed before the paint can be completed, I don’t recommend holding off the entire project to complete things in this order.
In this case, the doors will simply need to be covered with a tarp or drop cloth before painting the ceiling to protect it from flecks of paint.
And in most cases, painting the walls won’t get paint on the door, so this is not something to worry about.
Pre-Hung Doors Should Be Installed Before Flooring (Carpet, Vinyl, Laminate, Tile, Etc.)
Installing doors before or after the flooring is the next general rule of thumb that comes into play.
Pre-hung doors should be installed before flooring because the flooring slides underneath the door jamb to hide the edges. The door jamb is cut back to the correct height to fit the flooring being used when it is ready to be installed.
One of the reasons why you would install the two items in this order is that the doors do not sit on the ground.
Instead, they are screwed into the door frame and are suspended above the floor. Then the door jamb is cut back to the correct height for the type of flooring being installed.
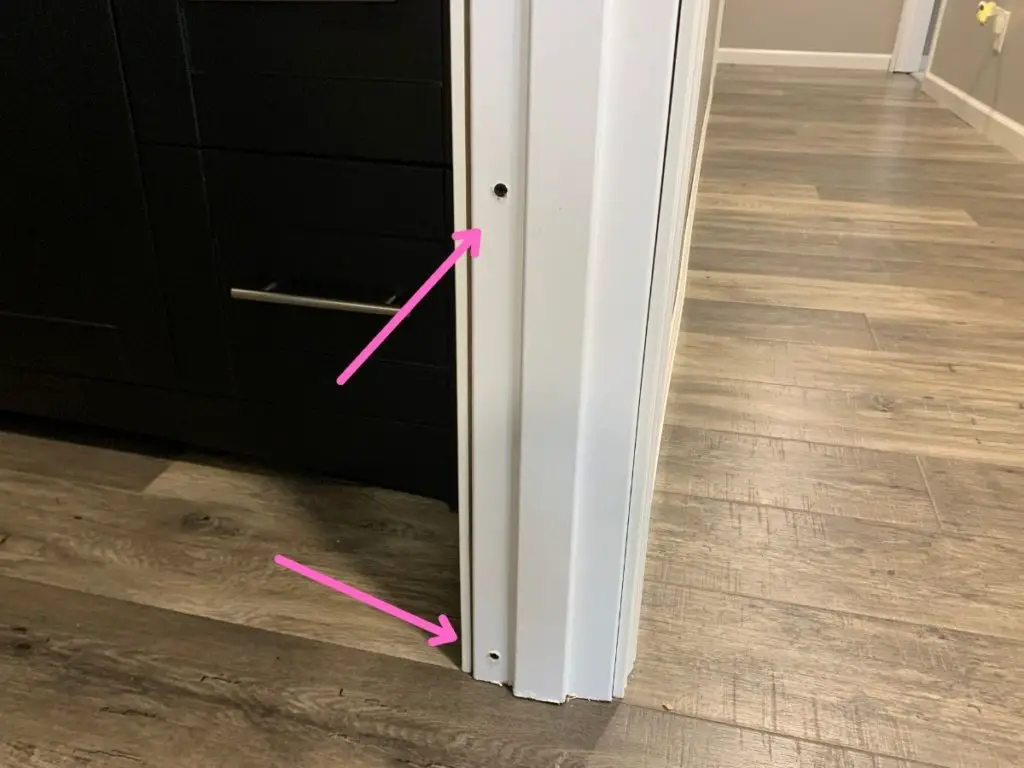
And finally, the flooring is slid underneath the door frame to hide the edges and give a clean look.
I have a tutorial that shows how to cut back the door frame to install laminate flooring. You can find that article here.
The other types of flooring (carpet, vinyl, laminate, tile, etc.) all work the same way because most of the time, flooring is swapped out much more frequently than doors are.
This way, the flooring installation is not dependent on the door being removed. It does make installing the flooring easier if the door is already installed, though.
You can clearly see how to cut or install the flooring to make sure the edges are fully covered by the door jamb. Without the door already being installed, it’s an educated guess on where the flooring should stop.
And with guessing comes potential mistakes. So it is recommended to install the doors before the flooring.
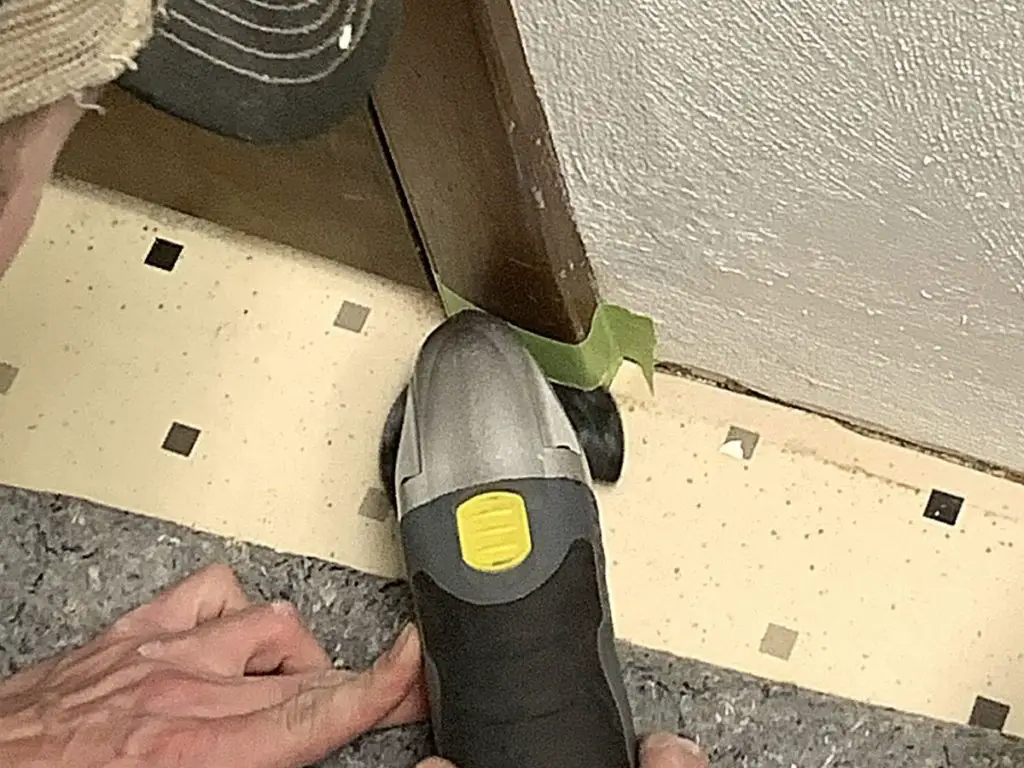
The other reason why you want to install doors before the flooring is because installing doors creates a little bit of debris that you don’t want falling into your new flooring.
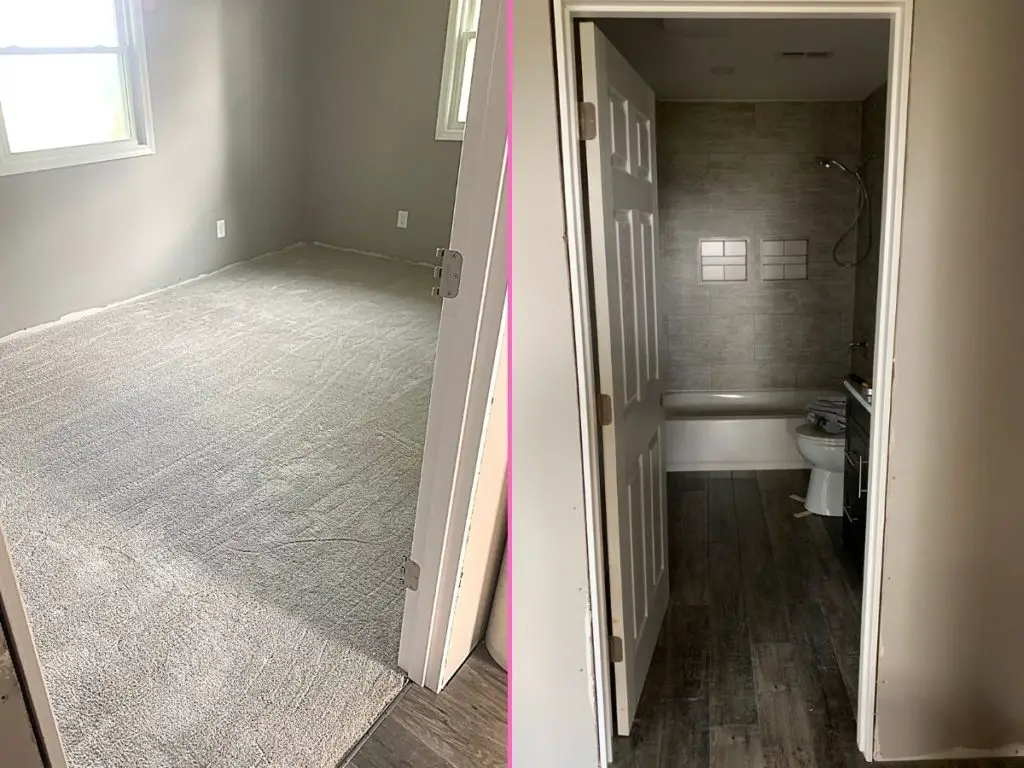
If you install the door first, then the new flooring can stay clean much easier.
Just remove the door from its hinges while the flooring is being installed and put it back on after to keep it out of the way.
Pre-Hung Doors Should Be Installed Before Casing/Trim
Installing doors before or after the casing/trim is the next general rule of thumb that comes into play.
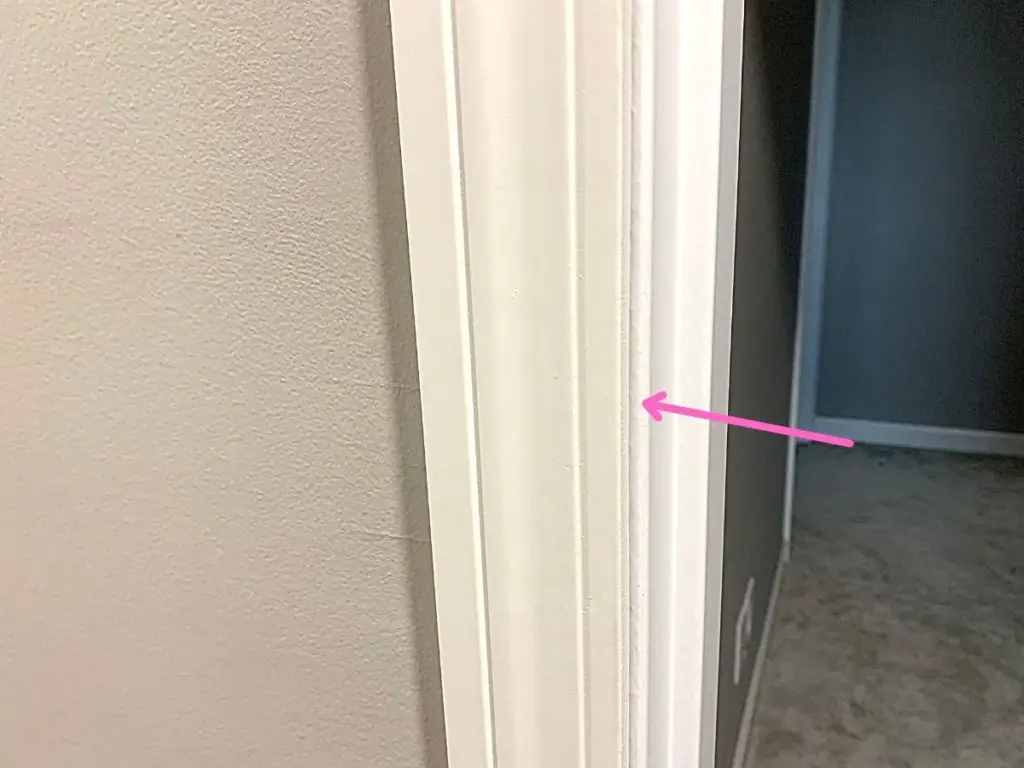
When door casing/trim is installed, it overlaps the door jamb to hide any gaps. Without the door being installed first, there is nothing for the trim to be lined up and installed against.
Pre-hung doors should be installed before casing/trim so that the trim can overlap the door jamb and cover any gaps between the wall and door.
Pre-Hung Doors Should Be Installed Before Baseboard
Installing doors before or after the baseboard is the next general rule of thumb that comes into play.
Baseboard is typically butted up against the outer edge of the door casing/trim.
In order to properly align and install the baseboard, the casing/trim must be installed prior. And as we discussed above, the door must be installed before the casing, so the door must also be installed before the baseboard.
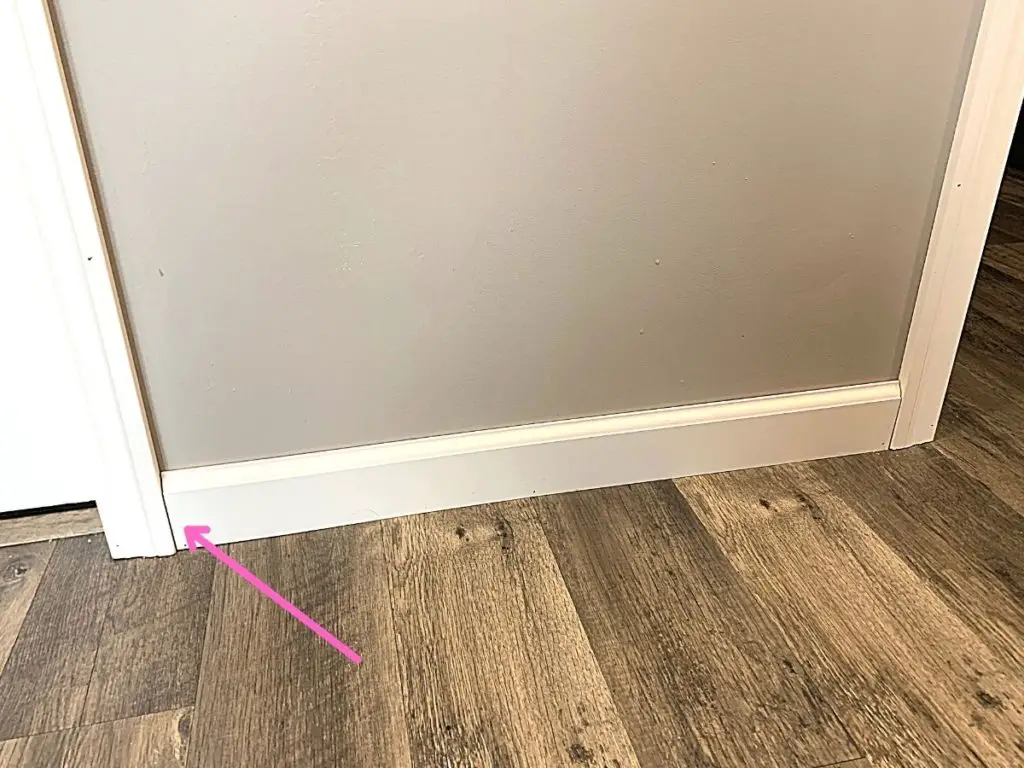
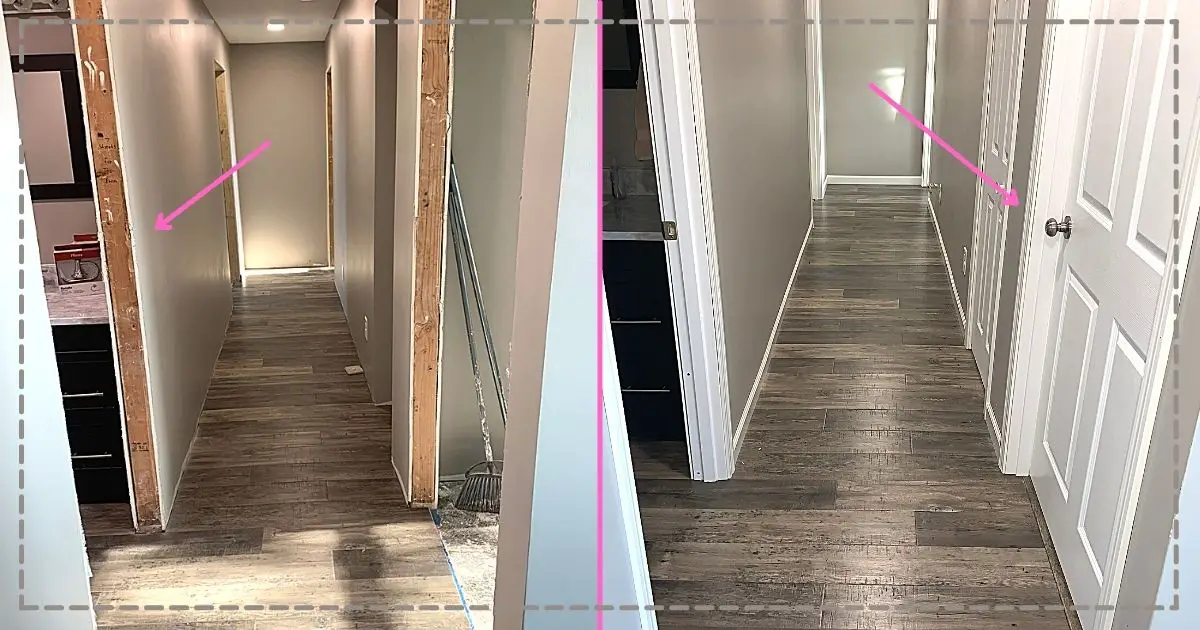
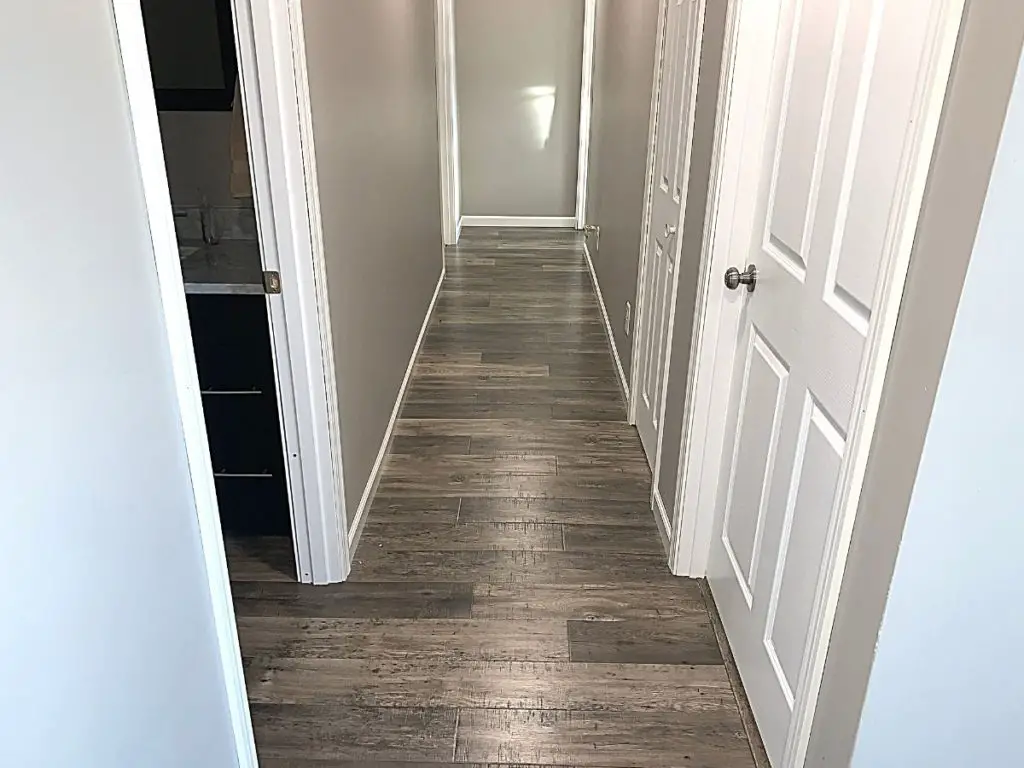
Here’s the final product! Our hallway with all of our drywall installed and painted, doors installed, flooring installed, and casing and baseboard installed!
Other FAQs About Door Installation Order
Here are some other frequently asked questions about door installation order of operations to help you tackle your renovation or new construction project with ease!
Are Pre-Hung Doors Trimmable?
Pre-hung doors are trimmable, but they do have a max amount that you can cut off. Check out my guide on how much you can cut off a hollow core door here.
Which Way Should A Door Open Into A Room?
Believe it or not, there really is a bunch of thought that goes into which way a door opens into a room.
And this is one of those tiny details that you do not want to get wrong… Or you will spend many years being frustrated that you didn’t take the time to fully think this through.
I have a full explanation and picture guide to help you make sure you pick the correct door swing for your home. Check out that article here.
Final Thoughts On Installing Pre-Hung Doors
There you have it!
For the most part, doors are installed pretty early on in the construction process.
Once all of the structural, electrical, and plumbing work is done, the doors are 2nd or 3rd in line to be installed in the cosmetic part of the renovation.
And if you do happen to install them in a slightly different order than mentioned above, it’s usually not a deal-breaker. So don’t sweat it too much.
Hopefully, this helps your project go by faster!
Catch you in my next post!

By Christine
Christine is a blogger and DIYer who tackles home renovation and decorating projects alongside her husband, Adam, for their personal residence and rental properties. Although she successfully tackles large renovation projects to avoid expensive contractor fees and bring her vision to life now, her path to success was not easy.
Go here to read her story, “From a Clueless First-Time Homebuyer To A Confident DIYer Creating Her Dream Home One Project At A Time“.
Popular Posts
DIY With Christine is a participant in the Amazon Services LLC Associates Program, an affiliate advertising program designed to provide a means for sites to earn advertising fees by advertising and linking to Amazon.com.

