
*My posts may contain affiliate links, which means I may receive a small commission, at no cost to you, if you make a purchase through a link! Thank you for supporting my website!*
Last updated on September 11th, 2024 at 09:28 am
What Happens If You Don’t Sand Trim & Baseboards Before Painting
Wondering if you need to sand trim & baseboards before painting? Well, look no further because I have your answer!
Sanding trim & baseboards before painting are crucial to getting the paint to adhere properly to the slick surface. Sanding trim creates a clean, smooth surface to work on, helps primer and paint bond to the wood better, and provides a more durable, long-lasting paint job than painting without sanding first does.
Now that we’ve got the basics out of the way, let’s break down the benefits and drawbacks of sanding baseboards before painting them first.
Then I’ll show you exactly how to prep your trim & baseboards before paint, so your paint job will last for years to come.
Let’s dive in!
Quick Navigation: How To Repaint Trim & Baseboards
- Benefits Of Sanding Trim & Baseboard Before Painting
- Drawbacks Of Sanding Trim & Baseboard Before Painting
- How To Prep Trim & Baseboard Before Painting
- Other FAQs About Sanding & Painting Trim & Baseboard
- Final Thoughts
Benefits Of Sanding Trim & Baseboard Before Painting
There are several big benefits to sanding trim & baseboards before painting.
These benefits include:
- Clean, smooth surface to work on
- Primer and paint will adhere better
- More durable finish so paint job should last longer
Benefit One: Sanding Trim & Baseboard Provides A Clean, Smooth Surface To Work On
The first benefit to prepping trim & baseboard for paint is that you will have a clean, smooth surface to work on.
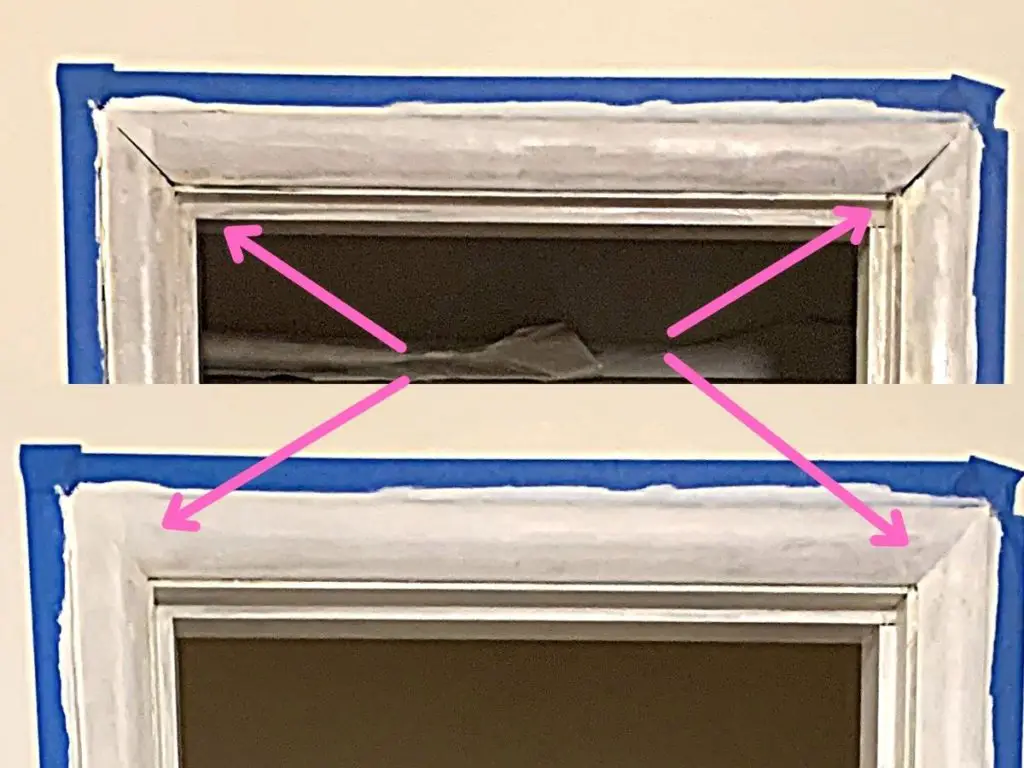
Before you sand, I highly recommend filling any gaps, dings, or scratches with white wood filler, so that your final finish is smooth and new.
Doing this and then sanding will help remove any unevenness and old, flaking/chipping paint so that you know your paint is going on a fresh surface.
Without sanding first, then your newly painted trim & baseboard will still show all of the unevenness and damage, which will detract from the beauty of the new paint job.
Benefit Two: Primer & Paint Will Adhere Better To Sanded Trim & Baseboards
The next benefit to prepping trim & baseboard for paint is that the paint will adhere better.
This is arguably the most important reason to sand before painting, especially if your trim & baseboard currently has a glossy, slick surface.
(Your trim & baseboard likely does have this slick surface because it is common to paint or stain trim with a high gloss finish.)
Sanding first will rough up the existing glossy surface, which will, in turn, allow the new paint and primer to stick to the trim & baseboard properly.
Without roughing up that glossy texture first, your paint will peel off so easily and all of your efforts will be wasted.
Unfortunately, I’m speaking from experience. This is how we painted the dark walnut glossy trim throughout our first home.
We didn’t sand first, and over the years the paint would just peel off if it was ever hit or anything dragged against it.
I made sure not to make that mistake in the next home that we painted the trim & baseboard.
We took all of the extra prep steps (that I’ll explain below), and this paint job does not peel off with the slightest scratch!
Benefit Three: The Paint Job Will Last Longer On Sanded Trim & Baseboards
The final benefit to prepping trim & baseboard for paint is that your efforts will last longer.
Since the primer and paint can stick to the trim & baseboard properly after it has been sanded, your paint job (and your efforts) will last much longer.
If you’re anything like me, then you’re looking to only complete DIY projects that will be worth your effort and last for years to come.
So, sand the trim & baseboard before painting, and you will not have to paint again for years.
But if you skip this step, then you will find yourself either making touch-up paint jobs constantly or just living with an imperfect, peeling paint job.
Drawbacks Of Sanding Trim & Baseboard Before Painting
Of course, we can’t talk about the benefits of sanding trim & baseboards without talking about the drawbacks.
These drawbacks include:
- Sanding is messy
- Sanding is time consuming
Drawback One: Sanding Trim & Baseboard Is Messy
The first drawback to prepping trim & baseboard for paint is that sanding is messy.
Expect to have dust all over the floor after sanding.
Since the sanding will mostly be just to scuff up the surface (as opposed to removing layers), the amount of dust won’t be that big of a deal to sweep up after you are done sanding.
Using a wet paper towel and a shop vacuum after you are done sanding to remove the majority of the dust will make this drawback a rather small part of your entire painting project.
Drawback Two: Sanding Trim & Baseboard Is Time Consuming
The final drawback to prepping trim & baseboard for paint is that it’s time-consuming.
I know most people are looking for the fastest way to get a DIY project done (believe me, I always want to be efficient with my time as well), but this is not one of those times where it is worth skipping steps just to get the project done faster.
Sanding the trim & baseboards does add 2 more steps to your project (the sanding and the cleaning up steps), but they are well worth it to make your project last.
And if you have to make any type of repair before you paint, you will have to sand regardless, so you might as well sand all of the baseboards to get the best finish.
Now that you’ve seen both the pros and cons of sanding before painting, let’s go over how to prep the trim & baseboards for paint.
How To Prep Trim & Baseboard Before Painting
You only need a few tools and a little bit of extra effort to properly prep the trim & baseboard before painting.
| Level Of Difficulty | Time To Complete |
|---|---|
| Medium | 1 day to several days depending on how much trim & baseboard needs to be painted |
| Material List | Tool List |
|---|---|
| Dawn Dish Soap | Microfiber Rag |
| 100 grit sandpaper | Mechanical sander |
| Wood filler | Shop vacuum |
| Painter’s tape | Paint Edger |
| Paper towels/Tac cloths | Foam brush |
| Zinsser Primer | |
| High-gloss latex paint |
Step One: Clean With Damp Microfiber Rag & Dish Soap
The first step to prepping trim & baseboard for paint is to clean the baseboard thoroughly.
Sanding tends to grind dirt into the baseboard, which makes wood filler and paint have a hard time sticking, so we want to get as much of that off as we can before we proceed.
To accomplish this, take a microfiber rag, dampen it with water and a little bit of soap, and wipe down the trim & baseboard and any other trim being painted thoroughly.
Be sure to wipe down the trim & baseboard with a clean, water-only dampened rag to remove any soap residue as well.
This will be enough to get clean most of the dirt off the trim & baseboard and give you a clean surface to start with.
Step Two: Fill Any Damage With Wood Filler
The next step to prepping trim & baseboard for paint is to repair any damage with wood filler.
I highly recommend using a wood filler that is either the same color as your paint or this white wood filler found at Amazon.
The reason behind this is that it will be easier to paint over and fully cover the wood filler if it is already a similar color to the paint you will be using (or at the bare minimum, the same color as your primer).
If you choose to use a standard wood color wood filler, that’s fine, however, just know it will probably require several more coats of paint especially if you are painting the trim white.
(This is true even if the wood filler claims it’s paintable. It is paintable, but it doesn’t describe how many coats of paint it will need to fully be covered.)
To fill the damaged areas in the trim & baseboard, just squeeze some of the wood filler on your finger and press it into the damaged area leaving a little extra so you can sand it down smooth.
Let that dry then move on to the next step!
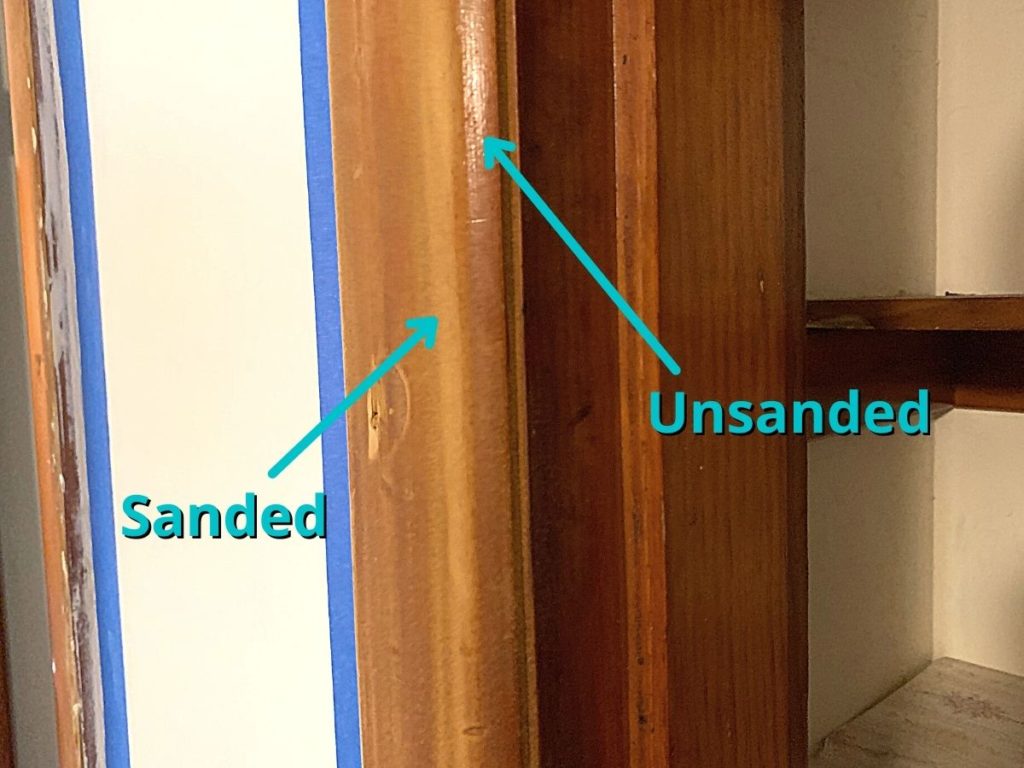
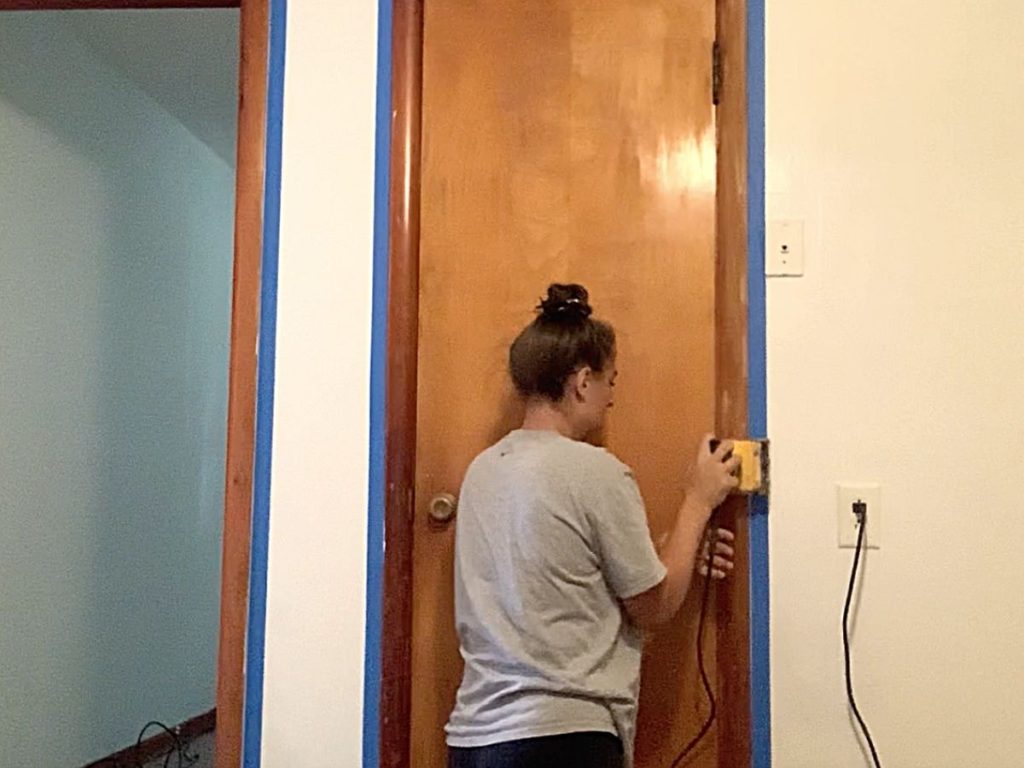
Step Three: Sand Trim & Baseboard
The next step to prepping trim & baseboard for paint is to sand the baseboard.
You can easily sand the trim & baseboard by hand, but I found it much easier to sand all of the trim & baseboard in the entire house with this DeWalt palm sander found at Amazon.
Use 100 or 120 grit sandpaper and scuff up the entire surface. If you used wood filler in any areas, then sand until the wood filler is flush with the surrounding areas.
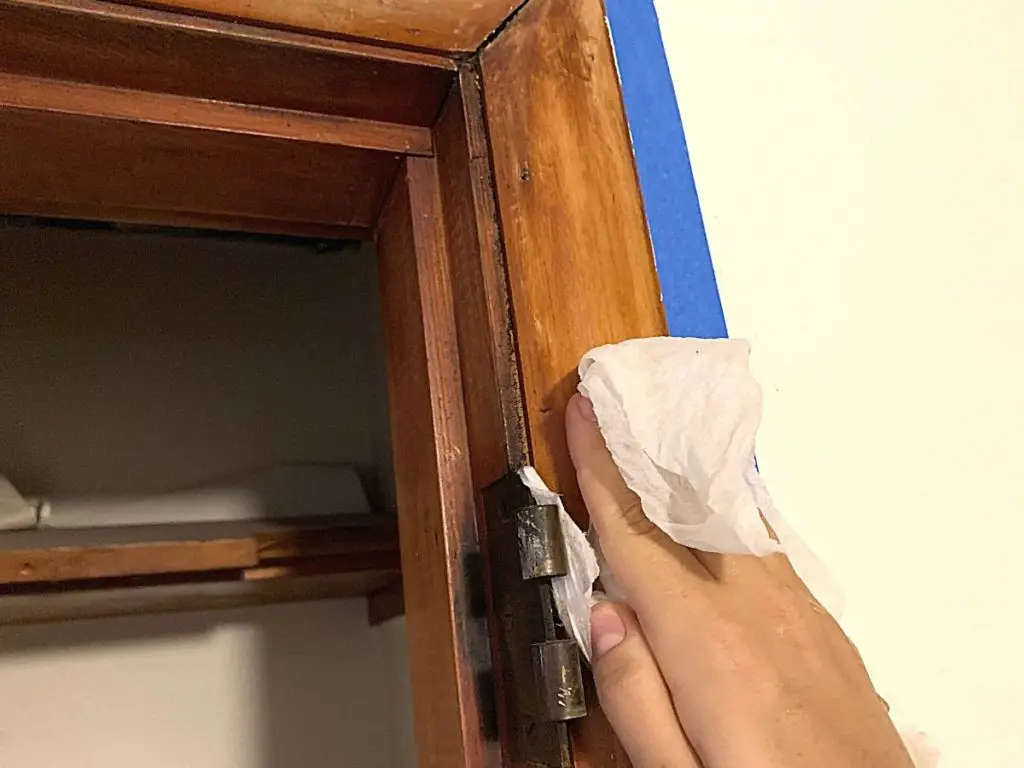
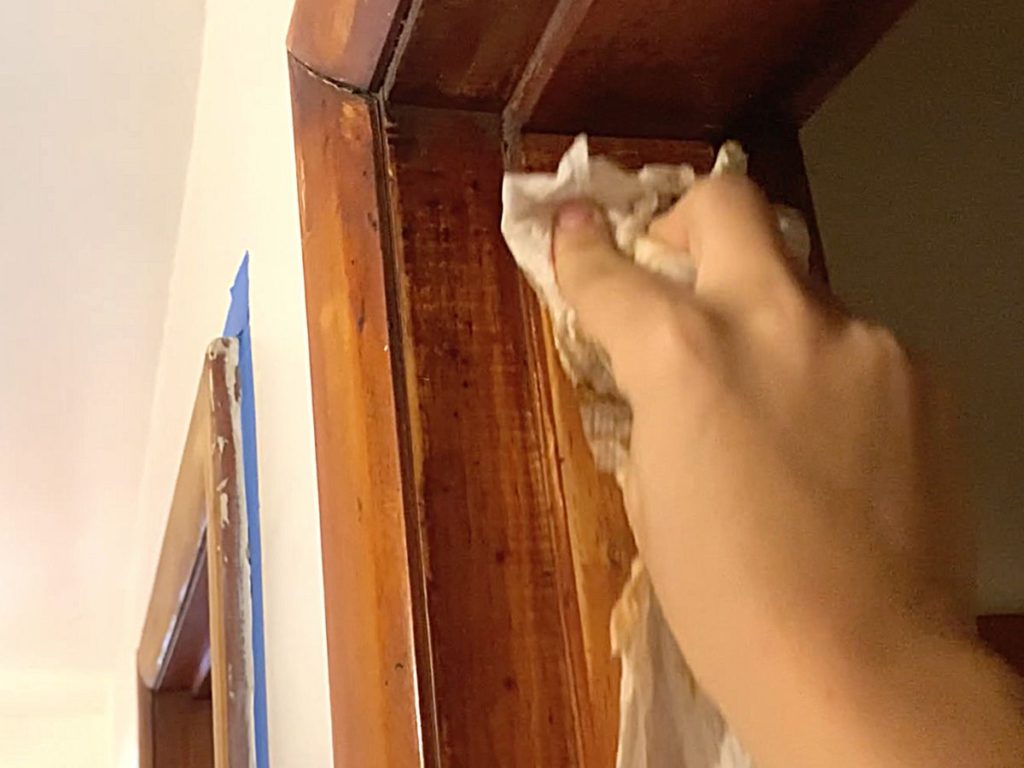
Step Four: Sweep Up/Wipe All Dust Off
The next step to prepping trim & baseboard for paint is to sweep up and wipe off all of the dust.
To get the dust off the floor, a standard broom for tile/vinyl floors or a shop vacuum should do the trick.
I don’t recommend using a normal vacuum cleaner because this amount of dust can clog the vacuum filter. Shop vacs like this one found at Lowes can handle the excess dust a little better.
Then to wipe down the baseboard and trim, I found using wet paper towels to be the easiest way to remove the majority of the dust.
If after the trim & baseboard are dry, you run your finger over it, and it still picks up dust, then you should use tac cloths to remove the remainder of the dust.
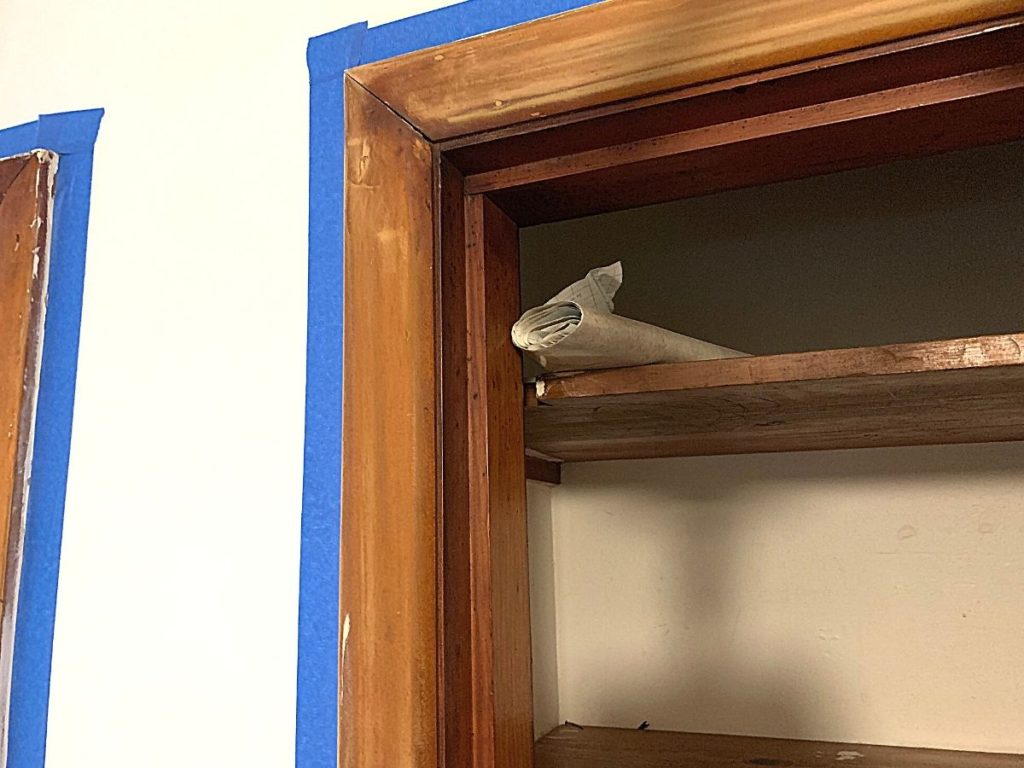
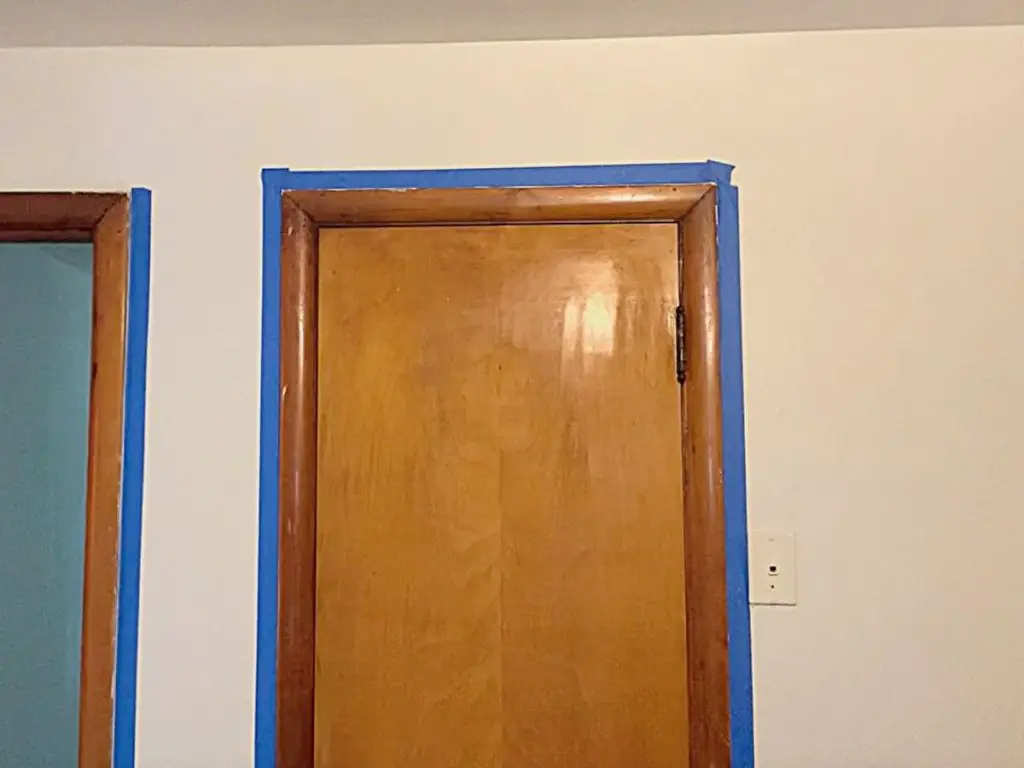
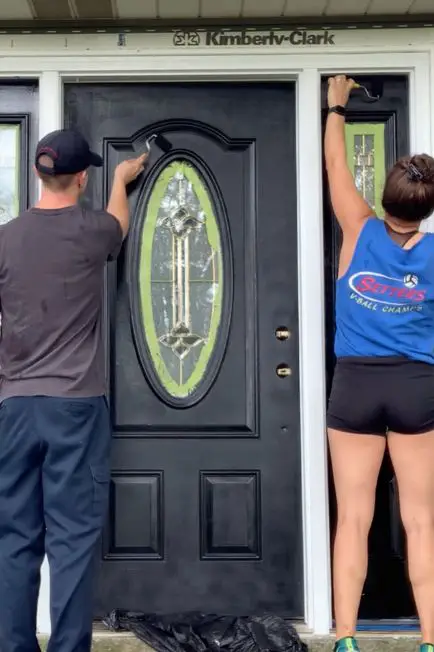
Step Five: Tape The Wall & Floor
The next step to prepping trim & baseboard for paint is to tape off the areas you don’t want paint.
You can paint so much faster if you take a little bit of time upfront to tape off all of the areas you don’t want paint on with painter’s tape.
I like this delicate painter’s tape found at Amazon because it is sticky enough to stay on the wall, but it doesn’t rip off paint when you remove it.
Tape off the floors (even the carpet) and the walls around the baseboard and trim.
Step Six: Paint 1-2 Coats Of Primer
The next step to prepping trim & baseboard for paint is prime!
Yes, it’s finally time to break out the paint! If your trim & baseboard are being painted the same color as it already is, then you can skip the primer step.
However, if the trim & baseboards are real wood or were a much darker color than the new paint, then at least 2 coats of primer are required.
The primer will not only help the real paint stick better, but it will also seal in any tannins that can easily bleed through the paint and require fewer coats of actual paint to be used.
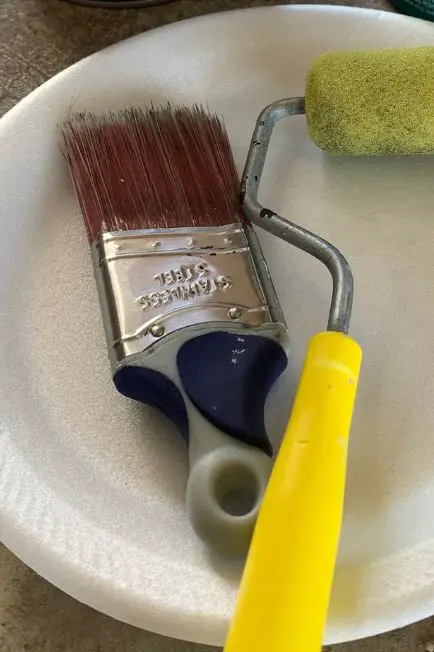
This WHIZZ Trim and Touch-Up Paint Edger found at Lowe’s is FANTASTIC for painting trim & baseboard.
I normally am pretty skeptical at the random extra paint tools you can get because usually a normal paintbrush and roller will do the job, however, this trim brush let me put on a much thicker coat of paint much quicker with NO brush marks.
That meant I didn’t have to sand between coats of paint because there were no brush marks to sand smooth.
It also comes in the perfect trim & baseboard size so you can cover a lot of ground rather quickly.
We also used a small foam brush to get the primer and paint in the corners.

Step Seven: Paint 2-3 Coats Of Paint
The final step to prepping trim & baseboard for paint is to paint.
Again, use that trim edger brush for the real paint and your painting job will fly by.
Paint 2-3 coats of your high gloss latex paint, remove the painter’s tape, and your trim & baseboard painting project will be complete.

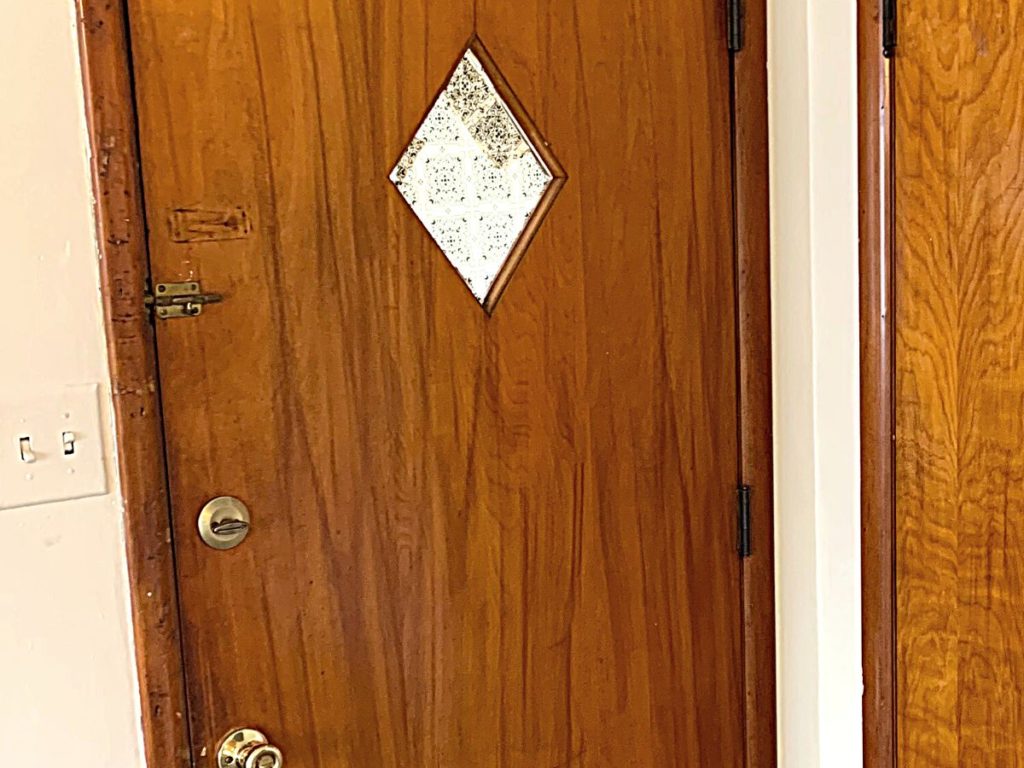
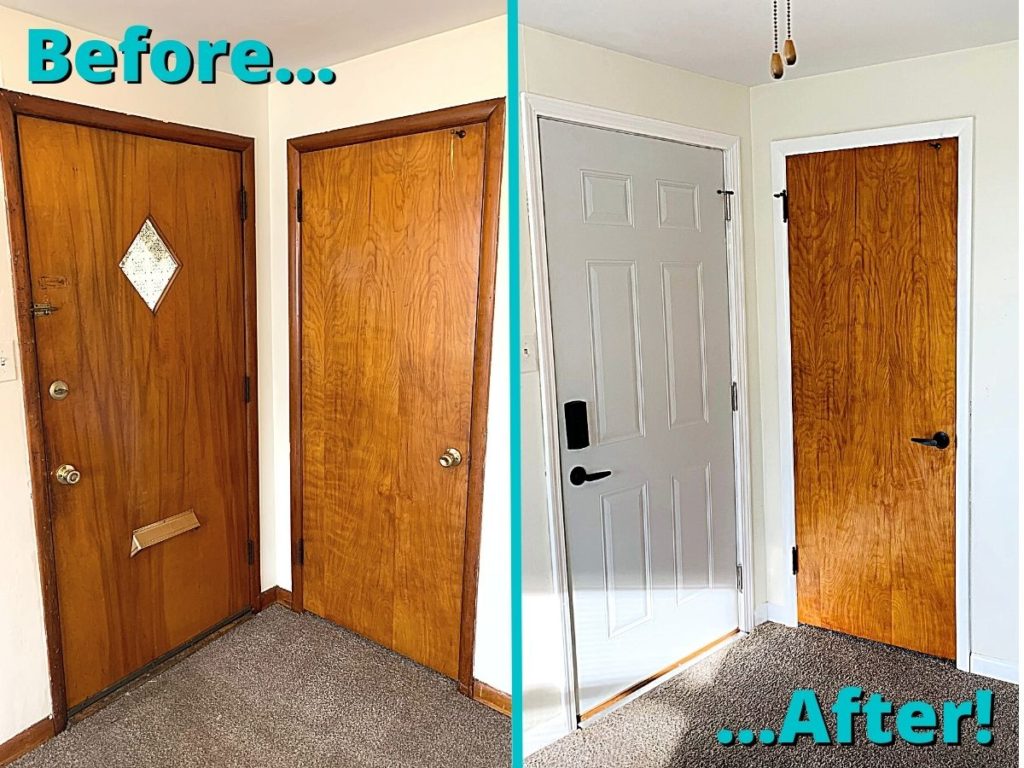
Look at the dramatic difference that sanding and painting the trim & baseboard (and also changing out the front door) made in our rental unit!
(If you own some rental properties and want to learn how to manage them better with less time and headache, check out my other blog, DIY Rental Manager.)
Other FAQs About Sanding & Painting Trim & Baseboard
Here are some other frequently asked questions about sanding and painting trim & baseboards to help you get a fresh new look in your home!
What Is The Best Paint For Trim And Baseboards?
High gloss, water-based paint is the best paint for trim and baseboards. It is easy to use, dries quickly, does not have a strong smell, and is easy to clean off the brushes with soap and water. The high gloss makes cleaning trim and baseboard easy.
What Rollers & Brush Should You Use To Paint Trim & Baseboards?
The best brush to use to paint trim and baseboard is the WHIZZ Trim and Touch-Up Paint Edger found at Lowe’s. This brush is the perfect size for most baseboard and trim, and it lets you put on a much thicker coat of paint much quicker than a standard brush or roller with no brush marks or texture left behind.
Final Thoughts On Prepping Trim & Baseboard For Paint
There you have it!
Sanding the trim & baseboard before painting is an important step to get a professional-level paint finish.
Hopefully, this guide helps you tackle this project quickly, so you can enjoy your newly painted trim & baseboard for years to come!
Catch you in my next post!
The Best Paint Supplies I’ve Used
Wooster Shortcut Angle Sash Paintbrush (2-Inch)
This is my all-time favorite paintbrush because it is so lightweight! The short handle takes the pressure off your wrist and creates an extremely comfortable grip, so you can paint longer without feeling the weight on your wrist. I use this paintbrush on 99% of my paint projects. You can find this paintbrush here on Amazon.
FoamPRO 164 Fine Finish Roller (4-Inch)
If you want the least amount of paint texture left from a roller (such as on metal or furniture), then this is the best roller you can use. The fine finish in the foam leaves the tiniest bit of texture that can easily be sanded between coats to get a finish almost as good as a sprayed finish. You can find this awesome foam roller here on Amazon.
If you’ve been curious about how we are decorating our 1950s Ranch, you should check out our “Shop Our Home” page. You can find products that we’ve personally bought to decorate our home.


By Christine
Christine is a blogger and DIYer who tackles home renovation and decorating projects alongside her husband, Adam, for their personal residence and rental properties. Although she successfully tackles large renovation projects to avoid expensive contractor fees and bring her vision to life now, her path to success was not easy.
Go here to read her story, “From a Clueless First-Time Homebuyer To A Confident DIYer Creating Her Dream Home One Project At A Time“.
Popular Posts


DIY With Christine is a participant in the Amazon Services LLC Associates Program, an affiliate advertising program designed to provide a means for sites to earn advertising fees by advertising and linking to Amazon.com.