*My posts may contain affiliate links, which means I may receive a small commission, at no cost to you, if you make a purchase through a link! Thank you for supporting my website!*
Last updated on March 4th, 2024 at 01:28 pm
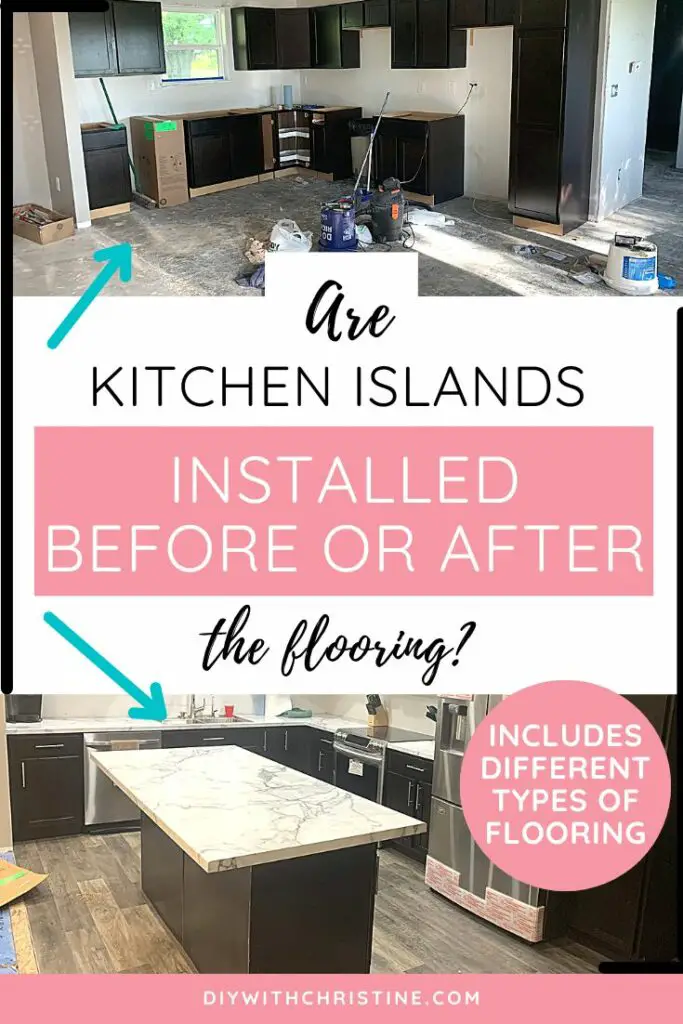
Wondering if you should install your kitchen island before or after the flooring? Well, look no further because I have your answer!
Kitchen islands should be installed before floating floors such as laminate flooring and LVP and after linoleum, tile, and hardwood flooring for best results.
Now that we’ve got the basics out of the way, let’s break into the details further so you can easily finish your kitchen renovation.
Let’s dive in!
Quick Navigation: Kitchen Island Before Or After Flooring
- When To Install A Kitchen Island Before Vs After Flooring
- Do Kitchen Islands Have To Be Attached To The Floor?
- How To Attach A Kitchen Island To The Floor
- What Happens If You Put A Kitchen Island On Top Of A Floating Floor?
- Other FAQs About Kitchen Island Installation
- Final Thoughts
When To Install A Kitchen Island Before Vs After Flooring
The type of flooring determines whether the kitchen island should be installed first or second. Here is a summary of when to install the flooring or the island first:
| Type of Flooring | Order Of Installation |
|---|---|
| Floating Floors (Laminate Flooring, Luxury Vinyl Plank (LVP), or Luxury Vinyl Tile (LVT) | Kitchen island first |
| Tile | Flooring first |
| Linoleum/Sheet Vinyl Flooring | Flooring first |
| Hardwood floors | Flooring first |
Now, let’s go over why the order of operations matters per type of flooring.
Install Kitchen Islands Before Floating Floors
Floating floors such as laminate flooring, LVP, and LVT are the only type of flooring that do better when installed AFTER the kitchen island is installed.
This is because the weight of the kitchen island (plus the fact that the island is attached to the subfloor) locks the flooring in place. Floating floors hate to be locked in place like this because they are meant to expand and contract and just “float” on the floor.
When the weight of the island locks the flooring in place, it can cause the flooring to buckle over time. (This is not always the case but happens often enough that most people opt to install the island first. I’ll explain what I mean further below.)
In addition, if the flooring does get damaged and needs to be replaced, floating floors are usually really nice to repair because you just pull them apart and replace the single damaged piece.
When the island is sitting on top of the flooring, you no longer get that advantage because the island will prevent you from lifting up and replacing any pieces that are underneath the island.
And finally, floating floors can be quite thick (sometimes 8-12mm thick), which makes the island sit up higher. This is not a problem while the original flooring is in good condition.
However, if you ever want to replace the flooring down the line and want to use thinner flooring like tile or linoleum or just a thinner floating floor, then the island will be sitting too high for the new flooring to cover the bottom. You can easily cover the bottom with new trim, but this is an extra step that most people don’t think about.
Install Kitchen Islands After Tile
Tile is the only flooring that truly does not matter whether you install the kitchen island before or after the flooring.
Since the tile gets secured in place with mortar, it is not being removed unless you are doing a full flooring replacement. So the island can sit on top of this flooring without any risk of potential damage to the flooring.
Tile would be significantly easier to install before the island because fewer cuts will need to be made. Plus, it will make the tile look seamless underneath the kitchen island if you install it first.

Install Kitchen Islands After Linoleum/Sheet Vinyl Flooring
Linoleum/sheet vinyl flooring is one of those floorings that is definitely better to install before the island.
First, since it is glued down, it is not supposed to move so having a kitchen island overtop helps hold it in place. And second, it’s one of the thinnest flooring options so in the future other types of flooring can be installed right overtop it without much issue.
It also comes in large sheets that are meant to be installed in one go so waiting to install the kitchen island after will make the linoleum flooring look seamless.
Install Kitchen Islands After Hardwood Flooring
Hardwood flooring is one of the most durable flooring types out there that is meant to last for decades, so it is typical to install this flooring before installing a kitchen island.
It is easy to sand down and stain hardwood flooring without having to completely replace the floorboards. And they are expected to last for years with minimal damage.
Plus, it is much easier to install straight runs of hardwood flooring instead of having to constantly cut around obstacles such as kitchen islands. And it is easier to sand and stain without an island in the way.
So, I (and most hardwood flooring companies) recommend having hardwood floors installed before the kitchen island.

Do Kitchen Islands Have To Be Attached To The Floor?
Kitchen islands are attached to the subfloor to prevent the island from moving around and being knocked over during use.
An anchor is screwed or nailed into the subfloor and the island’s toe kick is screwed into the anchor to attach the island to the floor.
For more information on why and how kitchen islands are attached to the floor, check out my article here.
How To Attach A Kitchen Island To The Floor
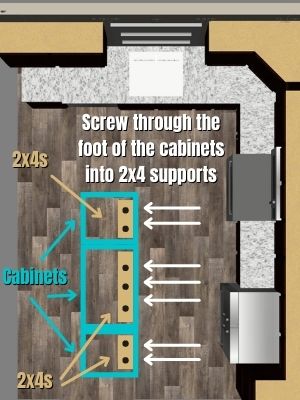
To attach a kitchen island to the floor, you:
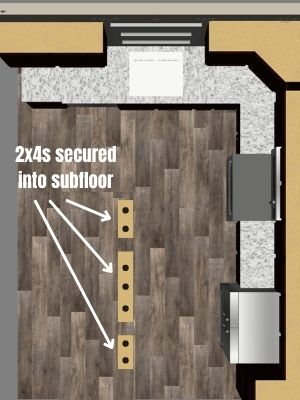
- Screw or nail piece(s) of wood into the subfloor (screw for wood subfloors, nail for concrete subfloors) where each island cabinet will go
- Set each island cabinet overtop the wood anchor and countersink and screw through the cabinet toe kick into the wood anchor
- Countersink and screw each cabinet together next to the hinges
- Install a toe kick cover over the toe kick to hide the screws
That’s all there is to it to attach a kitchen island to the floor! After that, you can install the countertop on the kitchen island and install the back panel on the kitchen island to have a fully complete kitchen island!
For the full guide to making a simple kitchen island out of base cabinets, check out my tutorial here.
What Happens If You Put A Kitchen Island On Top Of A Floating Floor?
Now, I know I just spent a decent amount of time explaining why floating floors should be installed before the kitchen island.
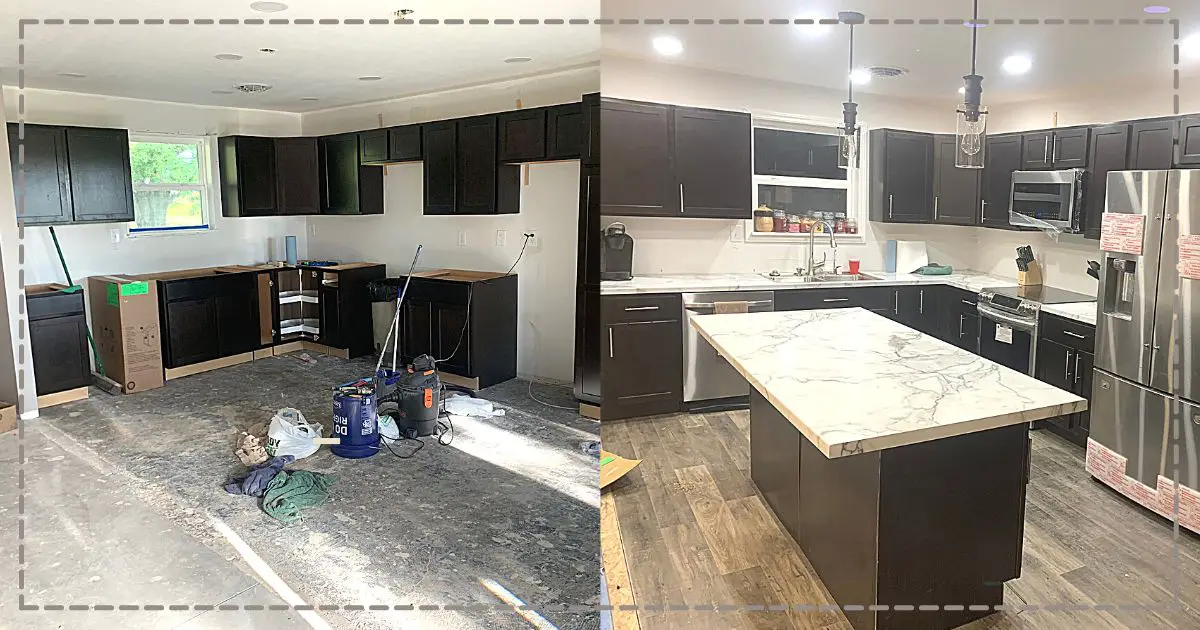
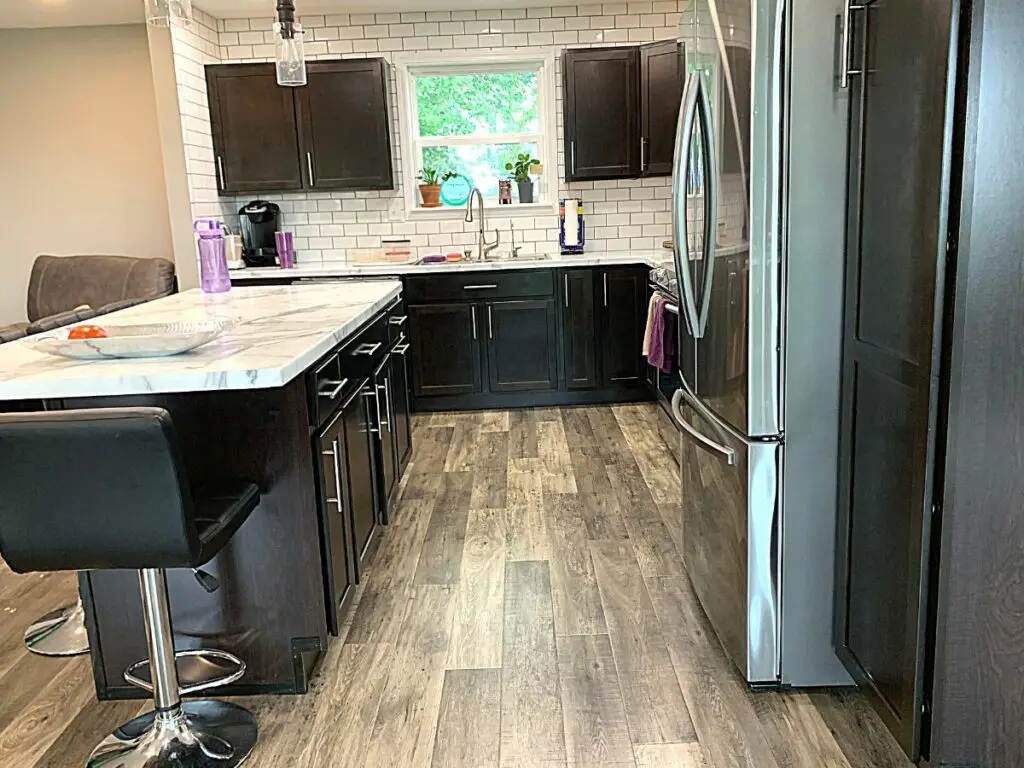
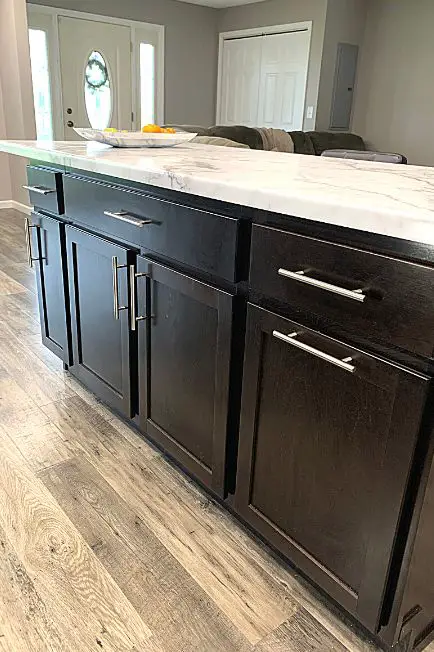
But now I’ve got to explain why we did install the floating floor before the island and what has happened to our laminate flooring since we’ve lived in our home for over 2 years.
The main reason we chose to install the floating floor first was that it made the installation process so much easier. We could install straight runs right through the largest part of the room and didn’t have to worry about cutting around the island.
Since we did install the other base cabinets before the flooring, that let’s our floating floors have room to expand and contract on the other sides.
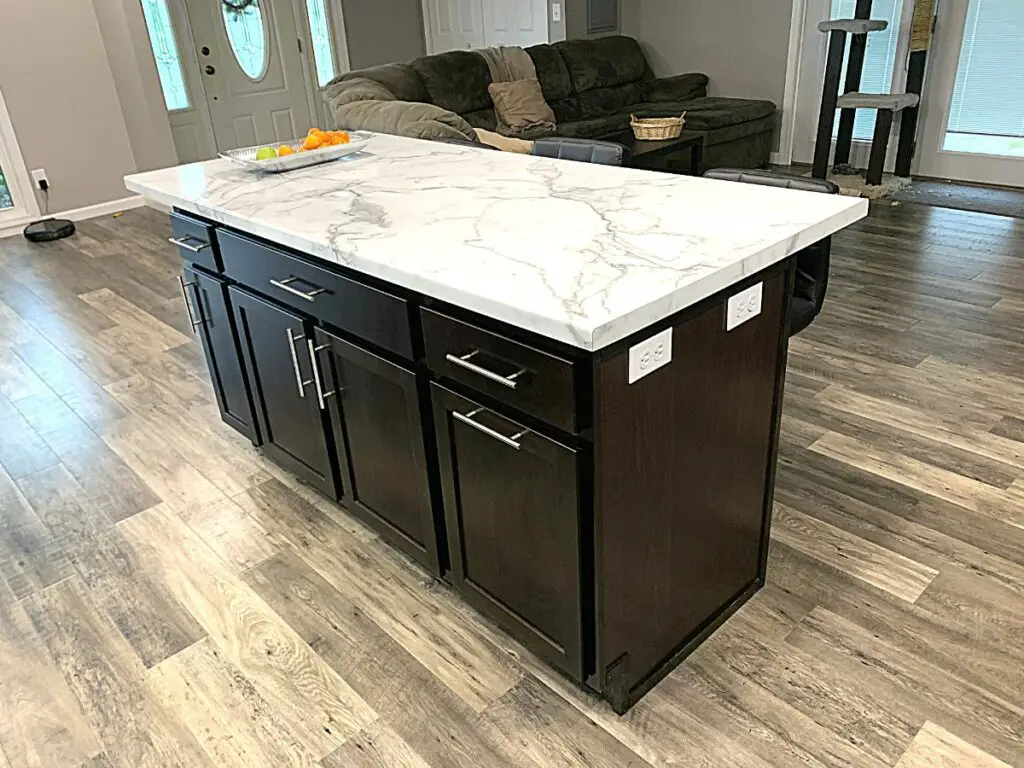
We also wanted the flooring to close seamlessly underneath the island even though looking back, that wasn’t a real issue because we installed trim around the bottom of the island that would have covered any gaps between the laminate floorboards and the island.
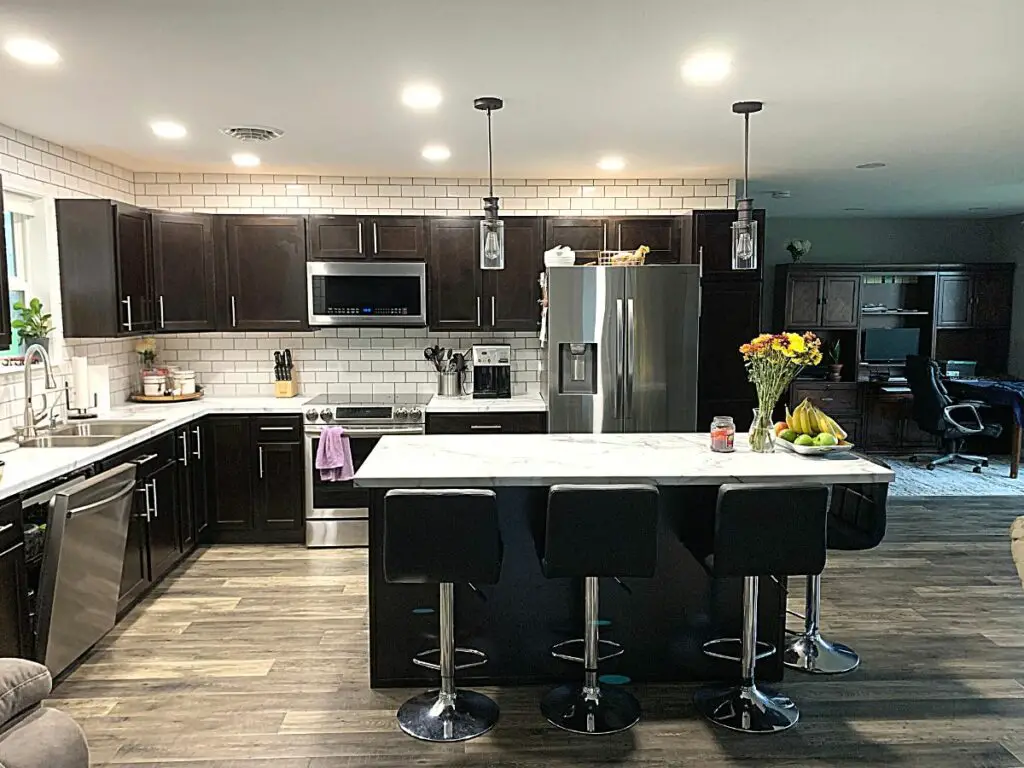
After over 2 years of regularly using the kitchen, our floating floors are completely fine. There is no buckling because they can “move” along the gaps we left around the perimeter of the room.
This could be because we used a thick (10 mm thick) laminate flooring that is a much more durable floating floor.
If in the future, we ever do need to replace parts of this flooring, it will be more difficult to repair anything around the island because the island is sitting on a large portion of the boards.
But other than that, there haven’t been any problems with installing the laminate flooring before the kitchen island.
Final Thoughts On Kitchen Island Installation
There you have it!
Installing a kitchen island before or after the flooring really depends on the type of flooring you plan to use and how easy you want the flooring installation process to go.
Hopefully, this guide gave you some insight into which order of operations is best for your home.
Catch you in my next post!
The Best Kitchen Tools & Products I’ve Used
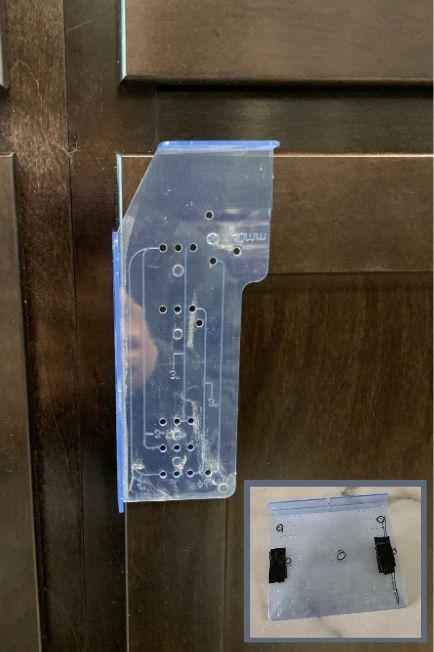
Ravinte Cabinet Handle Installation Template (For Doors & Drawers)
This is my all-time favorite handle installation template because it has two templates (one for drawers and one for doors) with multiple pull sizes & knob placements! These templates make installing cabinet handles a breeze because you always know your handles will be installed in the same spot on all of your drawers and doors. The kit also comes with a drill bit so you can guarantee you’re using the correct size. I used this template on my entire kitchen and both bathrooms to cut the installation time in half. You can find this hardware template here on Amazon.
Franklin Brass 5-1/16 Inch (128mm) Center Bar Pull (Stainless Steel)
If you want to immediately modernize your kitchen island, then these cabinet pulls are a must. They are heavy-duty feeling, durable, easy to install, and are a large size for a great price. We put these pulls on all of our kitchen and island doors and drawers along with our bathroom doors and drawers. You can find these gorgeous cabinet pulls here on Amazon.
P.S. Use the hardware installation template I mentioned above to install these new pulls in record time!
If you’ve been curious about how we are decorating our 1950s Ranch, you should check out our “Shop Our Home” page. You can find products that we’ve personally bought to decorate our home.

By Christine
Christine is a blogger and DIYer who tackles home renovation and decorating projects alongside her husband, Adam, for their personal residence and rental properties. Although she successfully tackles large renovation projects to avoid expensive contractor fees and bring her vision to life now, her path to success was not easy.
Go here to read her story, “From a Clueless First-Time Homebuyer To A Confident DIYer Creating Her Dream Home One Project At A Time“.
Popular Posts


DIY With Christine is a participant in the Amazon Services LLC Associates Program, an affiliate advertising program designed to provide a means for sites to earn advertising fees by advertising and linking to Amazon.com.