*My posts may contain affiliate links, which means I may receive a small commission, at no cost to you, if you make a purchase through a link! Thank you for supporting my website!*
Last updated on September 11th, 2024 at 09:26 am
Best Places To Install Kitchen Island Outlets
Wondering where you can (and should) install outlets on a kitchen island? Well, look no further because I have your answer!
To be code compliant in most jurisdictions, kitchen islands are required to have at least one GFCI outlet or a regular outlet connected to a GFCI outlet installed. The outlet can be installed on the back or side of the island, but it cannot be installed below a countertop overhang that extends over 6 inches from the base.
Now that we’ve got the basics out of the way, let’s break into the details further so you can install outlets on your kitchen island with ease.
Let’s dive in!
Quick Navigation: How To Install Outlets In Kitchen Islands
- Measure & Mark The Side Of The Kitchen Island Closest To The Sink
- Cut The Kitchen Island With An Oscillating Multi-Tool
- Install The Shallow Old-Construction Outlet Box
- Install A GFCI Outlet & Screw On A GFCI Outlet Plate Cover
- Other FAQs About Outlets In Kitchen Islands
- Final Thoughts
| Level Of Difficulty | Time To Complete |
|---|---|
| Medium | 30-60 Minutes |
| Material List | Tool List |
|---|---|
| Painter’s Tape | Oscillating Multi-Tool |
| Wire Nuts (12 or 14 guage) | Electric Current Tester |
| Deep Old-Construction Outlet Box or Shallow Old-Construction Outlet Box* (2) | Wire Stripper |
| GFCI Outlet or Regular Outlet* (2) | Screwdriver |
| GFCI Outlet Plate Cover or Regular Outlet Plate Cover* (2) | Tape Measure |
| Contractor Pencil |
*According to most state codes, GFCI outlets are required for installations around kitchen countertops. However, if you run an outlet off another GFCI outlet in the kitchen, then a regular outlet can be used. Check your state’s local electric code to ensure this before proceeding. If you are using a regular outlet, then use a shallow old-construction outlet box (8 cubic inches). If you are using a GFCI outlet, then use a deep old-construction outlet box (20 cubic inches).
Step One: Measure & Mark The Side Of The Kitchen Island Closest To The Sink
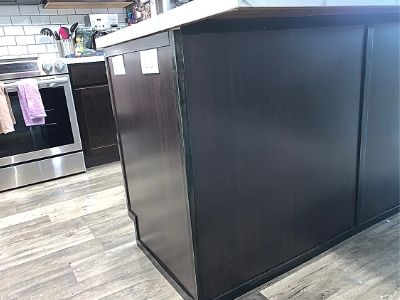
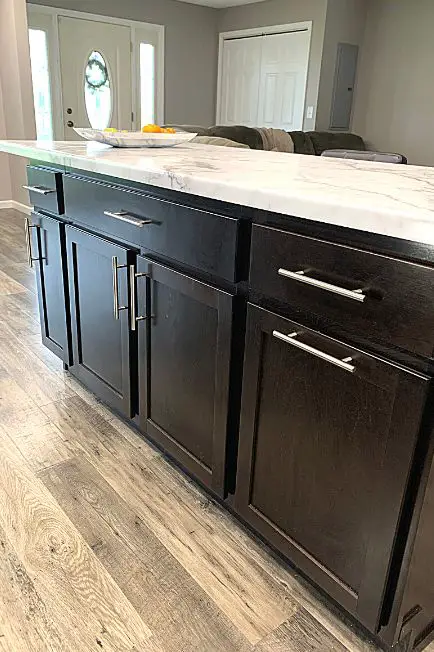
The best location to install outlets on a kitchen island is typically on a side without an overhang, preferably nearest the sink and/or stove. This location will be most convenient to use small appliances such as a crockpot, toaster, blender, etc while cooking.
Keep in mind, according to most states’ Electrical Code*, receptacles (aka outlets) cannot be installed underneath a countertop overhang that extends 6 inches from the cabinet base. Since the backside of kitchen islands usually have an overhang, the best location for the outlet is on the side without the overhang.
(*Be sure to check your local Electrical Code before installing outlets in your kitchen island to ensure you are staying compliant. Each state has completely different rules, so your rules might not be strict on the placement of the outlets!)
To install a regular outlet on the side of a kitchen island cabinet, you need to use this shallow old-construction outlet box found at Amazon that is much more shallow than standard outlet boxes. The shallow box helps to ensure the outlet can’t be hit by drawers sliding in and out or other items being put into and pulled out of the cabinet.
(If you are using a GFCI outlet though, you are going to need this deep old-construction outlet box found at Amazon because GFCIs take up more room in the outlet boxes.)
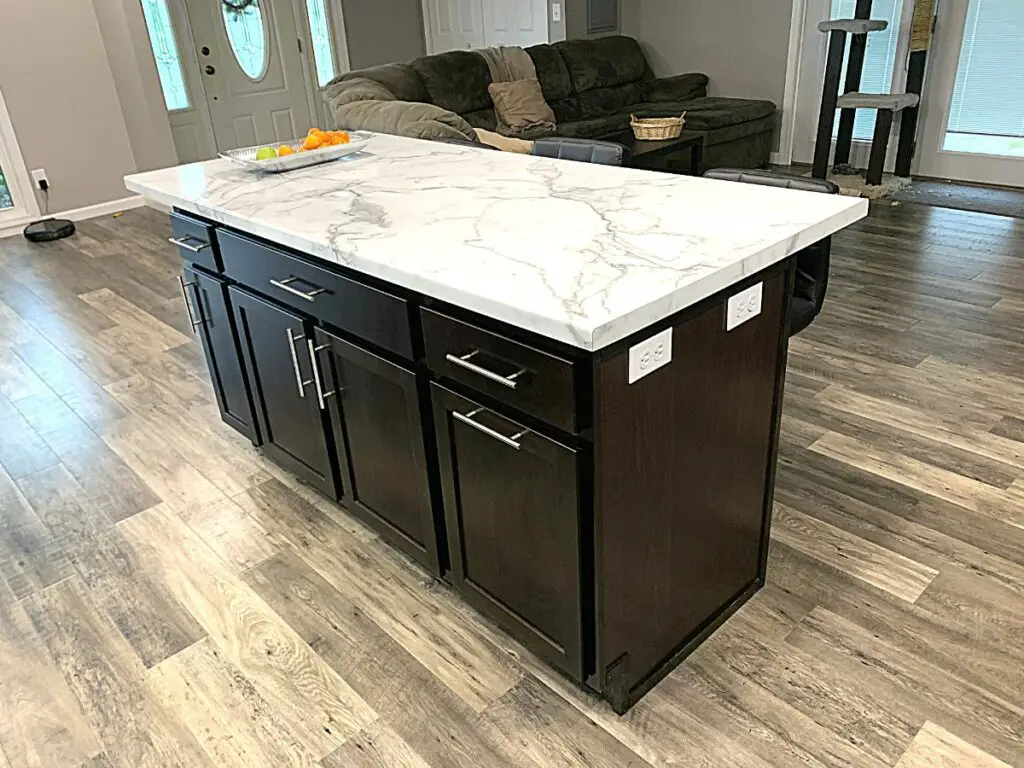
I recommend installing a minimum of 2 outlets on your kitchen island so that you have plenty of room to plug in small appliances while cooking or hosting. There have been several times when we’ve hosted a party and were glad that we had plenty of outlets to plug crockpots and other food warmers into.
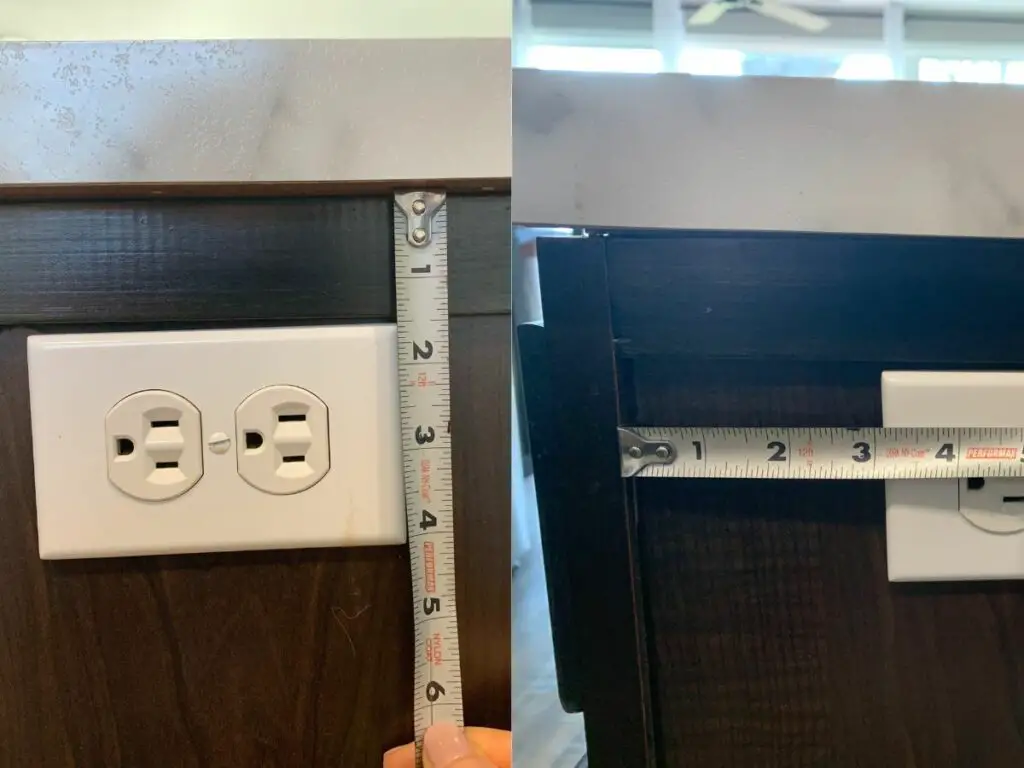
Now that you’ve narrowed down the location your outlets are going to be installed, it’s time to measure and mark where you need to cut the cabinet. I recommend keeping the outlets no more than 6-8 inches below the bottom of the countertop, so they are easily within reach when you need them.
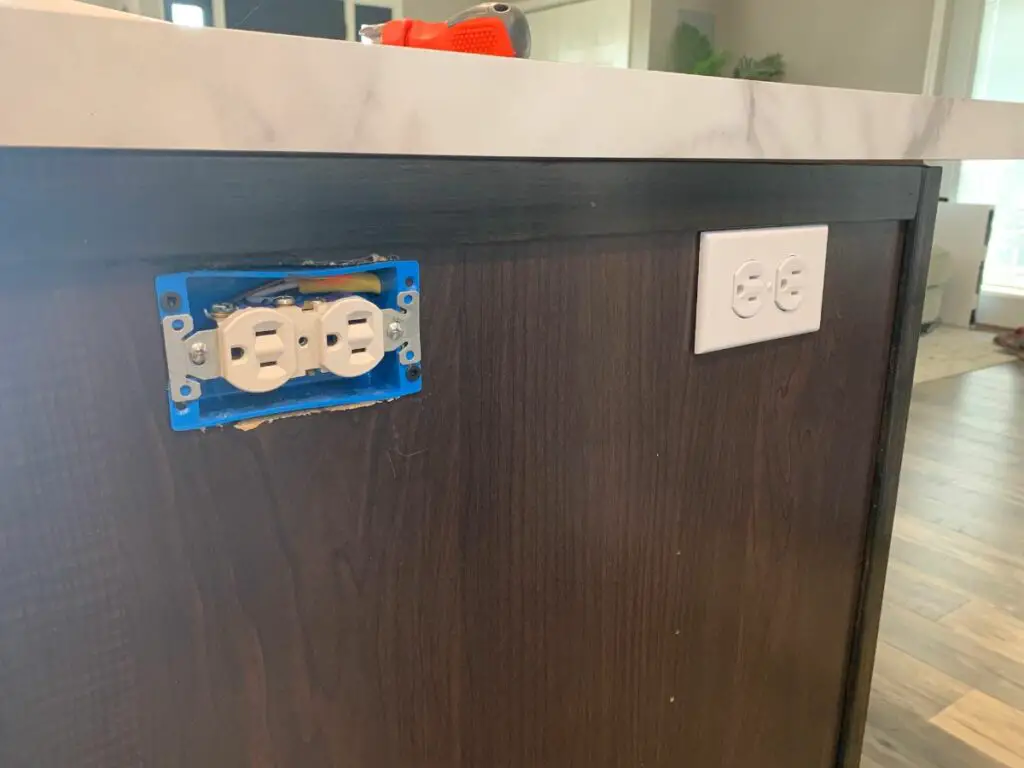
If it’s possible based on where your countertop overhangs, it’s best to have at least one outlet on each side of the island. However, if you have an overhang on one side as we do, then installing both outlets next to each other works as well.
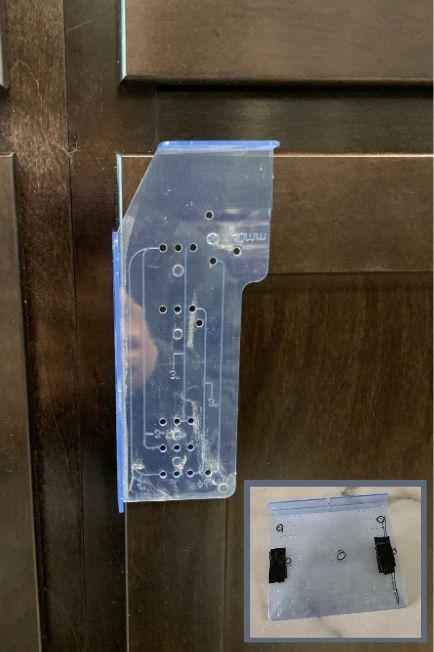
Before you mark where the outlet needs to go, first put painter’s tape over the spot on the cabinet where the outlet will go. While cutting the cabinet, the painter’s tape will help prevent the cabinet finish from chipping.
Then, hold up the backside (the smaller side) of the outlet box against the painter’s tape on the cabinet and trace the outside of it with a pencil. This pencil tracing is where you are going to cut the cabinet in the next step.
Note: For this tutorial, I assume an electric wire has already been run through the subfloor to the bottom of the kitchen island.
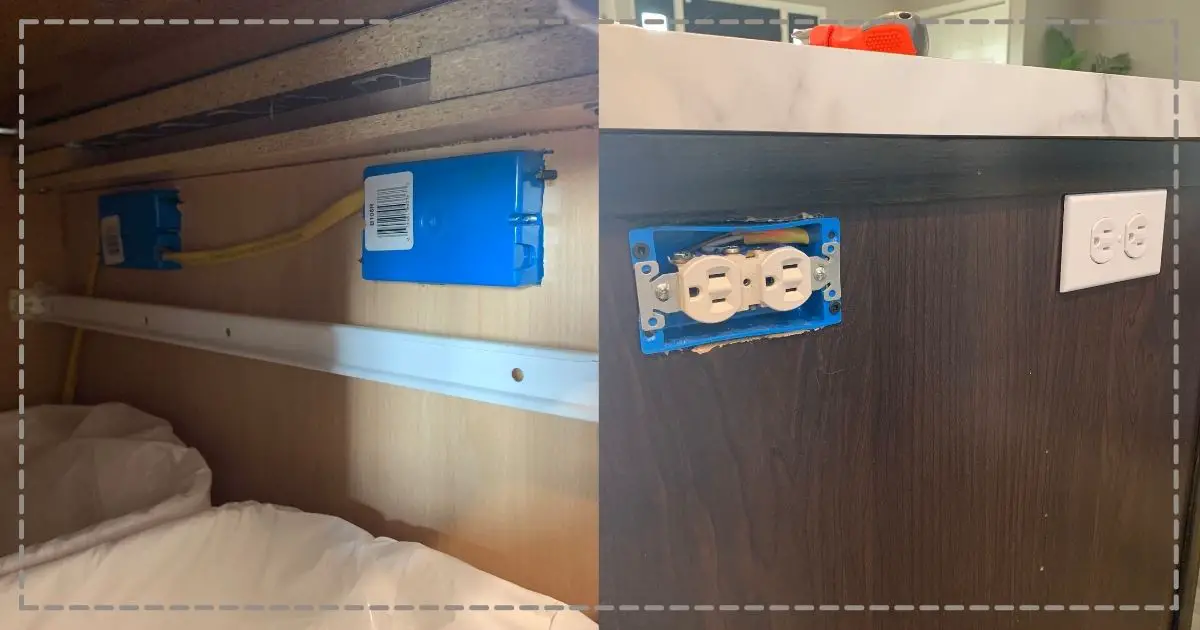
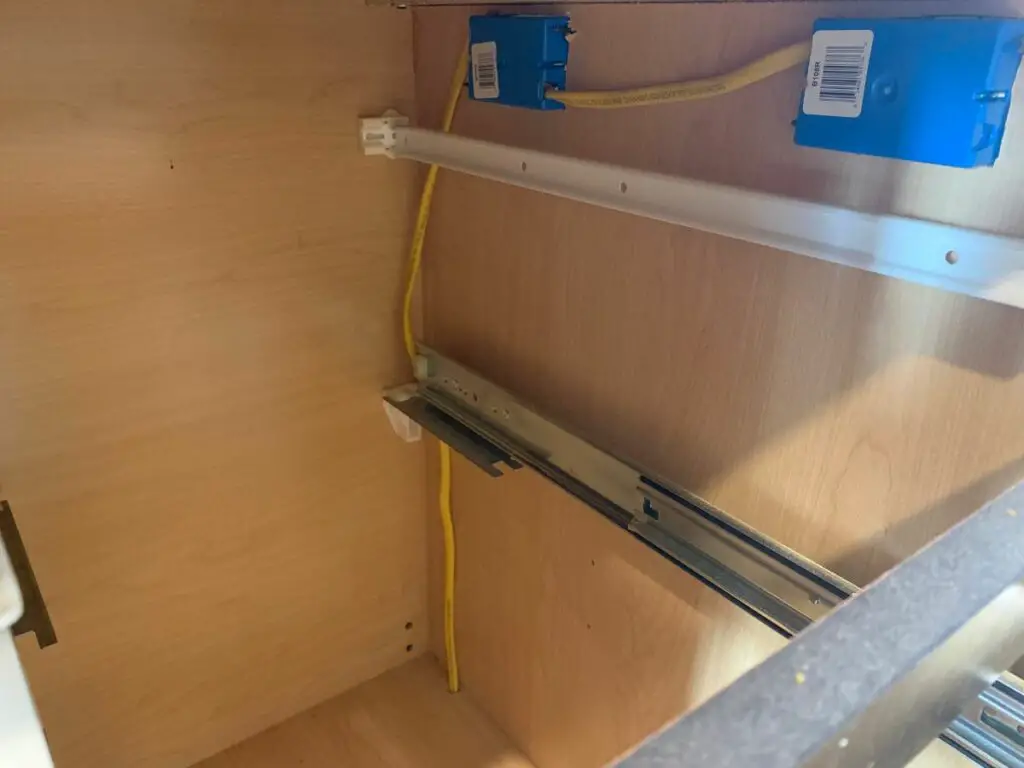
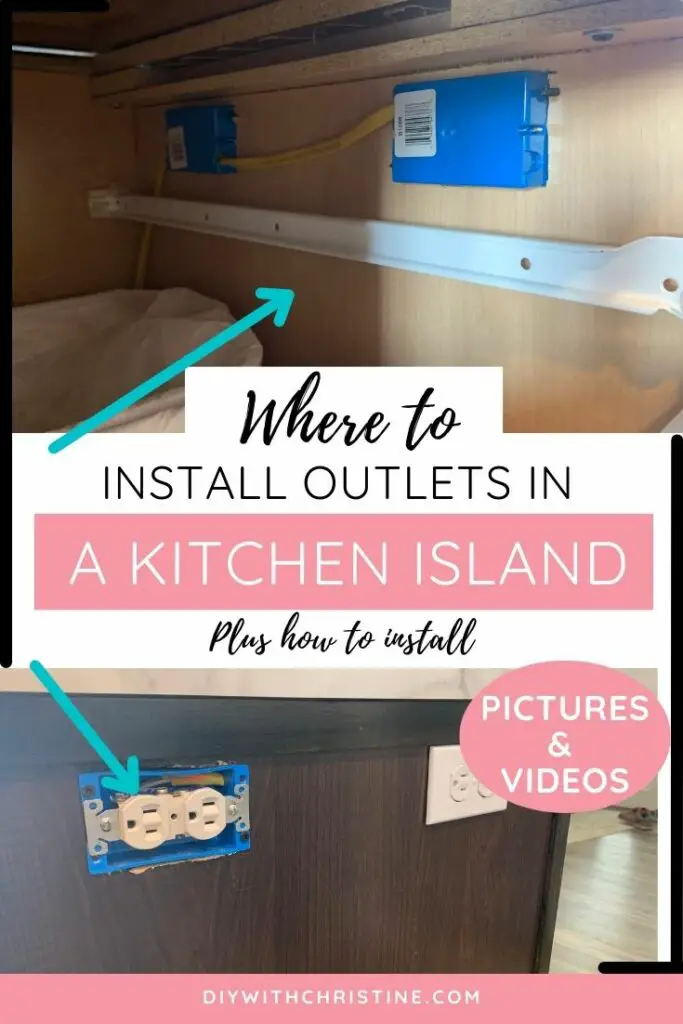
Electrical wiring must run under the subfloor, through the bottom of the cabinet, along the back wall of the cabinet, and to the side of the cabinet where the outlet is going.

If you have not run an electrical wire to a spot underneath where your island will be, then check out this video that shows how a concrete subfloor is broken up to run the wiring. After that is done, then you can install your kitchen island following my tutorial here.

Step Two: Cut The Kitchen Island With An Oscillating Multi-Tool
Next, use this oscillating multi-tool found at Amazon to carefully cut along the pencil line. Go slowly and try to stay as close to the pencil line as possible to cut the cabinet to the correct size.
After the cabinet is cut away, test-fit the outlet box to make sure the backside slides into the hole. Once you are satisfied, you can remove the painter’s tape from the cabinet.
Repeat this process for as many outlets as you are installing.
Step Three: Install The Shallow Old-Construction Outlet Box
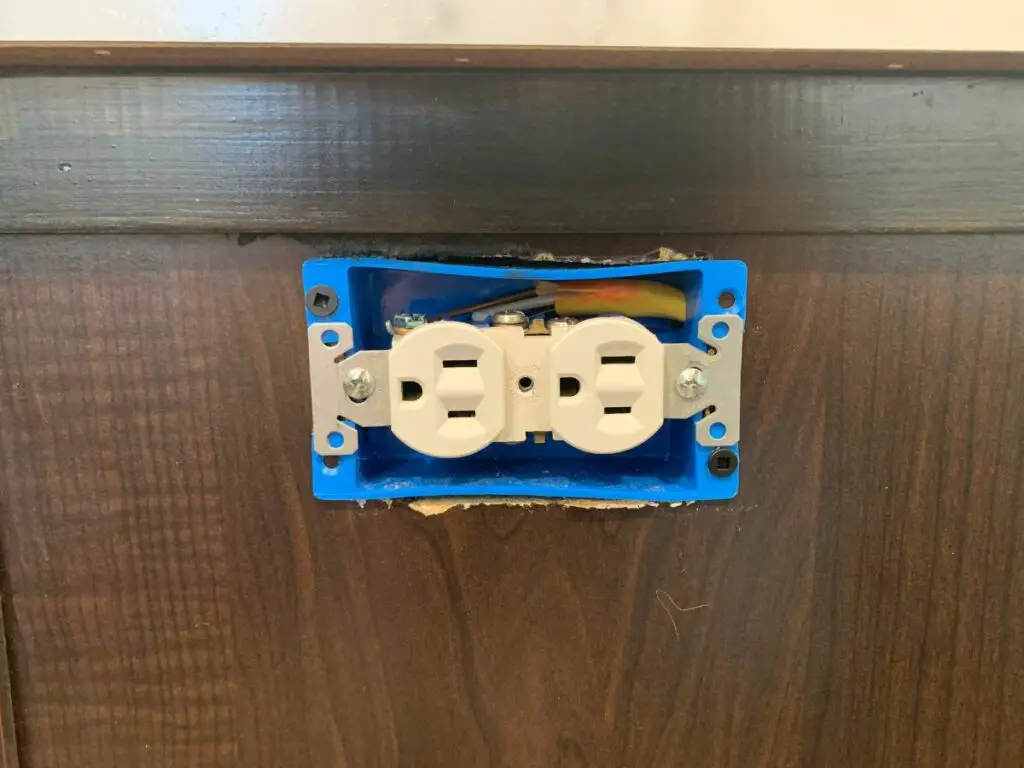
Now that you have a hole in the side of your cabinet, you can install the shallow outlet box. Slide the box into place and secure it to the cabinet with wood screws.
Safety Note: Be sure to turn off the power at the electrical panel before messing with the electrical wire. Use an electric current tester to make sure the wire is dead before attaching it to an outlet to make sure you do not electrocute yourself.
Then, grab the electrical wire from the bottom of the island and feed it into the backside of the receptacle box. (You probably had to drill a small hole through the bottom of the cabinet to feed the wire through during the kitchen island installation process.)
Step Four: Install A GFCI Outlet
All that’s left to do at this point is install the outlet and screw on an outlet plate cover and you’re done!
Typically, you need to install a GFCI outlet on a kitchen island. However, if your electrical wire is run from another GFCI outlet in the kitchen (as ours is), then you can install a regular outlet here. The GFCI outlets are usually too big to fit in the shallow outlet boxes, so you might need to use a deep (20 cubic inches) old construction outlet box.
If you aren’t sure how to hook up an outlet to an electrical wire, here’s a great video to help you out:
Other FAQs About Outlets In Kitchen Islands
Here are some other frequently asked questions about outlets on kitchen islands to help you easily install them on your own!
Why Does A Kitchen Island Need An Outlet?
Kitchen islands need outlets so that small appliances being used on the island don’t have to have their cord draped across the kitchen to be plugged in. It is a safety measure that prevents people from running into cords and knocking small appliances over.
Do You Have To Use GFCI Outlets In Kitchen Islands?
To be code compliant in most jurisdictions, GFCI outlets must be used for all receptacles that supply kitchen countertop surfaces, including kitchen islands. Though, if a regular outlet is run off of a GFCI outlet, then it can be used on a kitchen island. Check your local code to ensure this rule is required for your home.
Can You Install An Outlet Under The Overhang On A Kitchen Island?
To be code compliant in most jurisdictions, kitchen islands cannot have receptacles installed below countertop overhangs that extend more than 6 inches beyond the cabinet base. Check your local code to ensure this rule is required for your home.
What Are Some Other Common Construction Laws You Need To Consider Before Building A House?
Other construction laws you need to consider include zoning, lot approval, building permits, and more. Check out This Old House’s guide on considerations regarding construction laws, so you can ensure a safe building process that results in the home of your dreams.
Final Thoughts On Outlets In Kitchen Islands
There you have it!
For the most part, installing outlets in kitchen islands is rather simple.
To have outlets on a kitchen island, all you need is the electrical wire running below the subfloor to the kitchen island. Then the wire just needs to run through the bottom of the cabinet, up the side wall of the cabinet, and connected to the outlet.
Hopefully, this tutorial helps you choose the best location for the outlets on your kitchen island.
Catch you in my next post!
The Best Kitchen Tools & Products I’ve Used
Ravinte Cabinet Handle Installation Template (For Doors & Drawers)
This is my all-time favorite handle installation template because it has two templates (one for drawers and one for doors) with multiple pull sizes & knob placements! These templates make installing cabinet handles a breeze because you always know your handles will be installed in the same spot on all of your drawers and doors. The kit also comes with a drill bit so you can guarantee you’re using the correct size. I used this template on my entire kitchen and both bathrooms to cut the installation time in half. You can find this hardware template here on Amazon.
Franklin Brass 5-1/16 Inch (128mm) Center Bar Pull (Stainless Steel)
If you want to immediately modernize your kitchen island, then these cabinet pulls are a must. They are heavy-duty feeling, durable, easy to install, and are a large size for a great price. We put these pulls on all of our kitchen and island doors and drawers along with our bathroom doors and drawers. You can find these gorgeous cabinet pulls here on Amazon.
P.S. Use the hardware installation template I mentioned above to install these new pulls in record time!
If you’ve been curious about how we are decorating our 1950s Ranch, you should check out our “Shop Our Home” page. You can find products that we’ve personally bought to decorate our home.

By Christine
Christine is a blogger and DIYer who tackles home renovation and decorating projects alongside her husband, Adam, for their personal residence and rental properties. Although she successfully tackles large renovation projects to avoid expensive contractor fees and bring her vision to life now, her path to success was not easy.
Go here to read her story, “From a Clueless First-Time Homebuyer To A Confident DIYer Creating Her Dream Home One Project At A Time“.
Popular Posts


DIY With Christine is a participant in the Amazon Services LLC Associates Program, an affiliate advertising program designed to provide a means for sites to earn advertising fees by advertising and linking to Amazon.com.