*My posts may contain affiliate links, which means I may receive a small commission, at no cost to you, if you make a purchase through a link! Thank you for supporting my website!*
Last updated on September 11th, 2024 at 09:29 am
How To Finish Laminate Flooring Edges
Wondering how laminate flooring edges are finished in doorways, between different floorings, on stairs, and around the room in general? Well, look no further because I have your answer!
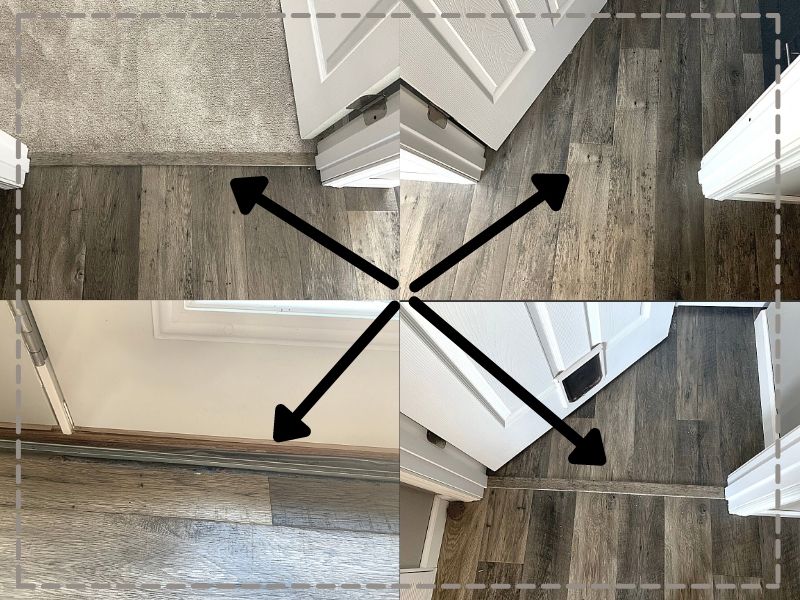
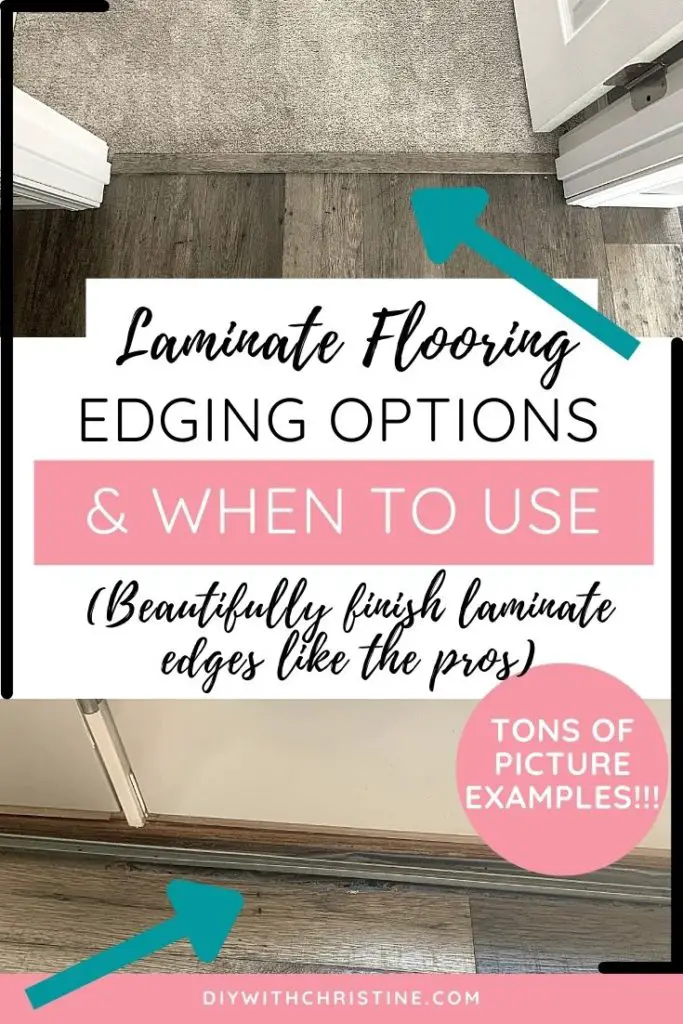
Laminate flooring edges can be finished using a variety of transition strip styles. Use endcap for flooring in front of an exterior door, stair nose for the edge of staircase steps, reducer for floors of differing height, or T-moulding for floors of equal height. Finish all other edges with baseboard.
Alright, now that we’ve got that covered, let’s break down each type of laminate flooring edging option (also called transition strips) so you know when to use them.
Let’s dive in!
Quick Navigation: Laminate Flooring Transition Strips
- What Is A Transition Strip?
- Are Transition Strips Necessary To Finish Laminate Floor Edges?
- Different Types Of Laminate Flooring Transition Strips & When To Use
- How To Install A Transition Strip In A Doorway
- Other FAQs About Finishing Laminate Floor Edges
- Final Thoughts
What Is A Transition Strip?
Laminate flooring edges are typically going to be finished with baseboard, quarter-round, or transition strips.
Transition strips are designed to cover the expansion gaps and unfinished ends in laminate flooring and provide a seamless transition between different floorings. Endcaps, T-mouldings, reducers, and stair nose transition strips help cover a variety of laminate flooring edges.
Are Transition Strips Necessary To Finish Laminate Floor edges?
Transition strips are necessary to finish laminate flooring edges in doorways, between different floors, and on staircases. However, laminate flooring against the wall does not use transition strips. Those edges are finished with baseboard and/or quarter-round to hide the expansion gap.
Without these strips, you will be able to see all of the cut edges of the laminate flooring, and the laminate will be able to unlock and separate because nothing would be holding the edges down.
These strips will hide that gap, keep the planks pinned down, and make the edges look beautiful and clean.
That makes installation much easier because you don’t have to worry about precision cuts.
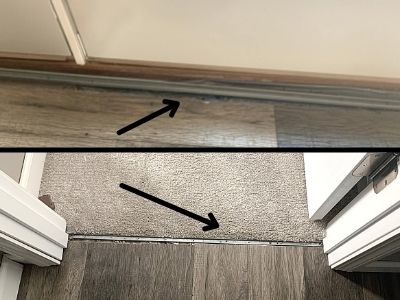
All it takes is a cut within 3/8″ of the edge of the room (which is necessary for proper laminate flooring installation), and the transition strip, baseboard, or quarter-round will cover the rest.
There are several different types of transition strips to help get the perfect finish on any laminate flooring edge, so understanding the different uses is important.
Let’s go over them now!
Different Types Of Laminate Flooring Transition Strips & When To Use
There are a few different types of transition strips and each one is used in a different circumstance, so you want to purchase the correct ones you need.
End Cap
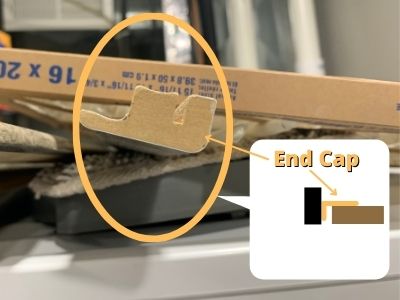
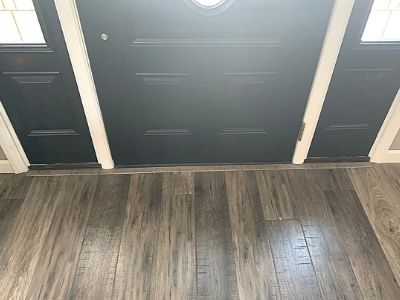
Use an end cap laminate transition strip when you are running laminate against an exterior door.
Oftentimes, an end cap transition strip is used in front of a front door or sliding glass door.
These transition strips have a shorter width and are meant to butt up against the bottom of an exterior door frame.
Reducer
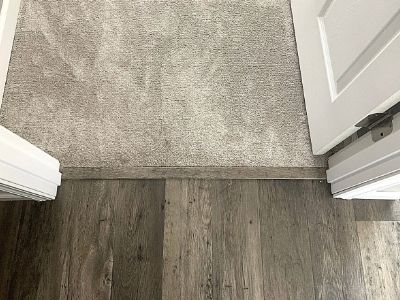
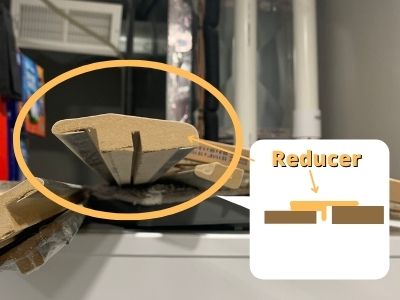
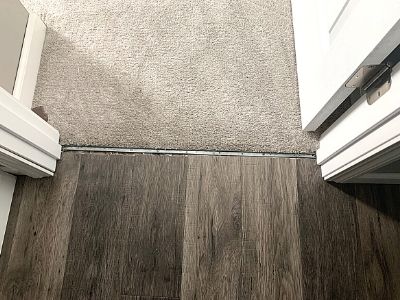
Use a reducer laminate transition strip when you are transitioning from a higher surface to a lower surface.
Oftentimes, a reducer transition strip is used to transition from laminate to carpet. It can also be used to transition from laminate to linoleum or tile.
As long as the other flooring is a different height from the new laminate flooring, you will want to use this transition strip.
This strip has two levels – one that will sit on the higher floor and one that drops down and sits on the lower floor – so it can bridge the height difference along the gap.

T-Moulding
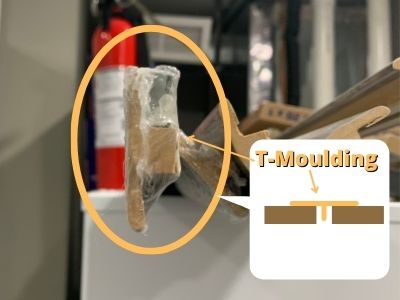
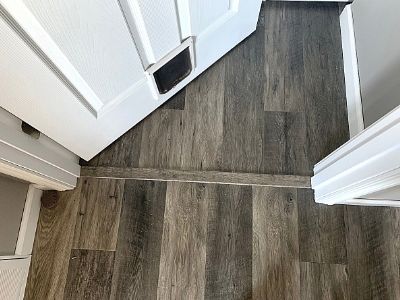
Use a T-Moulding laminate transition strip when you are transitioning from two surfaces that are equal height.
Oftentimes, a T-Moulding transition strip is used to transition from laminate to laminate. It can also be used to transition from laminate to any other floor that is the same height (carpet, tile, etc.)
This transition strip looks like a “T” because each side is the same height so it can sit evenly across two floors of the same height.
If you have the same laminate flooring in two different rooms and need to install them at different times or in different directions, you can install a T-moulding transition strip at the door to keep the rooms separate.
Stair Nose
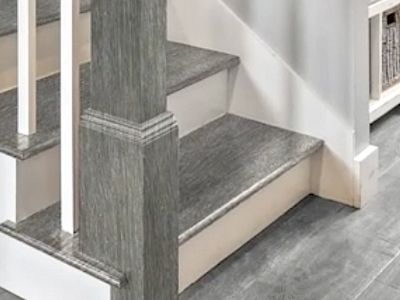
Use a stair nose laminate transition strip when you are completing laminate over an outside corner.
Oftentimes, a stair nose transition strip is the finishing touch on a staircase step.
This transition strip is shaped to cover outside corners and give them a finished look.
Other Laminate Trims
There are other laminate trims such as quarter-round and baseboard that you can buy to match your laminate flooring if you want.
I personally like the hard contrast that baseboard and quarter-round in a different color create (such as white baseboard), but again, that is a personal preference!
However, if you choose not to remove your existing baseboard before installing laminate flooring, then quarter-round trim will be necessary to cover the expansion gap around the room.
The quarter-round can match your laminate flooring to help it blend in, or it can match your existing baseboard to make the trim around the room stand out.
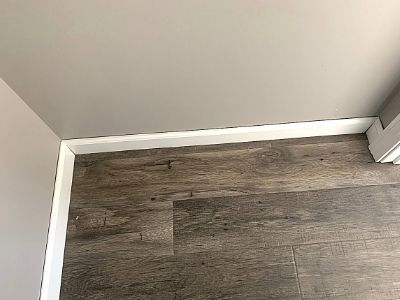
All other laminate flooring edges around the room will either be covered by baseboard (if you remove the existing baseboard first) or quarter-round (if you don’t).
Check out my article here to help you decide whether removing the baseboard before installing laminate flooring is worth it or not.
Caulk
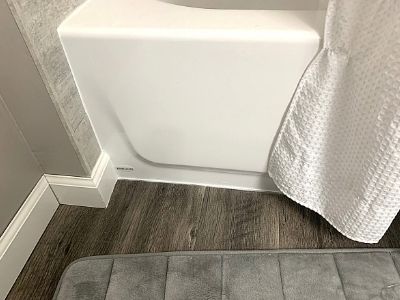
The last laminate flooring edging option is 100% silicone caulk.
This form of edging gives the least clean edge and is really only recommended along a laminate edge against a bathtub or shower.
Using caulk along this seam will help protect the laminate flooring in a bathroom from water damage.
You can also finish this edge with a piece of quarter-round that matches your tub base (along with a bead of caulk along the top of the quarter-round), to get a more clean finish, give the laminate flooring space to “float”, and still get the waterproof benefits.
How To Install A Transition Strip In A Doorway
Now that you know the different types of transition strips, I’m sure you’re wondering how to install them.
I have a full tutorial to help you learn how to install transition strips in doorways – including where to put them and how to install them in a concrete or wood subfloor. (You’re lucky if you have a wood subfloor!)
Other FAQs About Finishing Laminate Floor Edges
Here are some other frequently asked questions about laminate floor edging options to help you finish installing your new flooring!
Can You Install Laminate Flooring Without Transition Strips?
Laminate flooring should be installed with transition strips if the flooring ends in a doorway, between different types of flooring, along an exterior door, and/or on top of stair steps. The transition strips bridge the expansion gap and give the edges of laminate a clean finish.
How Much Gap Should A Transition Strip Have?
Transition strips should have a 1/4″ to 3/8″ gap between the metal rail and the edge of laminate flooring. This gap gives laminate flooring room to expand and contract during humidity and temperature fluctuations. The top decorative piece of the transition strip will hide this gap.
How Do You Install Laminate Flooring?
If you’re new to the whole laminate flooring installation process and want all of the steps and tutorials in one place, check out my article here.
I’ll walk you through the entire process step-by-step and help you avoid any major mistakes along the way!
Or if you just need help with the hardest part (creating the staggered pattern), then check out my laminate pattern tutorial here.
That tutorial will help you calculate the exact dimensions to help you minimize waste and get the perfect installation for your room dimensions!
Final thoughts On Laminate Flooring Transition Strips
There you have it!
Each transition strip is used for a specific purpose and will make your flooring installation project so much easier if you use them properly!
Good luck with the rest of your flooring project.
Catch you in my next post!

By Christine
Christine is a blogger and DIYer who tackles home renovation and decorating projects alongside her husband, Adam, for their personal residence and rental properties. Although she successfully tackles large renovation projects to avoid expensive contractor fees and bring her vision to life now, her path to success was not easy.
Go here to read her story, “From a Clueless First-Time Homebuyer To A Confident DIYer Creating Her Dream Home One Project At A Time“.
Popular Posts
DIY With Christine is a participant in the Amazon Services LLC Associates Program, an affiliate advertising program designed to provide a means for sites to earn advertising fees by advertising and linking to Amazon.com.

