*My posts may contain affiliate links, which means I may receive a small commission, at no cost to you, if you make a purchase through a link! Thank you for supporting my website!*
Last updated on February 28th, 2024 at 11:14 am
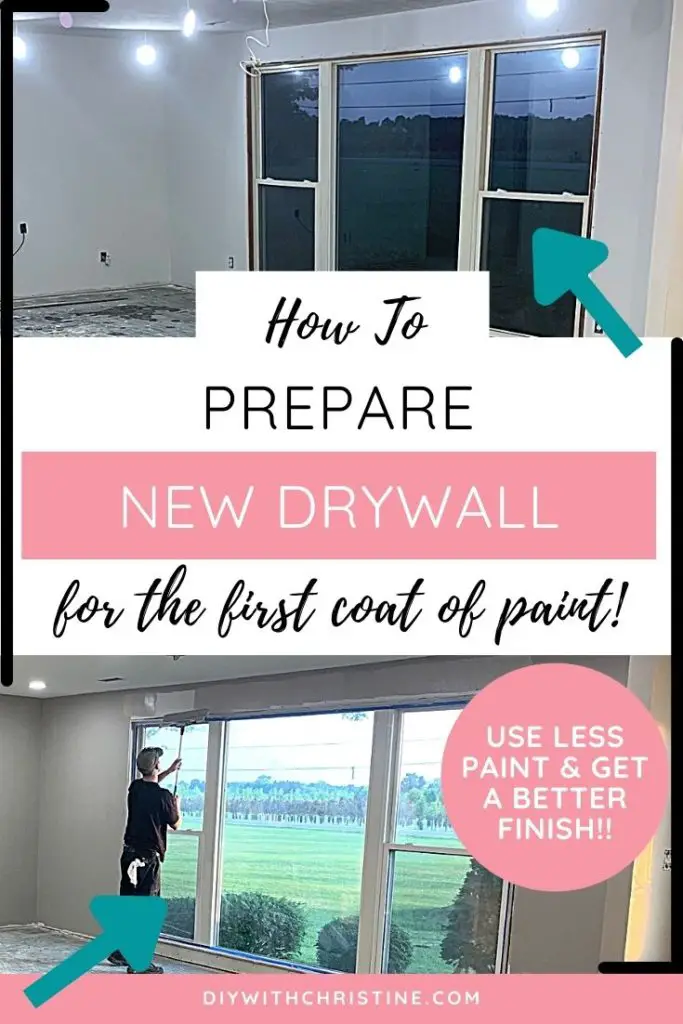
Wondering what you need to do before painting new drywall? Well, look no further because I have your answer!
To prepare new drywall for paint, wipe the dust off of the walls, floors, windows, doors, etc. with a damp sponge, mop, or rag, apply 2-3 coats of PVA primer on the walls, and apply 2 coats of paint & primer in one paint.
Now that we’ve got the basics out of the way, let’s break into the details a little further so you can paint and finish your drywall with ease.
P.S. As I go through this tutorial, I’m making the assumption that your drywall has been properly hung, taped, mudded, and sanded smooth. If you haven’t completed all of those steps yet, then read my other article first.
Let’s dive in!
Quick Navigation: How To Prepare New Drywall For Paint After Sanding
- Mop Up As Much Dust As Possible Off Of Everything (Floors, Windows, Doors)
- Wipe Down The Freshly Sanded Drywall & Mud With A Damp Sponge Or Flat Mop
- Apply 2-3 Coats Of PVA Primer On All Newly Finished Drywall
- Apply 2 Coats Of Water-Based Paint & Primer In One
- Other FAQs About Painting Drywall For The First Time
- Final Thoughts
| Level Of Difficulty | Time To Complete |
|---|---|
| Easy | 2-4 Hours |
| Material List | Tool List |
|---|---|
| PVA Primer | 18-Inch Paint Roller Frame |
| Mop & Bucket With Clean Mop Head | 18-Inch Paint Roller Cover |
| Large Sponge or Rag | 18-Inch Paint Tray |
| Valspar Ultra Satin Interior Paint & Primer | 18-Inch Paint Tray Liner |
| Fabuloso Cleaning Solution | Paint Roller Extension Pole |
| Paintbrush | |
| Paint Multitool |
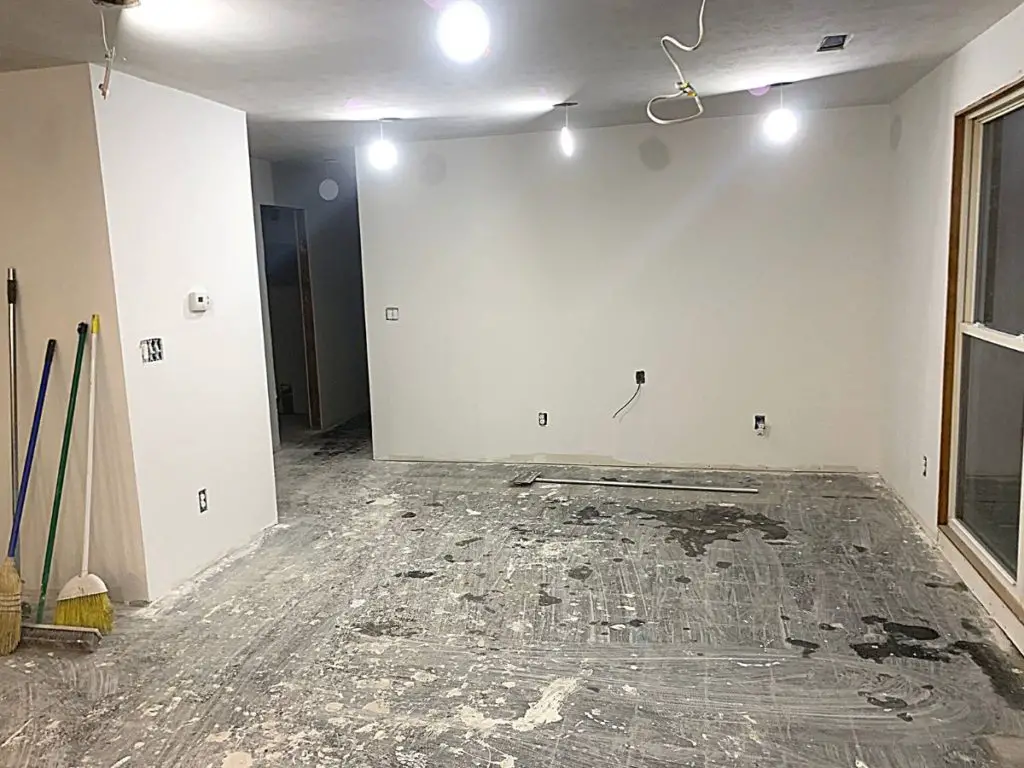
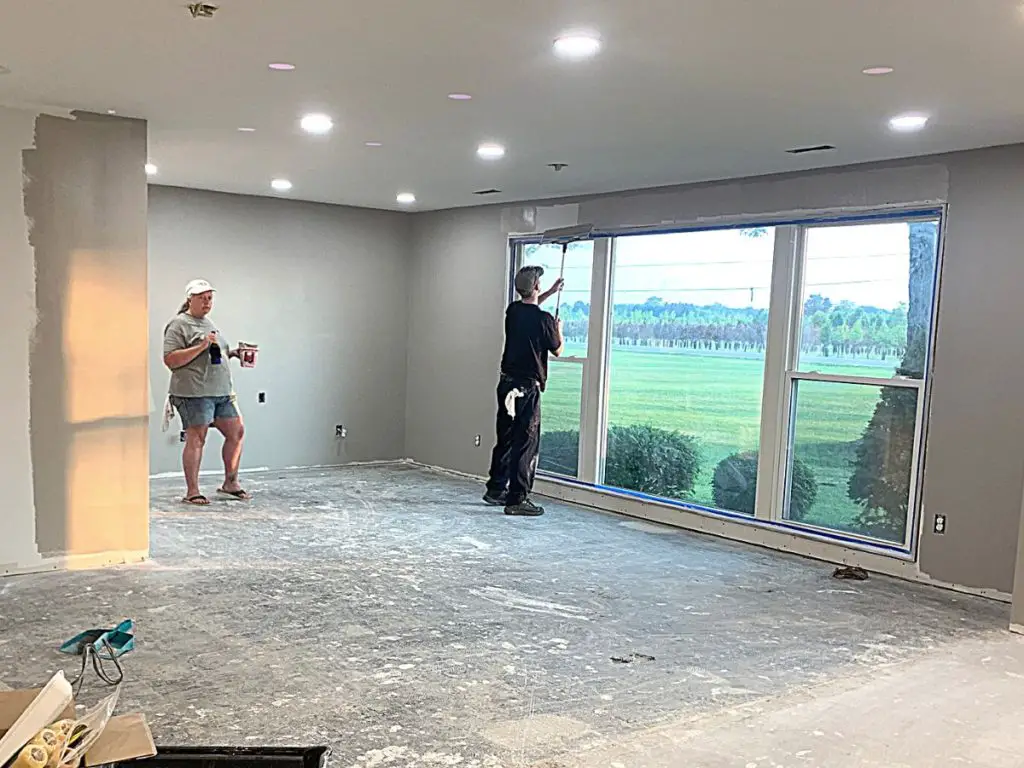
Step One: Mop Up As Much Dust As Possible Off Of Everything (Floors, Windows, Doors)
The first step in preparing new drywall for paint is to mop up and wipe away as much dust as possible from the room.
By now, I’m sure you’ve realized how incredibly messy drywall is when it’s being installed.
Those tiny dust particles are on EVERYTHING, and they’re so hard to get rid of completely. But we must remove as much of them as possible so the new paint will adhere to the new drywall without peeling later.
The easiest way to do this is to take a damp rag or large sponge and a mop bucket and just start cleaning.
Pour some Fabuloso cleaning solution into a mop bucket with fresh water and get to work.
Start by working from the ceiling to the floor. Wipe down the windows, window sills, doors, door frames, and whatever else got dust on it.
Then use a fresh mop head and clean water with some Fabuloso mixed into your mop bucket to mop up as much of the dust off of the floor as you can get.
You’ll be focusing on the walls later, so don’t worry about doing this part perfectly. Just get as much of the drywall dust out of the room as possible for this first step.
Changing out the mop water regularly and using Fabuloso cleaning solution will help you from just smearing dirty water around (plus your room will smell so fresh and clean with a little Fabuloso mixed into the mop water!).
Step Two: Wipe Down The Freshly Sanded Drywall & Mud With A Damp Sponge Or Flat Mop
The next step in preparing new drywall for paint is to wipe down the new drywall.
It might seem counterintuitive to wipe down the walls after you mopped the floor, but honestly, you are going to have to mop the floor like 100 times to truly remove the excess dust and you still will be finding it in the corners years later haha.
The initial mopping was meant to get up the clumps and majority of the dust so that while you’re wiping the walls and painting, more if it doesn’t float back onto the walls.
Now, fill up your mop bucket with fresh water and take your large sponge, dip it in the water, and wring out all of the water.
You don’t want any water dripping from the sponge. Just get it so it’s slightly damp then start wiping down the walls.
You can also use the mop head to do the same thing. Again, no water dripping from the head though.
I’m a big fan of this spin mop and bucket found at Lowe’s because it wrings out the water really well compared to a normal mop bucket. That makes the wiping down of the walls much easier!
You can also find Fabuloso at Lowe’s and a large sponge to make this job easier.
The sponge or mop head will fill up with dust quickly, so make sure to rinse it in clean water every 2-3 swipes to get most of the dust into the bucket instead of smeared on the wall.
This process will likely put more drywall dust on the floor. Don’t worry about this until after you’ve painted. If you keep mopping or sweeping, you will get the dust back on the wall.
Should You Remove Drywall Dust Before Painting?
Drywall dust should be removed before painting so that the paint can adhere to the wall fully. If large clumps of drywall dust get trapped under the paint, the paint will peel off the wall and ruin the paint job.
You will not be able to get every dust particle off the wall. That’s where the next step will help fix this.
How Long Should You Wait To Paint After Sanding Drywall?
After drywall has been sanded and the majority of the dust has been wiped off, wait 15-20 minutes for any remaining dust to settle before painting. Then use 2-3 coats of PVA primer on the freshly sanded drywall before applying the paint.
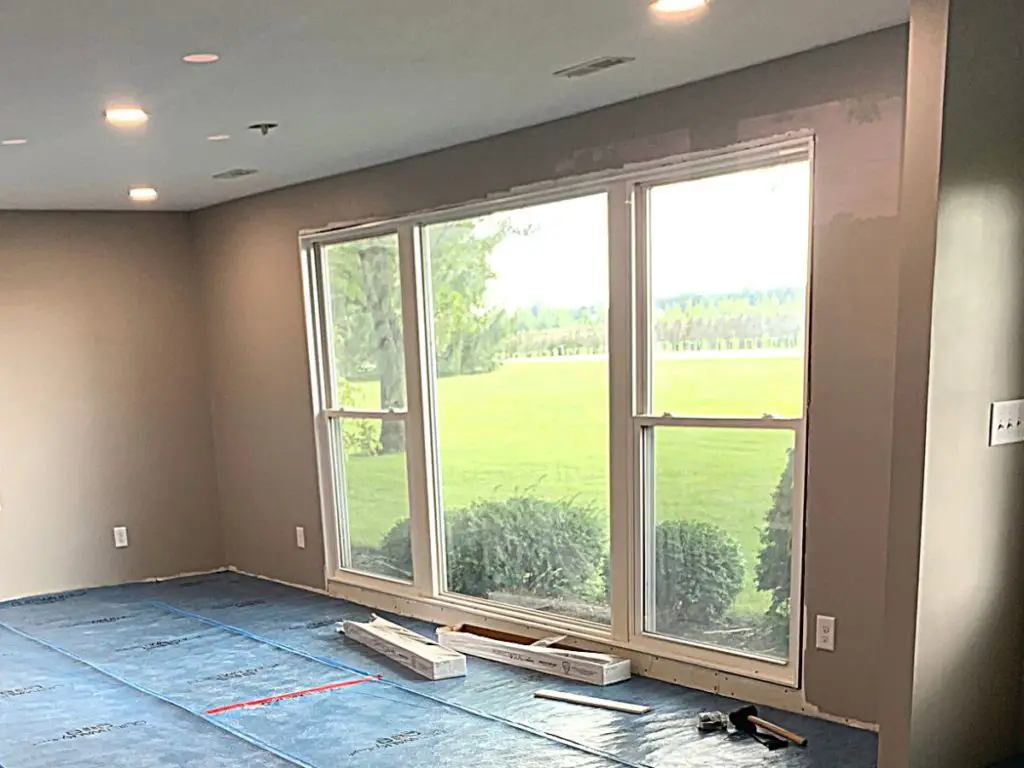
Step Three: Apply 2-3 Coats Of PVA Primer On All Newly Finished Drywall
The next step in preparing new drywall for paint is to apply 2-3 coats of PVA primer on the walls.
Outside of removing most of the dust first, this is arguably the most important step to painting new drywall.
Drywall is extremely porous, so it will suck in more paint than a wall that’s previously been primed and painted.
This is problematic for two reasons:
- You are going to use significantly more paint
- You are going to spend significantly more money on regular paint than you will on primer and paint
To solve this problem, you should apply 2-3 coats of PVA primer on the wall before applying a coat of the traditional paint-and-primer-in-one.
The PVA primer found at Lowe’s is much cheaper than regular paint, so you will save money. And when you do go to apply the actual paint, you will not need as many layers, so you will use less paint in general. (This primer helps fill the porousness of the new drywall.)
In addition, PVA primer helps lock in the remaining dust so that the new coat of paint can adhere fully without any worries.
What Happens If You Don’t Prime Drywall Before Painting?
New drywall absorbs significantly more paint than drywall that’s previously been painted. To save on the amount of paint you need and to better seal in any remaining dust, use a PVA primer before painting. Primer is also cheaper than regular paint, so you will save money as well.
How Many Coats Of Primer On New Drywall?
Applying 2-3 coats of PVA primer on new drywall will seal in any remaining dust, save on the amount of paint you need to use (which will save you money on paint), and will save you money because the primer is typically cheaper than regular paint.
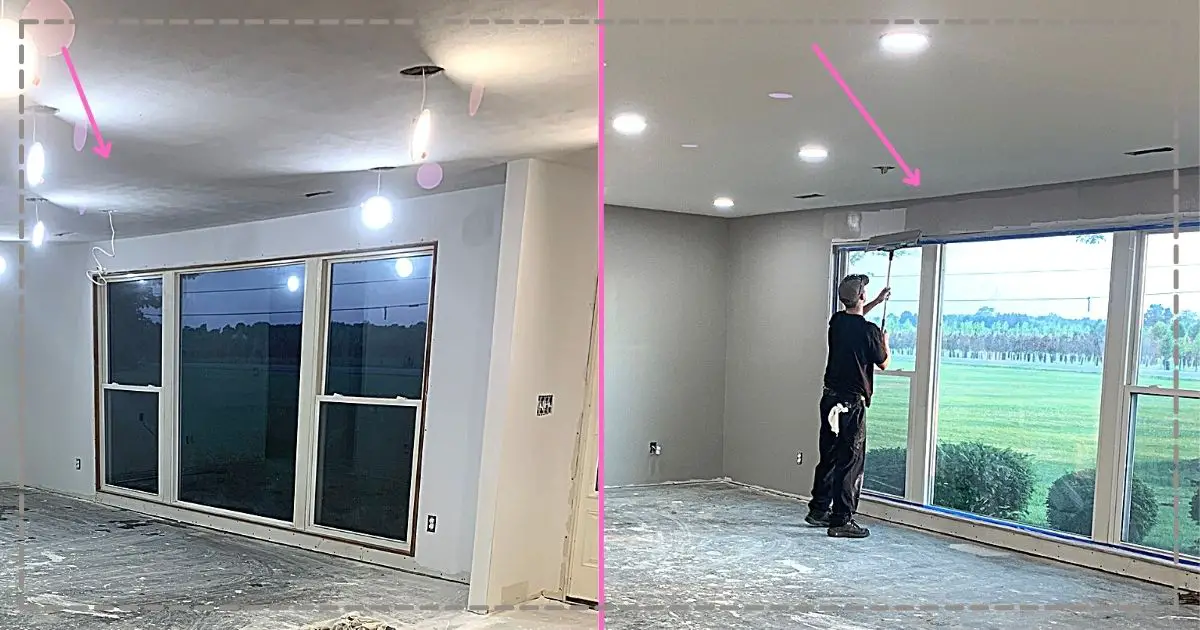
Step Four: Apply 2 Coats Of Water-Based Paint & Primer In One
The final step in preparing new drywall for paint is to paint the wall.
Now that the walls are prepped properly, all that’s left to do is paint.
I’m personally a fan of the Valspar Ultra Satin Interior Paint & Primer found at Lowe’s because it’s a thicker paint that goes on smooth, is easy to clean, and is durable. (We use it in all of our rental properties.)
But honestly, any brand of paint-and-primer-in-one will work.
Since new drywall doesn’t have many coats of paint yet and usually doesn’t have a texture, brush marks tend to show up more prominently.
To minimize this problem, cut in along the ceiling and in the corners with a paintbrush and roll over the painted edge with a roller while the paint is still wet.
This will smooth out any brush marks and give the entire wall the same roller texture.
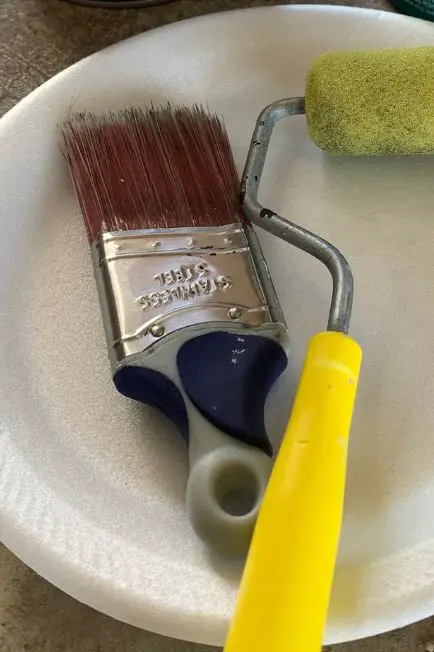
My favorite paintbrush to use is this short-handled 2-inch brush found at Amazon. It is the perfect size for all sorts of painting projects, super easy and comfortable to grip, and takes the pressure off of your wrist while you paint (because the short handle makes the whole brush lighter).
Also, I wanted to give you a tip on rolling the walls. We had to roll 2 coats of primer and two coats of paint on ALL of the walls in our entire 1,500-square-foot house because we gutted and installed brand new drywall throughout the entire place.
That project would have taken several weekends with a standard 9-inch roller. Instead, we invested in this 18-inch roller frame, 18-inch roller cover, 18-inch tray, 18-inch tray liner, and extension pole all found at Lowe’s, and that allowed us to prime and paint everything in three days (2 coats of primer and 2 coats of paint in addition to 2 coats of ceiling paint).
(My mother-in-law and I cut the corners and ceiling while my husband rolled all of the walls with that single 18-inch roller. It was definitely worth the money to speed up that process, so if you have that much new drywall to paint, then I recommend grabbing that roller.)
How Many Coats Of Paint Do I Need For New Drywall?
New drywall needs 2 coats of PVA primer and 2 coats of regular paint to get full coverage with the minimal amount of primer and paint.
Since you took the time to prime, you should be able to use only 2 coats of the more expensive paint to get full coverage.
I recommend 2 coats because it is inevitable that you will miss some spots while rolling.
The second coat will cover anything you might have missed in the first coat, and it will give the wall a nice, even coverage.
Once your second coat of paint is on, you are done! Congrats!
Other FAQs About Painting Drywall For The First Time
Here are some other frequently asked questions about painting drywall for the first time to help you tackle this part of your home renovation quickly and cost-efficiently.
Do You Have To Texture Drywall Before Painting?
New drywall does not have to be textured before painting. In modern homes, the texture is no longer added to the walls, only to the ceiling. Textured drywall does hide brush marks though, so rollover wet paintbrush marks to help miniseries this problem.
Can I Use Paint With Primer On New Drywall?
Paint with primer can be used on new drywall, however, new drywall is extremely porous, so it sucks in significantly more paint than drywall that’s been previously painted. To reduce the amount of paint needed (and to save money), apply 2 coats of PVA primer before applying 2 coats of regular paint with primer.
Can You Paint Directly On New Drywall?
You can paint directly onto new drywall after the seams have been mudded, taped, and sanded smooth, and the entire wall has had the drywall dust wiped off of it, though the new drywall will suck in significantly more paint than a previously painted wall. To reduce the amount of paint used, apply 2 coats of PVA primer to the sanded drywall before painting.
Can You Sand Drywall After Painting?
Painted drywall can no longer be sanded because any sanding will remove the paint layers and leave uneven spots on the wall. All sanding must be done before painting the drywall to get the smoothest finish on the walls.
Final Thoughts On Painting Drywall For The First Time
There you have it!
There are a few things to be aware of while prepping and painting new drywall.
But for the most part, it’s a pretty straightforward process.
Hopefully, this tutorial helps you paint your new drywall quickly and efficiently, so you can move on to the phase of your home renovation!
Catch you in my next post!
The Best Paint Supplies I’ve Used
Wooster Shortcut Angle Sash Paintbrush (2-Inch)
This is my all-time favorite paintbrush because it is so lightweight! The short handle takes the pressure off your wrist and creates an extremely comfortable grip, so you can paint longer without feeling the weight on your wrist. I use this paintbrush on 99% of my paint projects. You can find this paintbrush here on Amazon.
FoamPRO 164 Fine Finish Roller (4-Inch)
If you want the least amount of paint texture left from a roller (such as on metal or furniture), then this is the best roller you can use. The fine finish in the foam leaves the tiniest bit of texture that can easily be sanded between coats to get a finish almost as good as a sprayed finish. You can find this awesome foam roller here on Amazon.
If you’ve been curious about how we are decorating our 1950s Ranch, you should check out our “Shop Our Home” page. You can find products that we’ve personally bought to decorate our home.

By Christine
Christine is a blogger and DIYer who tackles home renovation and decorating projects alongside her husband, Adam, for their personal residence and rental properties. Although she successfully tackles large renovation projects to avoid expensive contractor fees and bring her vision to life now, her path to success was not easy.
Go here to read her story, “From a Clueless First-Time Homebuyer To A Confident DIYer Creating Her Dream Home One Project At A Time“.
Popular Posts


DIY With Christine is a participant in the Amazon Services LLC Associates Program, an affiliate advertising program designed to provide a means for sites to earn advertising fees by advertising and linking to Amazon.com.