*My posts may contain affiliate links, which means I may receive a small commission, at no cost to you, if you make a purchase through a link! Thank you for supporting my website!*
Last updated on February 28th, 2024 at 11:13 am
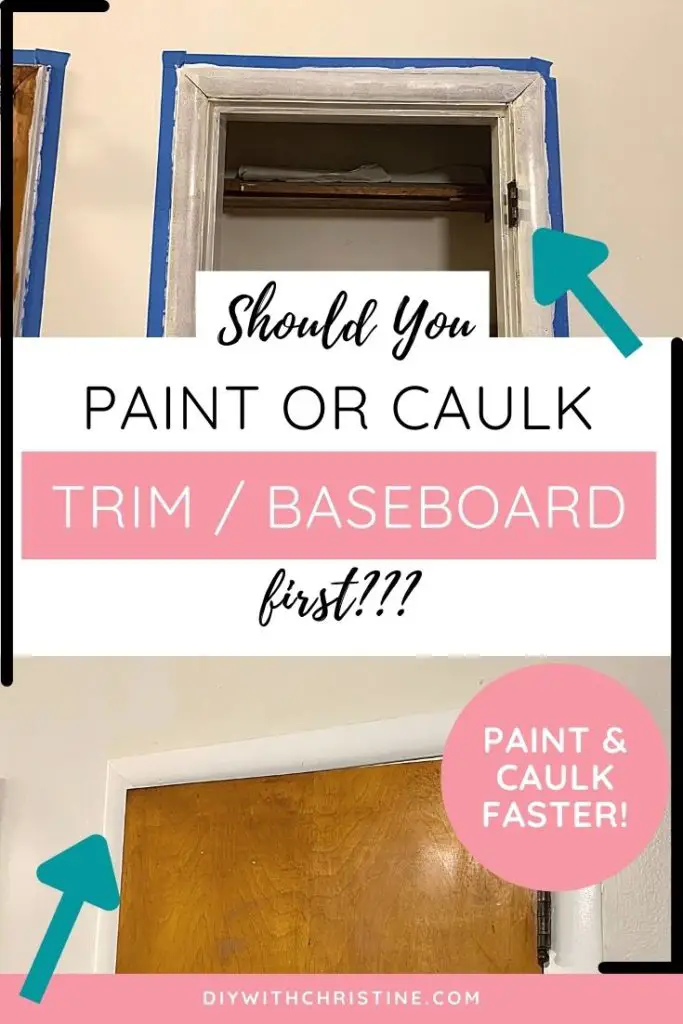
Wondering if you should paint or caulk trim/baseboard first? Well, look no further because I have your answer!
The order of operations for caulking and painting trim and baseboard is:
- Caulk the seams of all trims, baseboard, and moulding to fill the gaps
- Prime all walls and trim/baseboard that will be painted
- Paint the trim and baseboard
- Paint the walls
Now that we’ve got the basics out of the way, let’s break into the details a little further so you can paint & caulk your trim in the correct order and get the job done without any repeated steps.
Let’s dive in!
Quick Navigation: Caulking & Painting Trim Order Of Operations
- Benefits Of Caulking Trim Before Painting
- Caulk All Seams & Gaps In The Trim & Baseboard
- Prime All Walls, Trim, & Baseboard
- Paint All Trim & Baseboard
- Paint The Walls
- Other FAQs About Order Of Painting & Caulking Trim
- Final Thoughts
Benefits Of Caulking Trim Before Painting
There are several benefits to caulking the trim and baseboards before painting.
You can:
- Fill any gaps without worrying about smearing caulk too far up a newly painted wall
- Use painter’s tape without worrying about peeling off fresh paint that hasn’t fully cured
- Prime everything (walls, baseboard, and trim) at the same time
- Easily cut the paint along a freshly dried line of caulk to get a crisp and clean painted edge
While this is not a hard and fast rule, finishing trim and baseboard in this order will prevent you from repeating any steps and allow you to complete the job quickly and efficiently.
There is an exception to this order though. If you don’t have any trim installed yet, then you can paint the walls significantly faster without trim and baseboard installed.
And you can paint the baseboard and trim significantly faster if you paint it prior to installing it on the wall.
Then you can simply run a bead of caulk over any gaps after the trim has been installed and just do some minor touch-up paint in any spots it requires it.
We’ve done it both ways while caulking and painting houses, and these were the two best scenarios we came up with to caulk and paint as fast as possible while still getting the cleanest finish.
For the rest of this article, I’m going to assume your trim and baseboard are already installed on the wall and you are just repainting everything!
One: Caulk All Seams & Gaps In The Trim & Baseboard
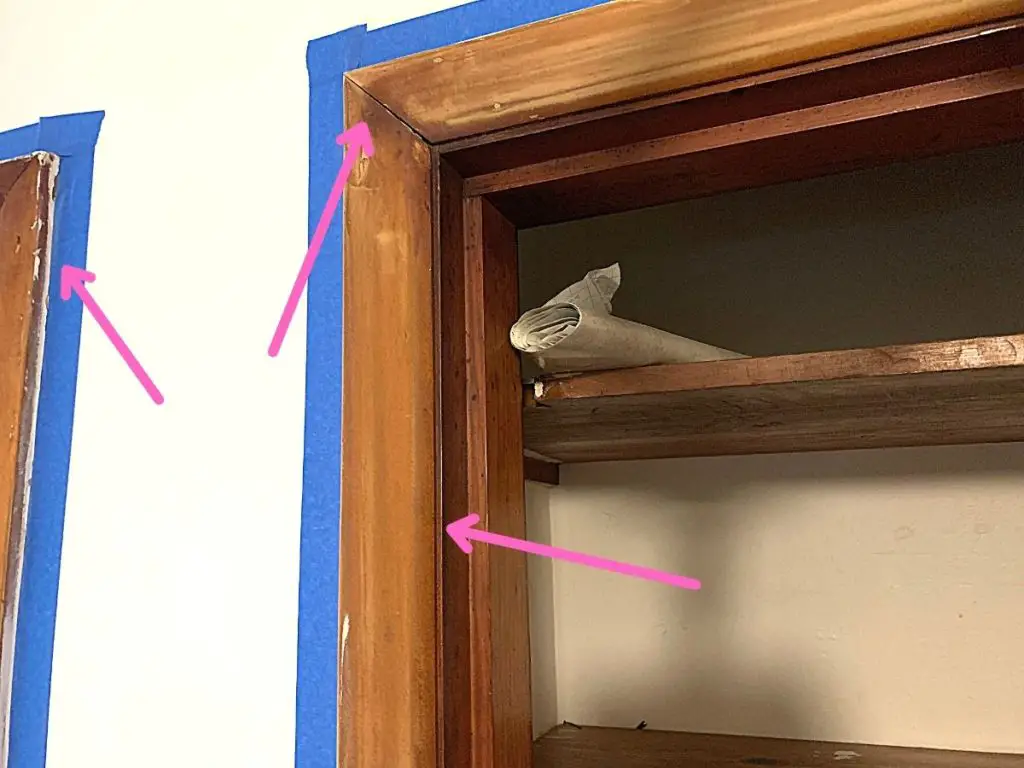
The first order of operations is to caulk the trim.
The biggest benefit of caulking first is that the caulk doesn’t have to be taped off to look perfect.
When you run a bead of caulk along the seam of the wall and baseboard, then run your finger over the bead to smooth it out, some of it will smear up the wall and on the baseboard.
If you’ve already painted, then those are areas you will have to touch up with paint after the caulk has dried.
But if you do this first, then all you need to worry about is getting that caulk looking smooth.
(Also, be sure to use this painter’s caulk found at Amazon. This caulk was made to be painted over. If you use other kinds, you run the risk of the paint just peeling off of the caulk.)
You can skip using painter’s tape to tape off the areas you don’t want the caulk to go because you don’t care. As long as it’s smooth on the wall, the paint will go over it cleanly.
Two: Prime All Walls, Trim, & Baseboard
The next order of operations is to prime everything that is going to be painted.
Another benefit to caulking first is now you can prime everything at once.
If you use this Zinsser all-in-one primer found at Amazon, it will go on both your walls and your trim.
That means you don’t have to worry about cutting the paint along with the trim and baseboard yet.
Just paint the primer over everything to achieve a fresh, smooth base. Then the paint will adhere to the wall and the baseboard/trim easily.
Three: Paint All Trim & Baseboard
The next order of operations is to paint the baseboard and trim.
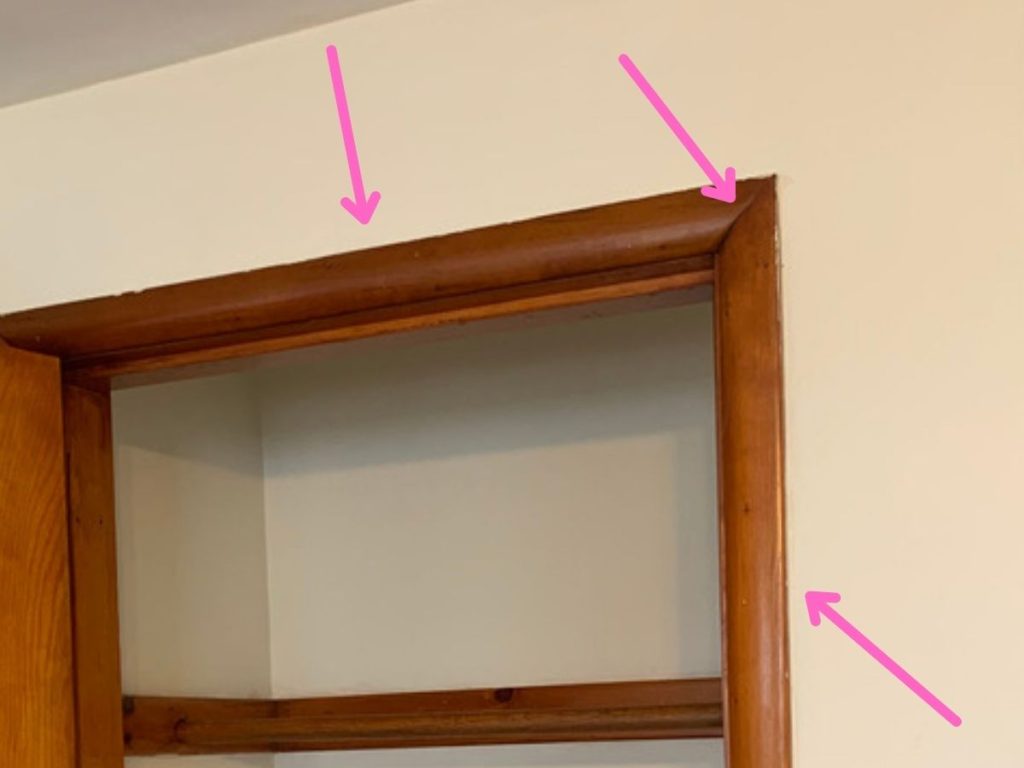
Painting the trim before the wall lets you paint the harder area first.
It’s harder to cut the paint along the top of the trim that sticks off of the wall than it is to cut along the flat wall.
So if you accidentally get the trim paint on the wall, you can easily cover it with the wall paint when you go to paint the wall instead of having to break out the wall paint, then the trim paint, then the wall paint again.
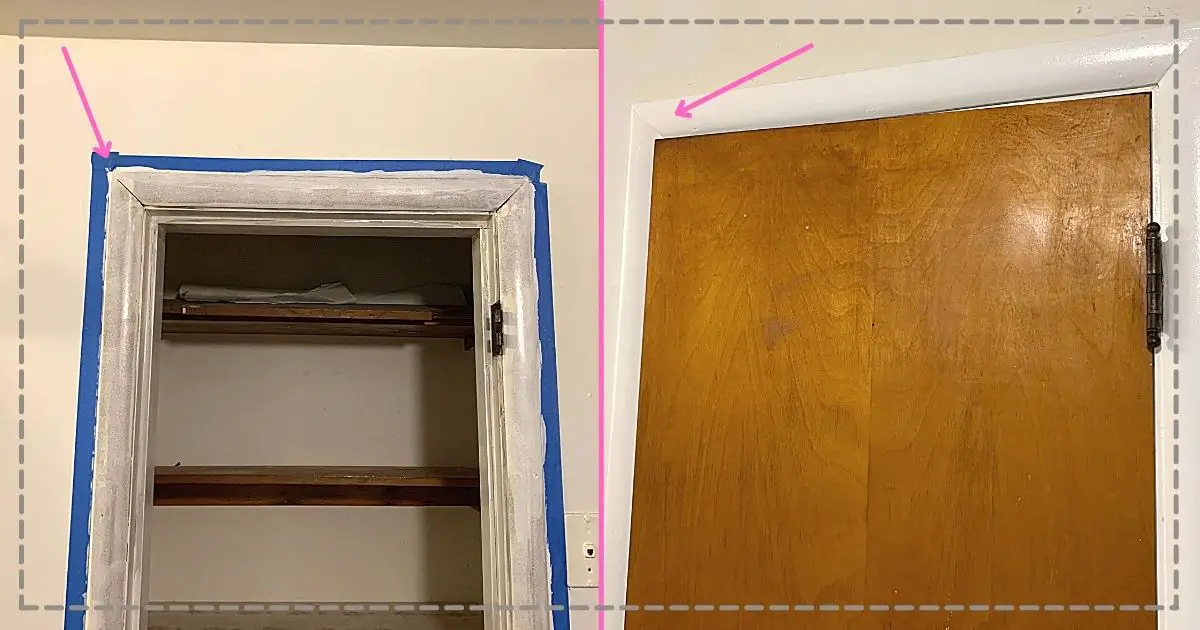
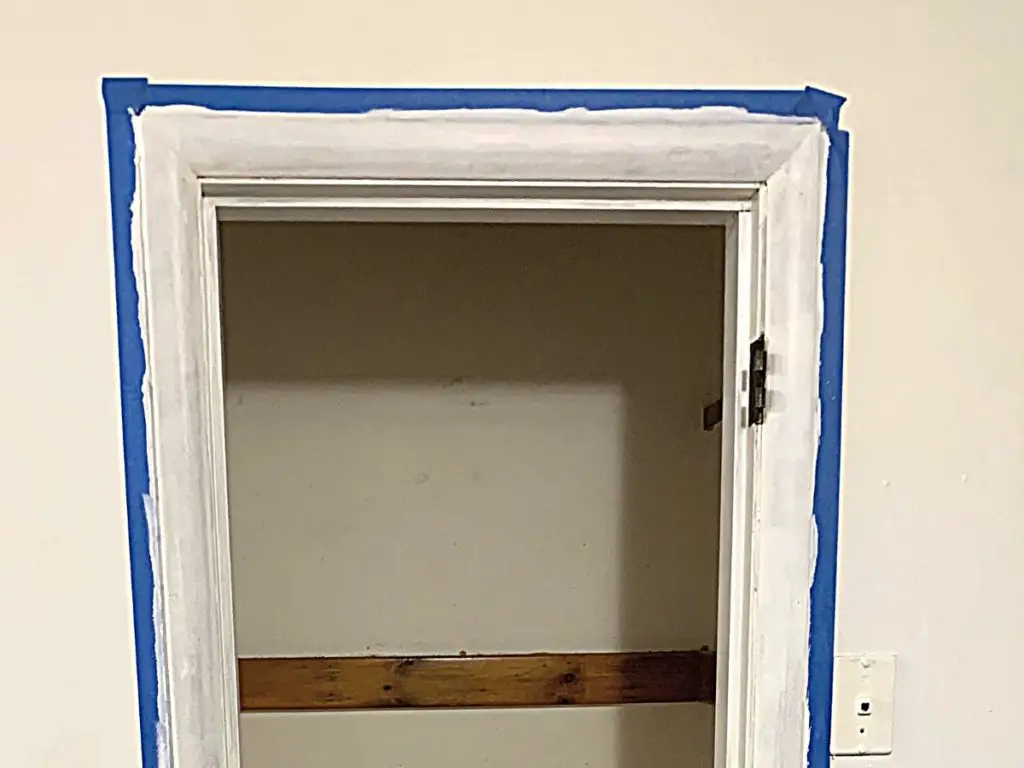
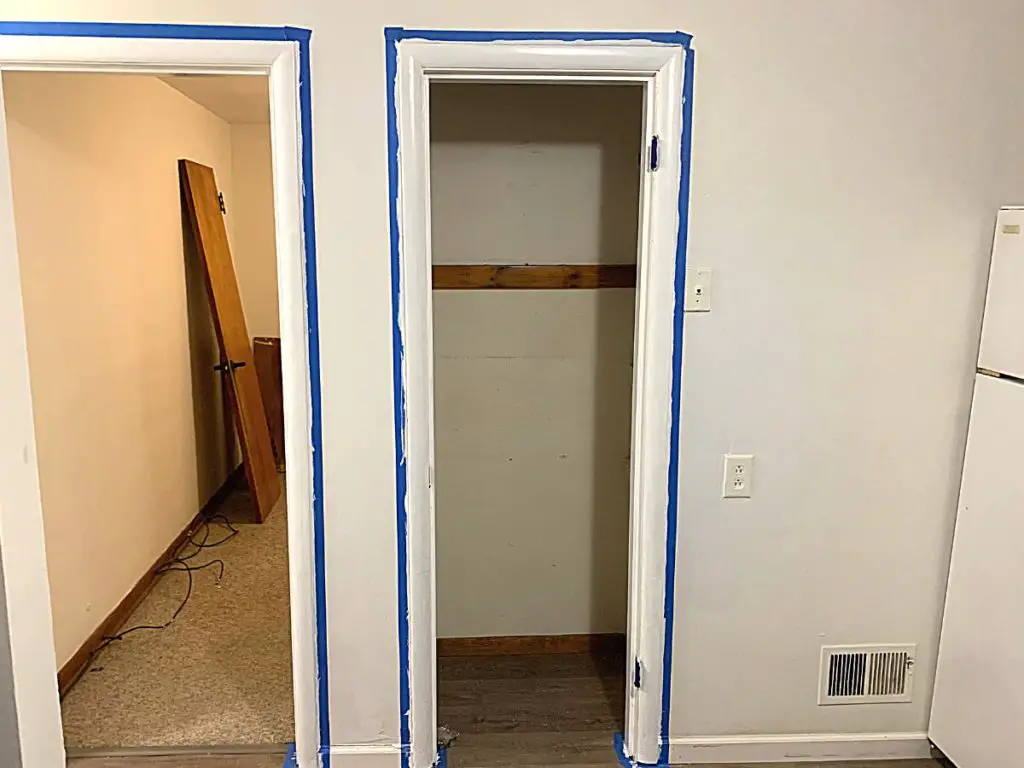
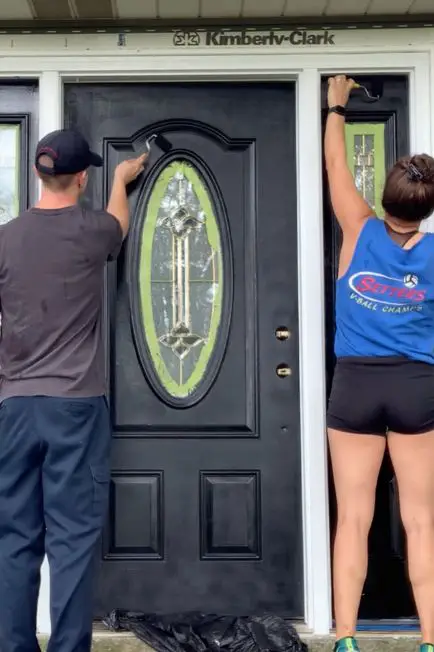
Or you can tape off the wall as we did and you won’t have to worry about peeling off the fresh wall paint because you haven’t painted yet.
The primer should be fine under the painter’s tape. If anything does peel off the wall when removing the painter’s tape, then you can repair it before you paint the walls.
It may seem backward, but it’ll save you tons of painting time!
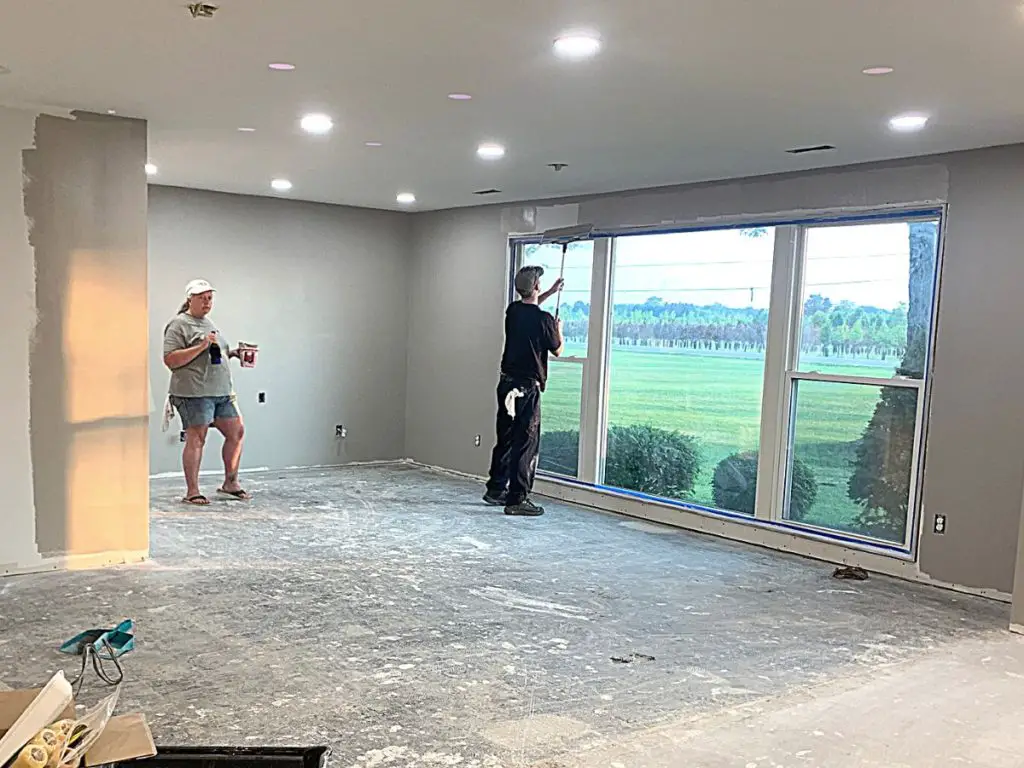
Four: Paint All Walls
The final order of operations is to paint the walls.
Painting the wall last makes it extremely easy to cut along the trim without requiring painter’s tape.
You can easily drag your paintbrush along the recently caulked and painted trim to get a clean and a beautifully straight edge between the wall and trim.
If you cut the wall paint well, then no touch-up paint on the baseboard and trim will be required.
Voila! Your trim and baseboard will be caulked and painted like a true professional painter!
Other FAQs About Order Of Painting & Caulking Trim
Here are some other frequently asked questions about painting and caulking trim and baseboard to help you finish out your home renovation with ease!
Can You Paint Over Caulk?
Caulk can be painted over, although it must be a specific kind of caulk. Choose an acrylic latex caulk that says it is paintable. It is recommended to paint over this caulk to help keep it from yellowing as it ages.
Can You Caulk After Painting?
You can caulk after painting, and if you apply a small bead of caulk, you can wipe the excess away without much smearing onto the new paint. Though, to get a crisp caulk edge, lay painter’s tape over the areas you don’t walk caulk on before running the bead and wiping the excess away.
How Long After Caulking Can You Paint?
Caulk labeled as paintable will dry and can be painted within 30 minutes. If the caulk is not labeled as paintable, then it can take up to 24 hours to fully cure. Read the label for the dry time for the specific caulk that you are using before painting.
Final Thoughts On Order Of Painting & Caulking Trim
There you have it!
To save yourself the most amount of time and avoid repeating steps, caulk your trim and baseboard before painting.
But at the end of the day, tackle your project in the order that works best for you.
Hopefully, this article gives you some insight into the best way to finish your trim and baseboard.
Catch you in my next post!
The Best Paint Supplies I’ve Used
Wooster Shortcut Angle Sash Paintbrush (2-Inch)
This is my all-time favorite paintbrush because it is so lightweight! The short handle takes the pressure off your wrist and creates an extremely comfortable grip, so you can paint longer without feeling the weight on your wrist. I use this paintbrush on 99% of my paint projects. You can find this paintbrush here on Amazon.
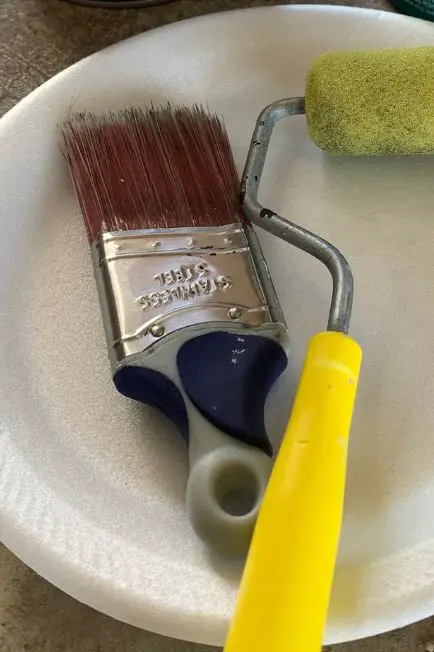
FoamPRO 164 Fine Finish Roller (4-Inch)
If you want the least amount of paint texture left from a roller (such as on metal or furniture), then this is the best roller you can use. The fine finish in the foam leaves the tiniest bit of texture that can easily be sanded between coats to get a finish almost as good as a sprayed finish. You can find this awesome foam roller here on Amazon.
If you’ve been curious about how we are decorating our 1950s Ranch, you should check out our “Shop Our Home” page. You can find products that we’ve personally bought to decorate our home.

By Christine
Christine is a blogger and DIYer who tackles home renovation and decorating projects alongside her husband, Adam, for their personal residence and rental properties. Although she successfully tackles large renovation projects to avoid expensive contractor fees and bring her vision to life now, her path to success was not easy.
Go here to read her story, “From a Clueless First-Time Homebuyer To A Confident DIYer Creating Her Dream Home One Project At A Time“.
Popular Posts


DIY With Christine is a participant in the Amazon Services LLC Associates Program, an affiliate advertising program designed to provide a means for sites to earn advertising fees by advertising and linking to Amazon.com.