*My posts may contain affiliate links, which means I may receive a small commission, at no cost to you, if you make a purchase through a link! Thank you for supporting my website!*
Last updated on February 28th, 2024 at 11:15 am
Wondering if you can paint drywall without mudding and taping first? Well, look no further because I have your answer!
Drywall can be directly painted without mud although it is not the best practice. Mudding and taping drywall before painting seals any gaps between pieces of drywall and creates a smooth, seamless finish. It is recommended to prime before painting because newly mudded drywall absorbs more paint in the first two coats.
Now that we’ve got the basics out of the way, let’s break into the details a little further so you can properly install and paint your new drywall.
Let’s dive in!
Quick Navigation: Is Mudding & Taping Drywall Before Painting Necessary?
- What’s The Point Of Taping & Mudding Drywall Before Painting?
- What Happens If You Don’t Mud & Tape Drywall Before Painting?
- Creative Ways To Hide Drywall Seams Other Than Tape & Mud
- How To Mud Drywall For Beginners
- How To Prepare New Drywall For Paint
- Final Thoughts
What’s The Point Of Taping & Mudding Drywall Before Painting?
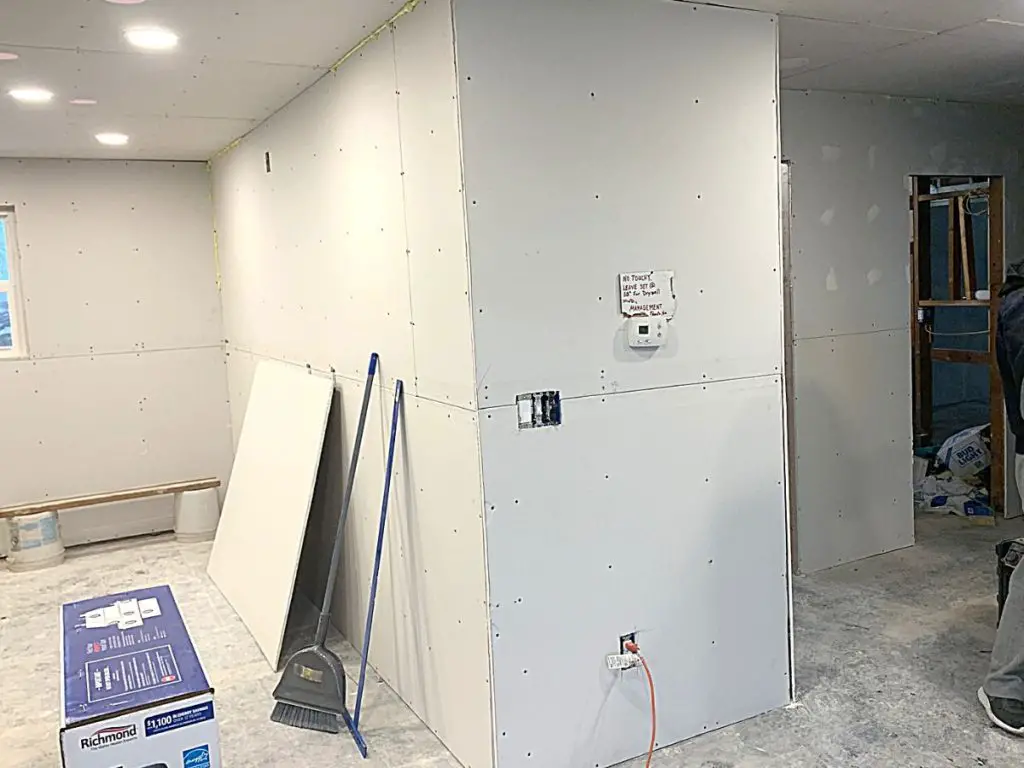
Drywall is an excellent wall covering because it is cheap, easy to cut, and can be hung simply with some drywall screws and a drill.
Simply hanging drywall is not enough to finish the job, however. The drywall does need to be mudded and taped before it can be painted to seal the pieces of drywall together.
The drywall tape is used to cover the gaps in the seams and corners where two pieces of drywall meet. Taping the seams will prevent pests from being able to easily infiltrate your home and gives the mud something to sit on top of over the gaps.
The drywall mud (also known as joint compound) is used under the tape to make it adhere to the drywall and also on top of the tape to create a smooth finish that blends seamlessly into the rest of the drywall.
When the drywall is mudded, taped, and sanded properly, it leaves a smooth and beautiful finish that is easy to paint over.
Painting before mudding and taping will just highlight the gaps and unevenness in the unfinished drywall.
What Happens If You Don’t Mud & Tape Drywall Before Painting?
Several negative scenarios happen when drywall is not mudded and taped before painting.
- Gaps are exposed
- Ugly to look at/appears unfinished
- Not up to code
- Possible moisture damage
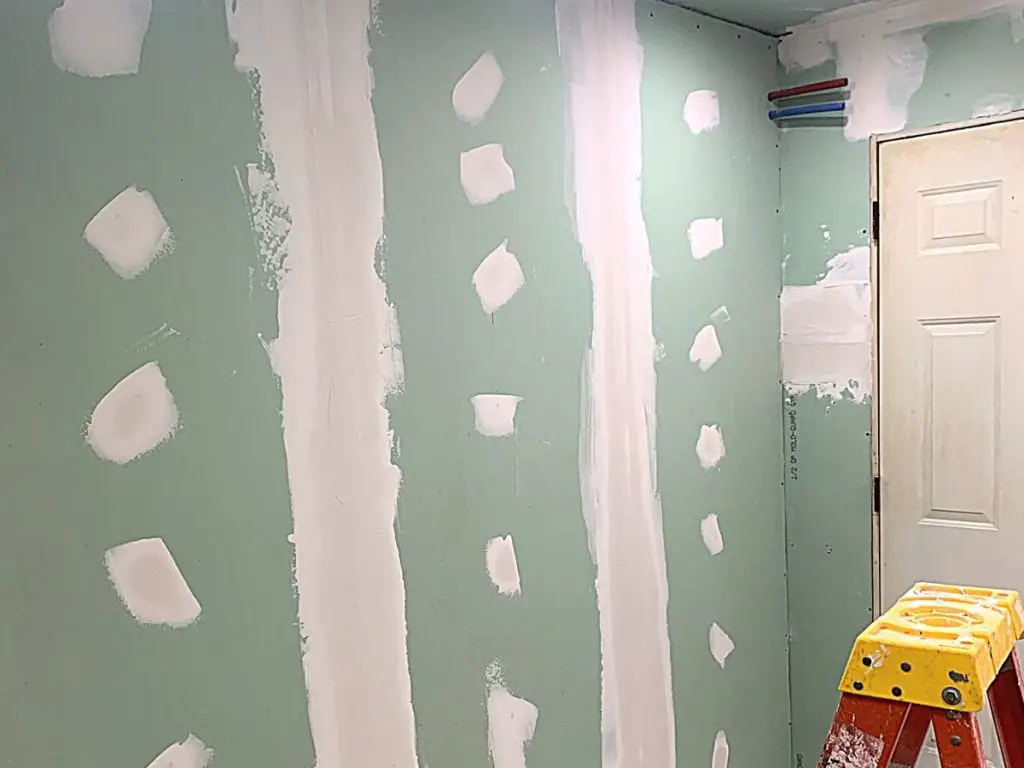
Gaps Are Exposed In Unfinished Drywall
The biggest problem with skipping the tape and mud on drywall is the gaps that are left exposed.
Without tape and mud, every seam where two pieces of drywall meet will be visible and will let pests, insects, and cold drafts into the house.
The best way to seal these gaps is to tape and mud the seams of the drywall before painting.
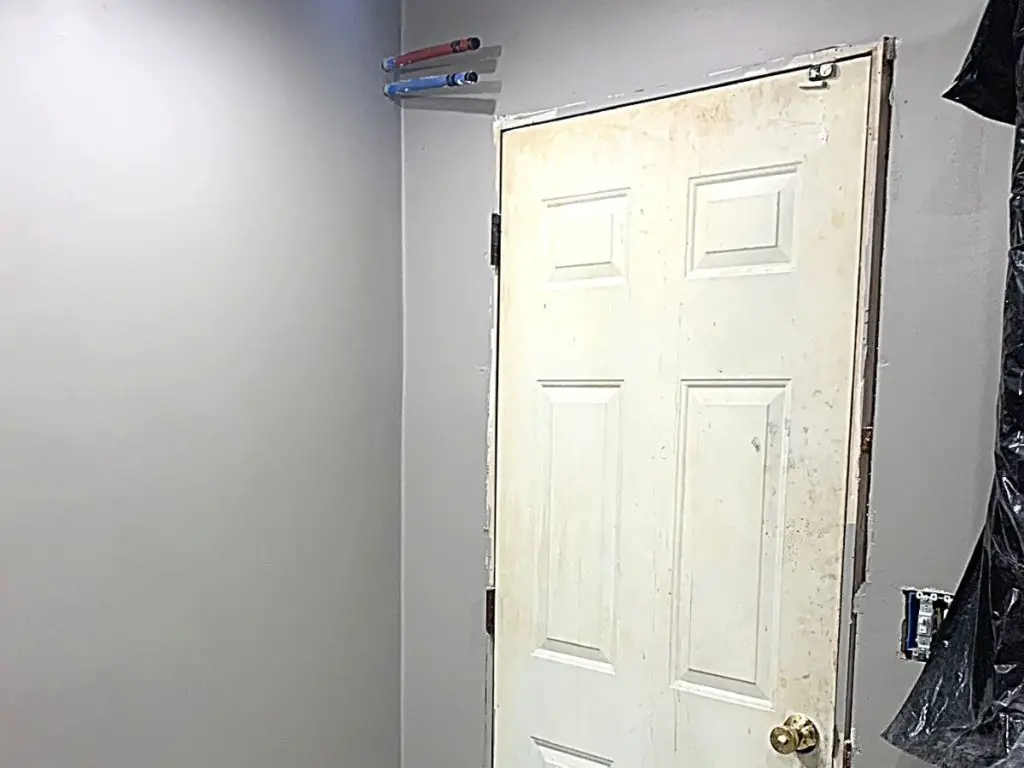
Unfinished Drywall Is Ugly To Look At
Drywall is typically installed to create a smooth, seamless look on the walls of a home.
If the seams are left without tape and mud and they are only painted, then the walls will have obvious flaws that will be unsightly to look at.
The paint will not hide the seams, it will highlight the unevenness in the unfinished drywall.
Unfinished Drywall Is Not Up To Code
According to code, drywall is supposed to be taped and mudded before being painted to seal out pests, insects, and cold drafts.
Leaving the drywall unfinished and just painting it will make it harder to sell your home for top dollar in the future because it will not meet the code requirements.
Unfinished Drywall Is Prone To Moisture Damage
Another problem with leaving the drywall unfinished and just painting it is the potential moisture damage that can occur.
Mudding and taping the drywall before painting seals the cut edges that are prone to soaking up the moisture in the air.
Just painting the drywall won’t be enough to seal these seams because you won’t be able to fully get the paint between the pieces.
The moisture from the air will damage the unfinished drywall over time, and you’ll have to spend a good chunk of money and time to fix the damage that will likely occur.
To avoid the above problems, it is recommended to mud and tape the drywall before painting.
Creative Ways To Hide Drywall Seams Other Than Tape & Mud
With all of that said, there are a few ways you can skip the tape and mud when installing drywall and avoid any of the problems mentioned above.
I do want to point out, though, that most of these creative ways to hide drywall seams other than using tape and mud are typically going to be more expensive than just spending the time to mud, tape, and sand the drywall as you would in a normal drywall installation.
Some creative ways to hide drywall seams other than taping and mudding include:
- Using trim to cover the seams – crown moulding, baseboard, quarter-round in the corners, chair rail, etc.
- Using wall panels to cover the seams
- Using tile to cover the seams
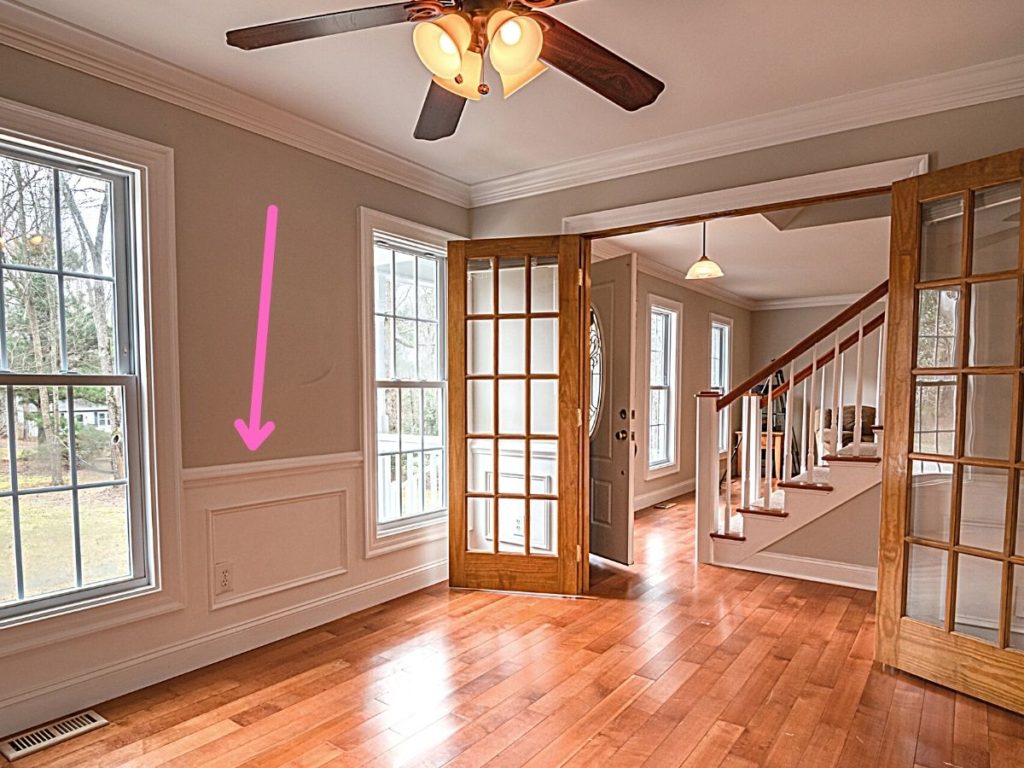
Using Trim To Cover The Drywall Seams
One creative way to hide drywall seams and also add dimension to the wall is to cover the seams with moulding.
You can use:
- Crown moulding to cover the seams between the wall and ceiling
- Baseboard to cover the seams between the wall and the flooring
- Quarter-round, shoe moulding, or cove moulding to cover the seams in the inside corners of the walls
- Corner moulding to cover the seams on the outside corners of the walls
- Chair rail to cover seams that run horizontally on the wall
- Mullion trim or lattice trim to cover seams that run vertically or horizontally on the wall
(I have a full article that explains each of these types of trim, when it’s best to use each type, and shows pictures to help you decide if this idea is right for you. Check out that article here.)
Trim is relatively cheap and easy to install yourself. As long as you caulk between the trim and the wall before painting, the seams of the drywall will be hidden and sealed from the pests and cold drafts we discussed above.
Trim typically is more expensive than drywall tape and joint compound, but it can be installed more quickly.
The real problem with this drywall seam-covering idea is that it can look odd/tacky if your drywall seams are inconsistent or all over the walls.
This idea would be better in scenarios when there are few seams and they are mostly spread evenly across the wall to look intentional.
Using Wall Panels To Cover The Drywall Seams
Another creative way to hide drywall seams is to cover the seams with wall paneling.
Wall paneling is thin, easily covers large sections of a wall, and is installed easily with glue.
In addition to covering up and sealing the drywall seams, wall panels also are an easy and relatively inexpensive way to add patterns and dimensions to the wall.
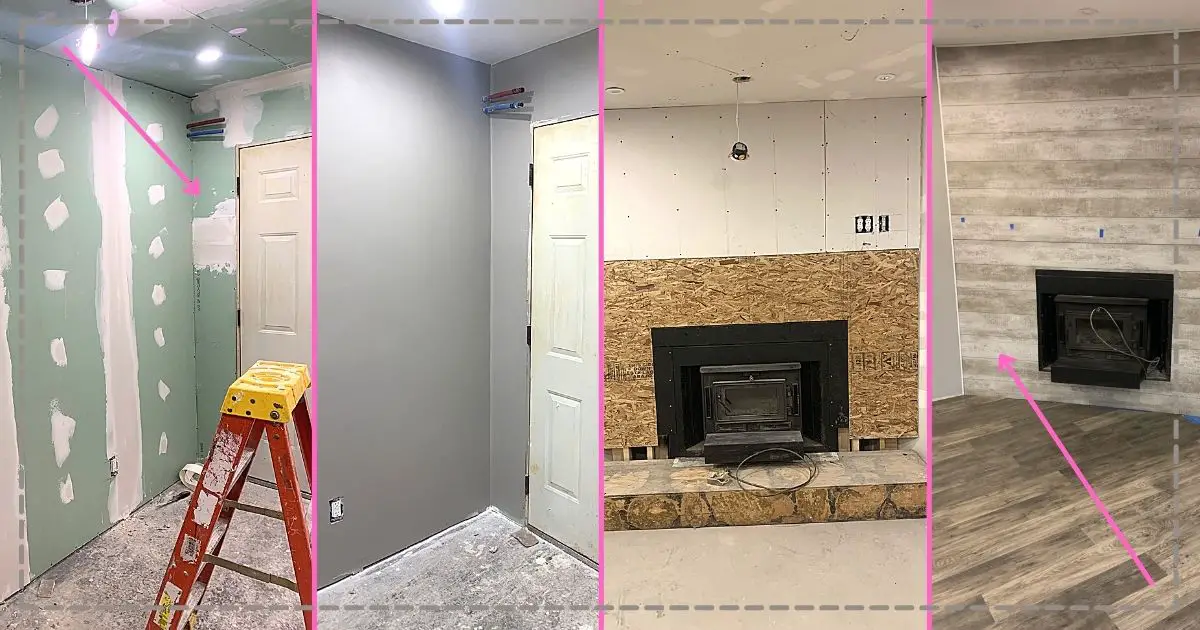
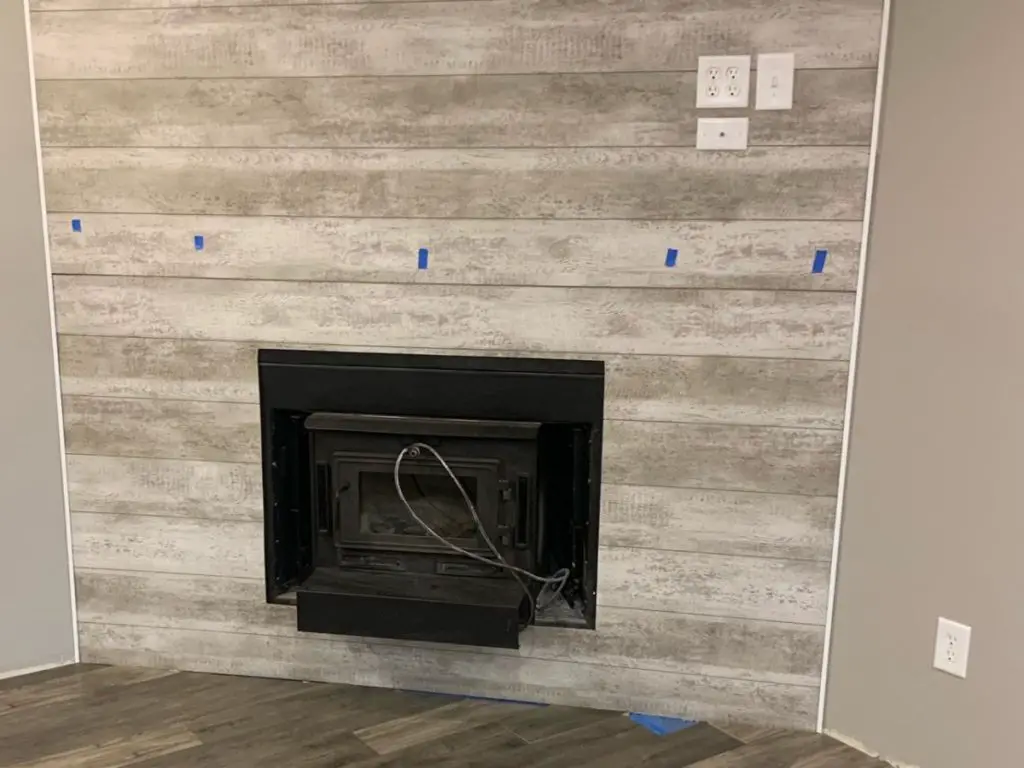
We installed a faux shiplap wall panel over the drywall on our fireplace, and we couldn’t be happier with how it turned out.
The drywall underneath was only roughly finished to seal the seams before the paneling was glued in place.
Installing the paneling took a fraction of the time that mudding, taping, and sanding several coats of the joint compound would have taken AND it created a beautiful focal point in our living room.
Using Tile To Cover The Drywall Seams
The final creative way to hide drywall seams is to cover the seams with tile.
You can cover the gaps with ceramic/stone tile or with vinyl wall tile such as Palisade wall tiles found at Amazon.
Tile is another way to cover the unfinished drywall and add dimension to the wall.
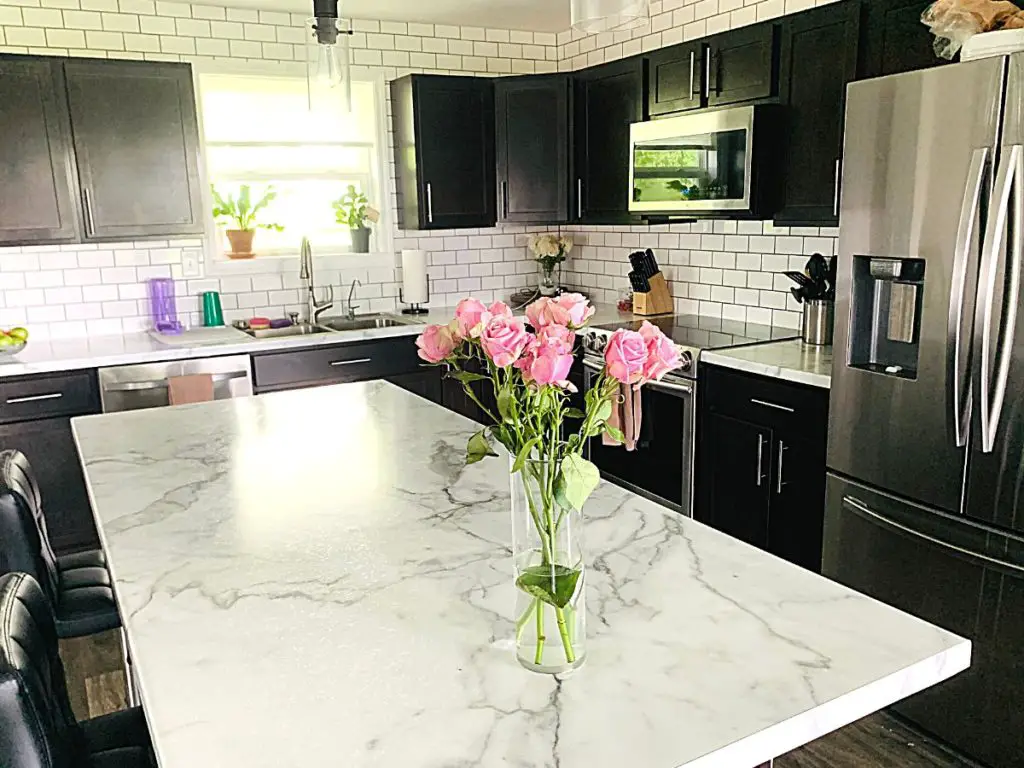
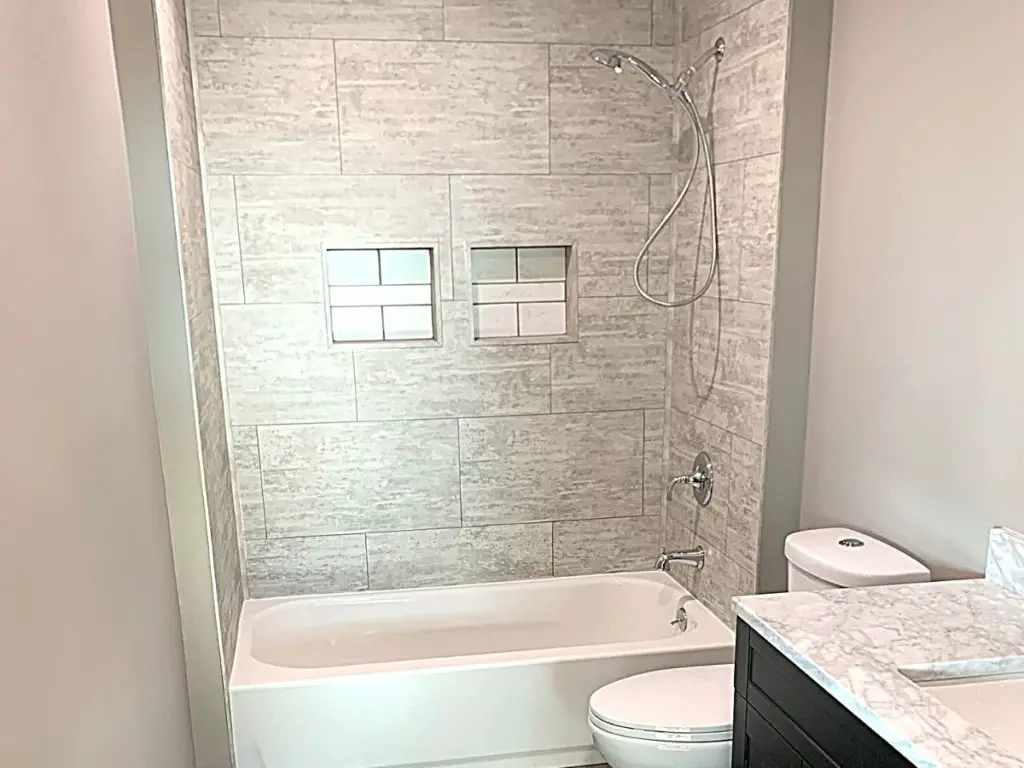
We’ve used both types of tile – ceramic tile on the drywall in our kitchen and Palisade wall tiles on the walls in our shower.
Using ceramic tile to cover the drywall seams is a much more expensive and time-consuming way to accomplish this task. I wouldn’t recommend this idea if you are looking for a shortcut to installing drywall.
But if you are looking for an accent wall or to create a backsplash in your kitchen, then I recommend finishing your drywall using this idea. I have a full tutorial on how to install subway tile in your kitchen.
Palisade wall tiles, however, can be a fantastic option to cover a small section of drywall (again, such as a backsplash or as a shower tile) because it is installed just like the wall panels.
They are glued and “click-locked” together to create a tile appearance without the hassle of mortar and grout. (Not to mention it’s 100% waterproof which makes it awesome for bathrooms and kitchens.)
This option is still more expensive than simply finishing the drywall and painting it, but it is a simple and beautiful alternative to covering up drywall seams.
How To Mud Drywall For Beginners
This video does an excellent job of explaining how to mud drywall for beginners.

How To Prepare New Drywall For Paint
Now that you understand the importance of mudding and taping new drywall before painting, let’s talk about how to prepare the newly finished drywall for paint.
The sanding is the hardest part of drywall, but once that part is complete, preparing the new drywall for paint is rather simple.
Check out my tutorial on how to prepare new drywall for paint here.
Final Thoughts On Mudding & Taping Drywall Before Painting
There you have it!
Mudding and taping drywall before painting can be a little tedious and time-consuming, but it is all part of the process.
Take the time now to seal the wall properly and your time painting will be much easier.
Hopefully, this article better helped you understand the importance of mudding and taping drywall before painting.
Catch you in my next post!

By Christine
Christine is a blogger and DIYer who tackles home renovation and decorating projects alongside her husband, Adam, for their personal residence and rental properties. Although she successfully tackles large renovation projects to avoid expensive contractor fees and bring her vision to life now, her path to success was not easy.
Go here to read her story, “From a Clueless First-Time Homebuyer To A Confident DIYer Creating Her Dream Home One Project At A Time“.
Popular Posts


DIY With Christine is a participant in the Amazon Services LLC Associates Program, an affiliate advertising program designed to provide a means for sites to earn advertising fees by advertising and linking to Amazon.com.