*My posts may contain affiliate links, which means I may receive a small commission, at no cost to you, if you make a purchase through a link! Thank you for supporting my website!*
Last updated on February 28th, 2024 at 11:18 am
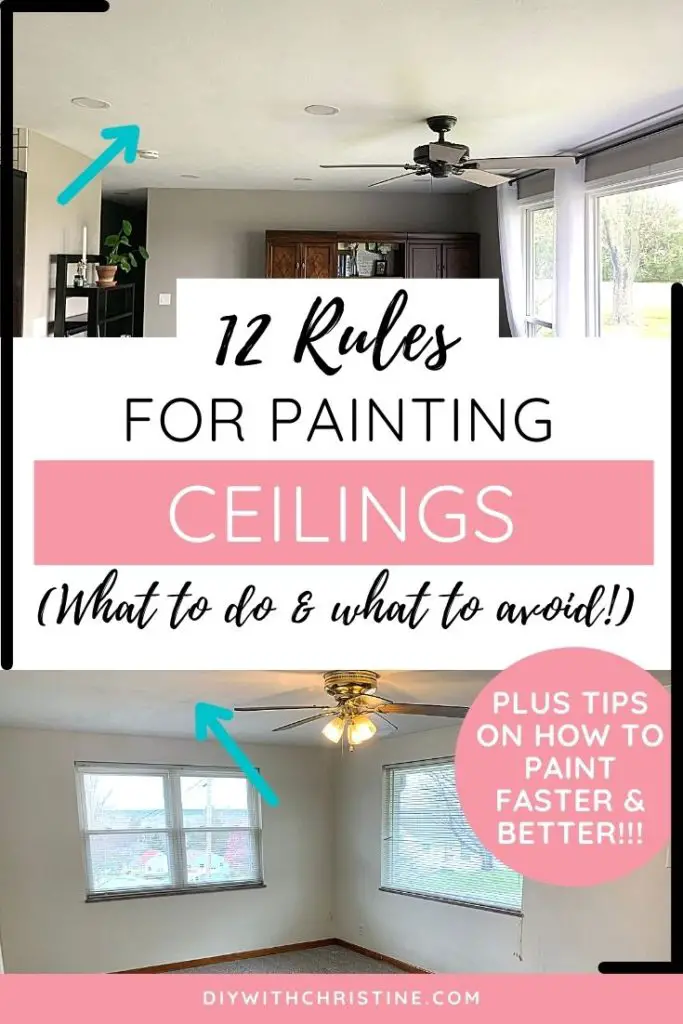
Wondering if you need to know anything specific before painting a ceiling? Well, look no further because I have your answer!
Some rules of thumb to follow when painting a ceiling include using flat, bright white paint, removing cobwebs and light fixtures, tarping the ground, painting near windows first, rolling parallel to the windows, and using an 18-inch roller to paint faster.
There are a few more rules that you’ll want to know about before picking up the paintbrush that I’ll cover below.
Now that we’ve got the basics out of the way, let’s break into the details a little further so you can fully understand what you need to do to get the best paint finish on your ceiling.
Let’s dive in!
Quick Navigation: Where To Start When Painting A Ceiling
- Use A Flat Paint Sheen
- Use A Bright White Paint
- Tarp Everything Before Painting
- Remove Light Fixtures Before Painting
- Remove Any Dust Or Cobwebs Before Painting
- Paint The Ceiling Before The Walls
- Cut The Edges With A Brush First
- Use An 18-inch Roller For Faster Painting
- Avoid Globbing Paint On The Roller
- Start Rolling By Painting Near The Window/Largest Light Source
- Roll Parallel To The Largest Light Source
- Paint At Least 2 Coats
- Other FAQs About Painting Ceilings
- Final Thoughts
| Level Of Difficulty | Time To Complete |
|---|---|
| Medium | 2-4 Hours |
| Material List | Tool List |
|---|---|
| Flat, Bright White Ceiling Paint | 18-Inch Paint Roller Frame |
| Drop cloth | 18-Inch Paint Roller Cover |
| Painter’s Tape | 18-Inch Paint Tray |
| Stir Stick | 18-Inch Paint Tray Liner |
| Broom | Paint Roller Extension Pole |
| (Possibly) Ladder | Paintbrush |
| Paint Multitool | |
| Screwdriver |
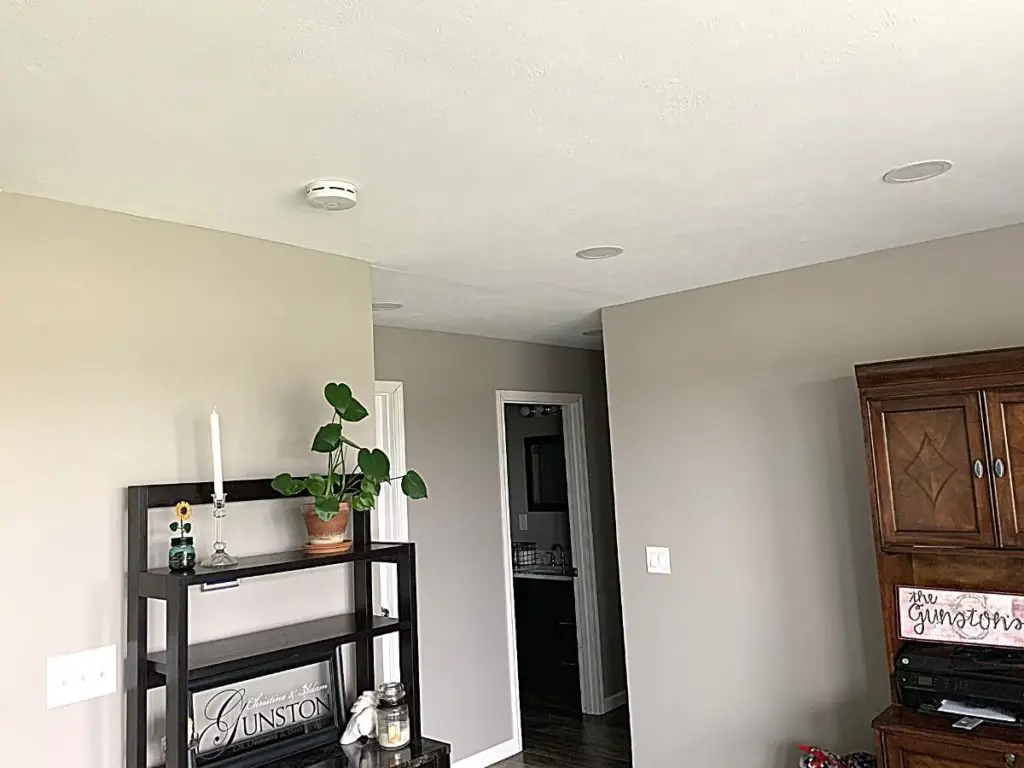
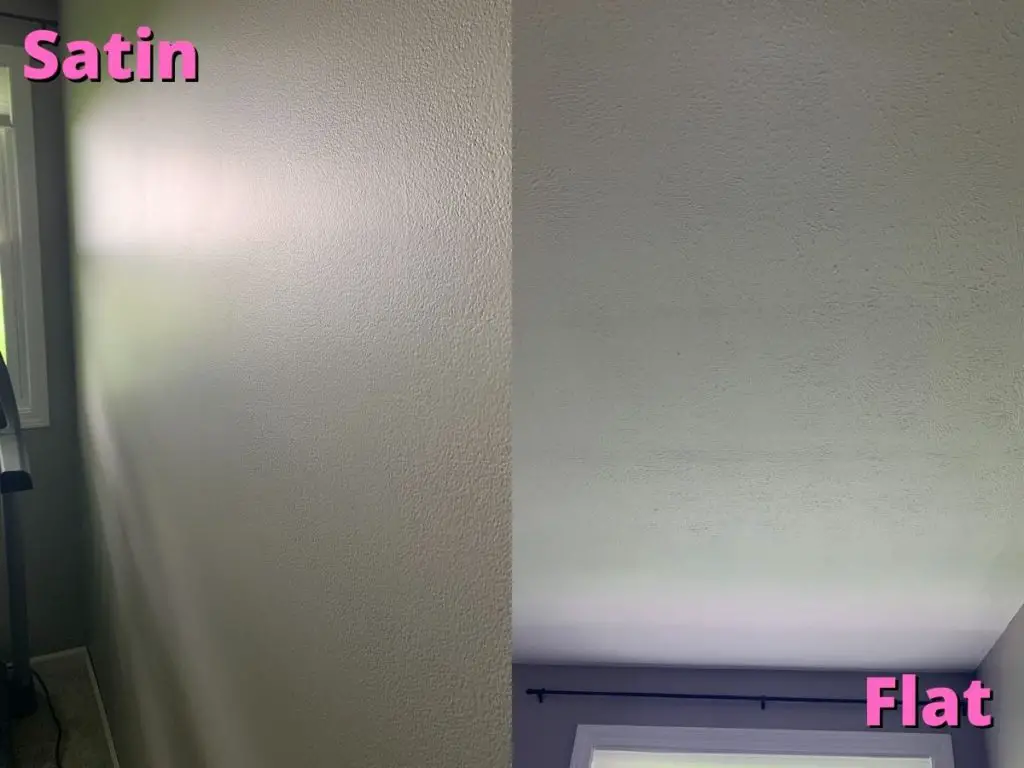
Rule One: Use A Flat Paint Sheen
The first rule for painting ceilings is to choose paint that is in a flat sheen.
DO: Use A Flat Finish On The Ceiling To Hide Imperfections
Ceilings benefit greatly from a flat paint sheen because:
- Flat paint hides flaws and imperfections the best
- The ceiling is not touched regularly so it doesn’t need the slick surface of a satin or semi-gloss paint to make it easier to clean
As your house settles over time, hairline cracks will inevitably show up on your ceiling. What makes those tiny cracks stand out more prominently on your ceiling is a shiny surface.
Without the shine in flat paint, the cracks will not be highlighted. Instead, they will blend in better with the rest of the surroundings just like you want a ceiling to do.
For help choosing the best white ceiling paint (broken down by brand), check out my article here.
DON’T: Use An Eggshell, Satin, Semi-Gloss, Or Gloss Finish On The Ceiling
The biggest mistake you can make on this rule of thumb is choosing a paint finish that is as shiny as satin, semi-gloss, or (the worst) gloss.
When the light reflects on these shiny paint sheens, any imperfections are basically put in a spotlight.
For painted pieces of wood or metal that don’t have many flaws that you need to hide, these sheens work great to make them stand out.
However, ceilings (and drywall in general) do have these small imperfections that are impossible to get rid of (just the nature of drywall or plaster) so these paint sheens make your paint job turn out poorly.
If choosing paint sheens seems confusing, no worries. I have a full guide on when to use each paint sheen for different items around your house. Check out that article here.
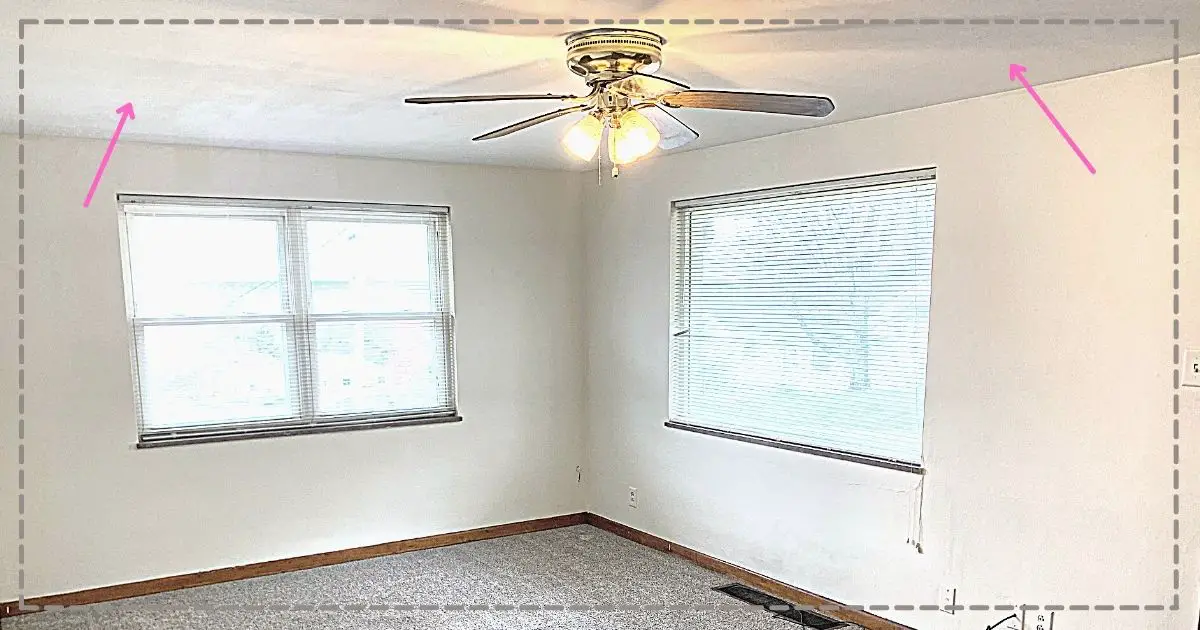
Rule Two: Use A Bright White Paint
The next rule for painting ceilings is to use bright white paint.
DO: Use Bright White Paint On The Ceiling
White paint is excellent for ceilings because it:
- Makes the room appear taller and brighter
- Let’s the ceiling blend into the background (you want other things to be the focal point)
- Goes well with any color you decide to paint your walls
This is definitely a general rule of thumb, and there are always scenarios when choosing a different color might be more beneficial for your room.
For more details on the pros and cons of painting the ceiling the same color as the walls to help you decide what ceiling paint color is best for your room, check out my article here.

DON’T: Use Any Color Other Than White On The Ceiling
If the ceiling is painted another color (not including another shade of white/off-white), you run the risk of the room appearing small and dark.
Of course, if that’s the vibe you’re going for (such as an in-home movie room) then skip this ceiling paint rule!
But for 99% of homes, making a room feel small and dark will really detract from the room.
Save yourself the time and effort and choose a flat, bright white ceiling paint.
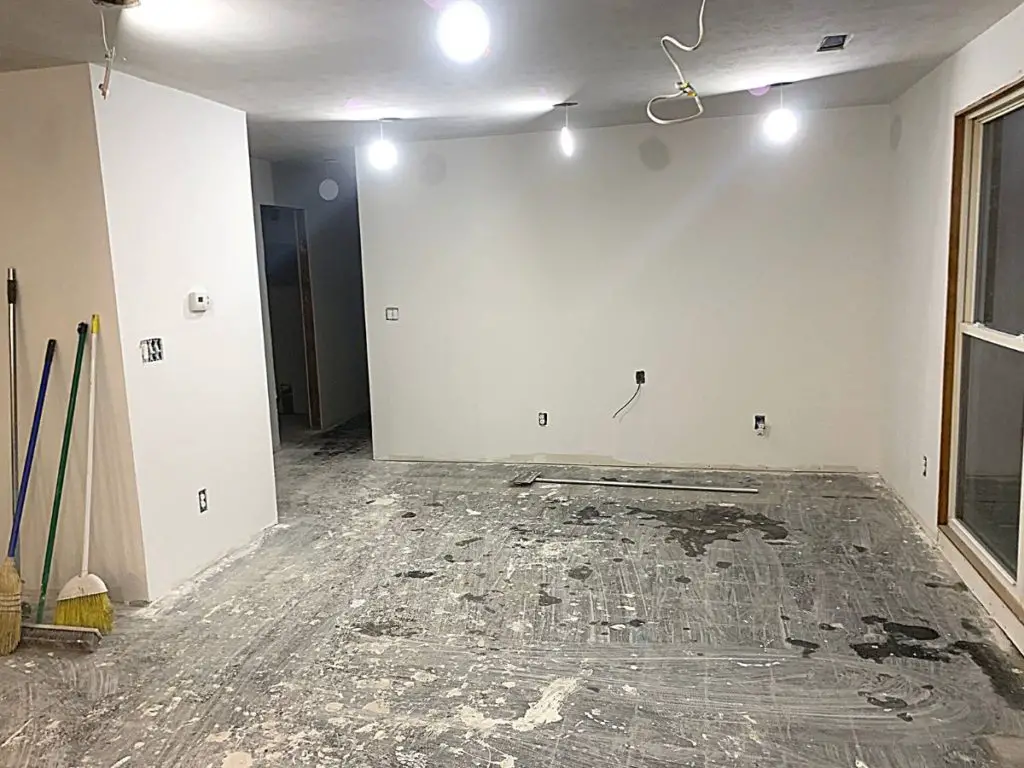
Rule Three: Tarp Everything Before Painting
The next rule for painting ceilings is to tarp cabinets, doors, floors, furniture, etc. before painting.
DO: Tarp Everything & Wear Old Clothes When Painting The Ceiling
If you are painting in new construction or a bare room, then you can skip this ceiling painting rule.
For you, there isn’t much for the ceiling paint to get on other than the bare subfloor and your clothes, so there’s not much to tarp off.
(I recommend wearing old clothes that you don’t mind being ruined by paint because it always finds its way onto clothes.)
However, if your room has carpet or is fully furnished, then covering everything with a tarp will save you loads of time cleaning little paint droplets off of everything.
Plus, it will let you paint faster because it won’t matter if some paint accidentally drips from the ceiling. Your whole room will be covered, so you can just keep painting instead of stopping to clean off whatever got paint on it.
DON’T: Leave Anything Uncovered That You Don’t Want To Get Paint On When Painting The Ceiling
As we just discussed, ceiling paint gets everywhere. Period.
When you are painting the ceiling, gravity is working against you. Every fleck or drop of paint is going to fall, and if there is something valuable on the ground to fall on, it will find it.
It always does.
Also, by the time you are done painting the ceiling, your hair, face, arms, and clothes will also have little speckles of paint all over them.
No matter how carefully you think you’re painting, this is just what happens as you’re rolling paint above your head.
So take a few extra minutes to cover everything fully and wear old clothes to paint in.
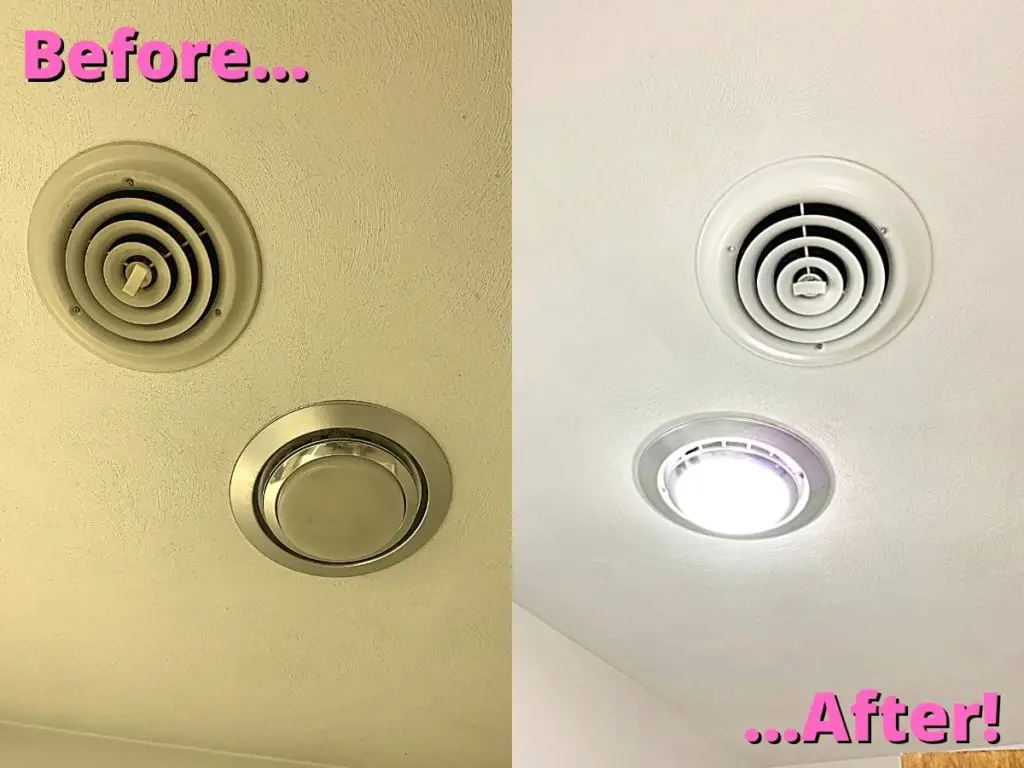
Rule Four: Remove Light Fixtures Before Painting
The next rule for painting ceilings is to remove or tape off all light fixtures.
DO: Remove The Light Fixtures Before Painting The Ceiling
Most light fixtures are secured to a box in the ceiling by some screws.
If you can remove the light fixtures fully, or if they’re light enough, at least let them dangle down while you paint the ceiling, you will be able to paint so much faster.
Without the lights in the way, you’ll be able to paint all the way up to the electrical box and avoid any annoying clean-up later because you got paint on the lights.
DON’T: Attempt To Paint Around The Light Fixtures (Without Taping At Least)
Sometimes removing the light fixtures just isn’t feasible (especially if you have never done any electrical work like this before).
In that case, don’t just paint around the lights and hope for the best.
Use painter’s tape such as this delicate painter’s tape found at Amazon to cleanly tape off the base before painting so that when you do break out the paint, you can paint without having to pause or be too careful.
I always hate taking the time to tape before painting, but I always am so much happier while I’m painting if I take that tiny step first.
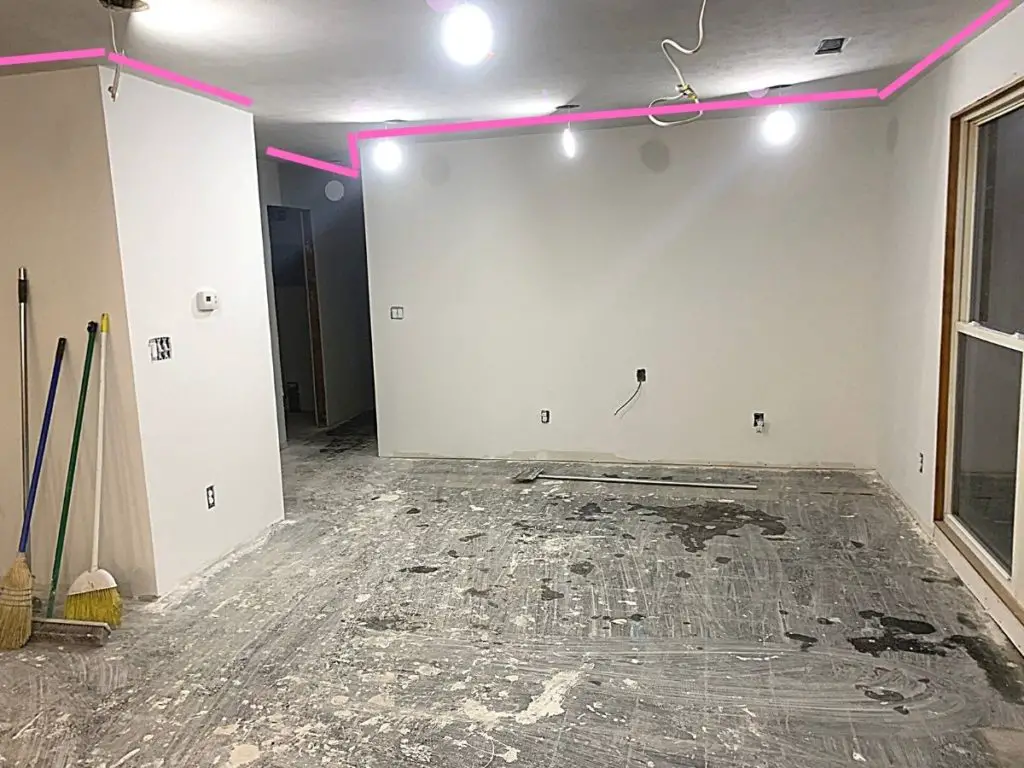
Rule Five: Remove Any Dust Or Cobwebs Before Painting
The next rule for painting ceilings is to remove dust and cobwebs with a broom before painting.
DO: Remove Dust & Cobwebs Before Painting The Ceiling
If your house hasn’t been deep cleaned in a while and there are cobwebs in the ceilings, then you need to knock those down before painting.
To do this, simply take a broom and run it along the edge of the ceiling where it meets the walls and in all of the corners.
DON’T: Paint Over Any Dirt While Painting The Ceiling
The cobwebs must be removed before painting the ceiling so that the paint can adhere properly to the wall.
If dust or cobwebs get underneath the paint, it will leave little clumps in the paint. And if the clumps are bad enough, the paint can peel off of the ceiling over time.
So do a quick wipe down before painting, and this will not be a problem for you.
Rule Six: Paint The Ceiling Before The Walls
The next rule for painting ceilings is to paint the ceilings before the walls.
DO: Paint The Ceiling First
As we discussed previously, gravity makes the ceiling paint speckle down as you roll it onto the ceiling.
This means little flecks of paint will probably end up on the walls as you are painting.
This is no big deal if you paint the ceiling first. The walls will be painted afterward and will easily cover up those little flecks.
DON’T: Paint The Walls Before The Ceiling
If you paint the walls before the ceiling, though, then you will likely have to do some touch-up paint on the walls to cover up the little flecks of ceiling paint.
It is also easier to cut the walls along the ceiling with a brush (so you don’t have to tape) than it is to cut the ceiling along the walls with a brush.
So, it will save you time by painting the ceiling before the walls.
Rule Seven: Cut The Edges With A Brush First
The next rule for painting ceilings is to cut the edges of the ceiling with a brush before rolling.
DO: Paint The Edges & Corners Of The Ceiling With A Brush First
The easiest and fastest way to start painting the ceiling is to paint the edges along the walls with a paintbrush.
I personally love this short-handled paintbrush found at Amazon for all paint projects because it is so easy to use, lightweight, and doesn’t put too much pressure on my wrist, so I can paint for longer.
Since you’re probably painting your ceiling a flat white as I recommended, it doesn’t matter too much if you get paint on the walls (as long as you are painting the walls second as I also recommended).
That paint will be easily covered by your wall painter later.
So take your paintbrush and get paint in all of the edges and corners, so you can easily roll without worrying about the edge of the roller bumping into the walls.
DON’T: Roll Paint In The Edges & Corners Of The Ceiling
If you try to roll paint into the edges and corners, you will bump the roller against the wall and leave an unwanted texture on the wall.
That texture will be very obvious through your wall paint, even if you roll over it with the wall paint later.
Plus, rolling out the brush marks from the paintbrush will make the entire ceiling appear evenly painted.
So use a paintbrush on the edges of the ceiling, then use a roller for the rest of the ceiling for the best paint finish.
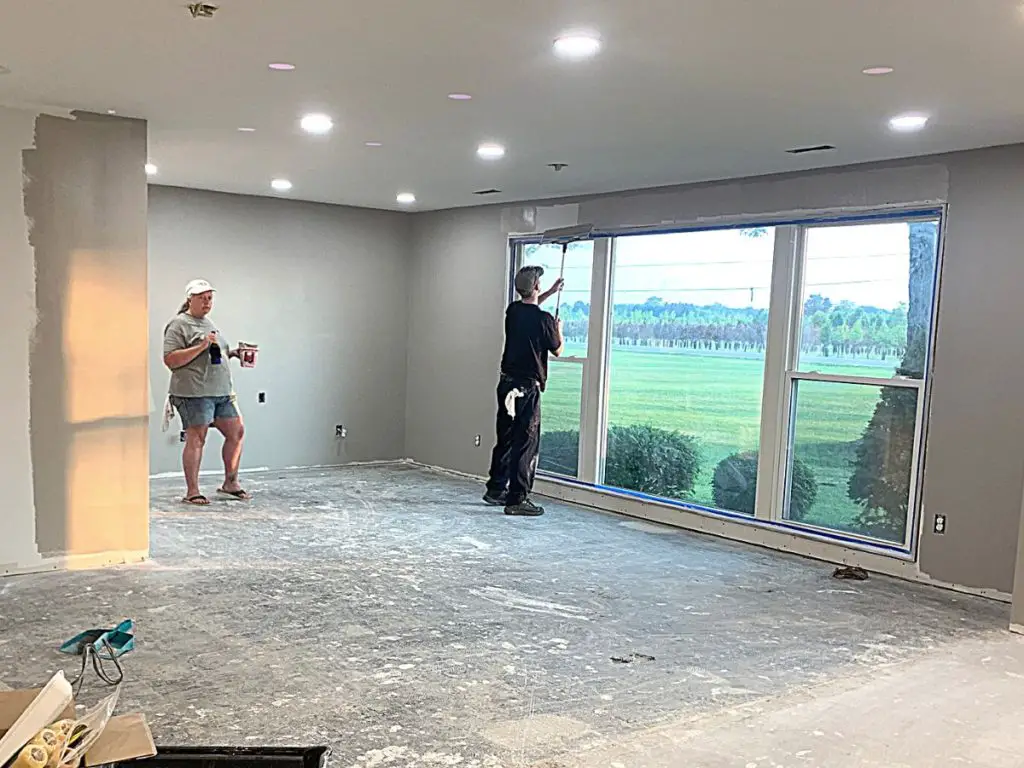
Rule Eight: Use An 18-inch Roller For Faster Painting
The next rule for painting ceilings is to use a large paint roller with an extension pole.
DO: Use A Large Roller With A Pole To Paint The Ceiling
To paint the ceiling as quickly as possible, get the largest roller you can find and attach an extension pole to it.
Then easily walk around on the ground and paint with the extended roller.
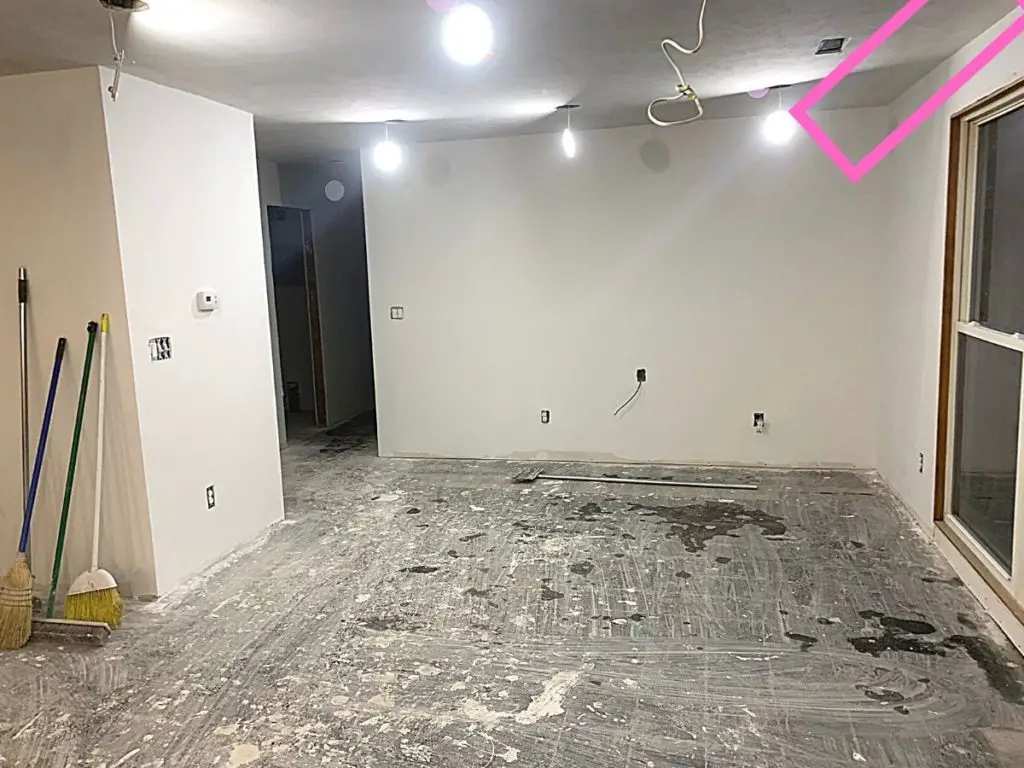
When we renovated our house, we had all new drywall installed in our 1,500-square-foot house. That meant we had a TON of ceiling to paint.
So we invested in an 18-inch roller frame, 18-inch roller cover, 18-inch paint tray, 18-inch paint tray liner, and an extension handle found at Lowe’s to make this job go by quicker.
I could not believe how much faster the painting went! We also used it on all of the walls throughout the entire house.
By the time my mother-in-law and I both could cut along the ceiling with a paintbrush, my husband had the rest of the room rolled with paint.
If you have a ton of ceiling painting to do, then I recommend bumping up the roller size.
DON’T: Stand On A Ladder With A Short-Handled Roller To Paint The Ceiling
What I don’t recommend you do is stand on a ladder and roll with just a short-handled roller to paint the ceiling.
If your ceilings can be reached with an extension pole, then you will be able to paint so much faster than having to constantly climb up and down a ladder to shift it over and paint the next section.
On the other hand, if your ceilings are so high, you still need a ladder, I still recommend an extension pole because you will be able to reach farther before having to get down and move the ladder.
Plus, the extension pole will let you work with your hands lower to the ground (as opposed to over your head the entire time), so painting won’t be as hard on your body this way.
That means you can paint faster and longer. Win-win!
Rule Nine: Avoid Globbing Paint On The Roller
The next rule for painting ceilings is to put a modest amount, but not too much, paint on the roller.
DO: Get Enough Paint On The Roller To Paint The Ceiling For A Minute
Since you will be painting over your head, you want to get enough paint on your roller to be able to paint for about a minute at a time before needing to reload on paint.
However, you don’t want too much paint or you will drip it everywhere.
Run the roller through the paint and wring out the excess on the edge of the paint tray before lifting the roller over your head.
You want nothing to be dripping off of the roller as you are lifting it from the tray.
DON’T: Glob Paint On The Roller To Paint The Ceiling
Getting the optimal amount of paint on the roller might take some trial and error at first.
When in doubt, put less paint on the roller, so you don’t make a mess while painting.
As you work, you will figure out what is the best amount of paint to be able to paint a large section without reloading AND not dripping paint everywhere.
Rule Ten: Start Rolling By Painting Near The Window/Largest Light Source
The next rule for painting ceilings is to start painting near the largest light source.
DO: Start Painting The Ceiling Near The Largest Light Source
Ceilings are kind of hard to paint because they are often white being painted over with white paint, have a ton of light reflecting off of them, and are normally textured, so it’s hard to get paint coated on them evenly.
Because of this, we tend to miss spots while we are painting.
To avoid missing spots, start by painting near the light and working away from it.
You won’t have a glare over your painted area, so you will be able to see where you’ve painted and where you haven’t more easily.
DON’T: Paint Toward The Light While Painting The Ceiling
The mistake to avoid here is painting the ceiling toward the light.
The reflection from the window will make it hard to see where you’ve painted and where you haven’t, and ultimately, you will miss spots that you won’t notice until after all of your paint is put away and cleaned up.
Talk about a bummer.
So give yourself an advantage by starting near the light and working the paint away from it.
Rule Eleven: Roll Parallel To The Largest Light Source
The next rule for painting ceilings is to roll paint parallel to the largest light source.
DO: Roll Paint On The Ceiling Parallel To The Window
Just like the last rule of thumb explained, the light makes it hard to see what you’ve painted and what you haven’t.
In addition, the light can highlight the seams in the paint more if you roll the paint perpendicular to the window as opposed to parallel.
When painting a ceiling, we don’t want to see these rolled seams. So painting parallel to the windows will help minimize any potential unevenness in the paint that can occur while rolling.

DON’T: Roll Paint On The Ceiling Perpendicularly To The Window Only (Do Parallel Or Both)
That being said, you can roll paint perpendicularly to the windows, but don’t ONLY roll perpendicularly.
Ideally, you will want to roll both perpendicularly and parallel to the windows. Doing both is the best way to make sure you aren’t missing any spots or leaving behind obvious roller marks.
Also, overlapping your roller marks helps minimize this potential problem as well.
But if you don’t want to roll both ways, then at least roll parallel to the windows.
The last thing you want is to put in all of this work and see major paint roller marks across your ceiling every time the sun comes out.
Rule Twelve: Paint At Least 2 Coats
The final rule for painting ceilings is to paint a minimum of 2 coats of paint on the ceiling.
DO: Apply 2 Coats Of Paint To The Ceiling
The paint cans always recommend 3 coats, and if you’re anything like me, you probably think that just seems like a huge waste of time.
For some things, I think 2-3 coats is just overkill. But with ceilings, I highly recommend you take the time to at least paint a second coat.
As we keep discussing, the ceiling is so easy to miss some spots while painting.
If you paint a second coat and follow all of the other rules in this guide, then the likelihood that you still miss a spot diminishes dramatically.
Whenever I do a painting project, nothing is worse than having the break the paint out multiple times because I didn’t take the time to do it right the first time.
If you just know going in that the ceiling will require two coats of paint, you’ll do the job correctly the first time and not have to worry about touching it up later.
DON’T: Skimp On Paint To Try & Speed Up The Process Of Painting The Ceiling
Skimping on paint to try and speed up the ceiling painting process will ultimately make you take more time.
Since you’ve got everything tarped off, covered, and taped now, bite the bullet and put on enough coats of paint to make this job officially done like a professional once you finish and clean up.
That’s it! If you follow these rules for painting ceilings, your paint job will look like you paid a professional to do it, and it will only be a fraction of the cost! My favorite kind of DIY project!
Other FAQs About Painting Ceilings
Here are some other frequently asked questions about painting ceilings to help you paint them faster and better!
What’s The Easiest Way To Paint A Ceiling?
The easiest way to paint a ceiling is to use an 18-inch roller with an extension pole. Prior to painting, tarp everything off and remove the light fixtures (or use painter’s tape around them). Then use the oversized roller to paint large sections of the ceiling fast.
What Nap Roller Should I Use To Paint A Ceiling?
Use a 3/8 to 1/2-inch thick nap roller to paint the ceiling. This nap will hold plenty of paint to get paint into the texture evenly on the ceilings without leaving roller marks or a thick texture behind.
Which Direction Should You Roll A Ceiling?
You should roll a ceiling parallel to the window/largest light source OR both parallel and perpendicular to the largest light source. Rolling this way will help minimize missed spots and roller marks left behind while painting the ceiling.
Final Thoughts On Painting Ceilings
There you have it!
Painting a ceiling can be a daunting task, but it can really spruce up a room and make it feel clean and brand new.
With these ceiling painting tips in mind, you’ll be able to tackle the job quickly and sit back for years admiring your handiwork. How cool!
Hopefully, this guide helps you on your painting journey.
Catch you in my next post!
The Best Paint Supplies I’ve Used
Wooster Shortcut Angle Sash Paintbrush (2-Inch)
This is my all-time favorite paintbrush because it is so lightweight! The short handle takes the pressure off your wrist and creates an extremely comfortable grip, so you can paint longer without feeling the weight on your wrist. I use this paintbrush on 99% of my paint projects. You can find this paintbrush here on Amazon.
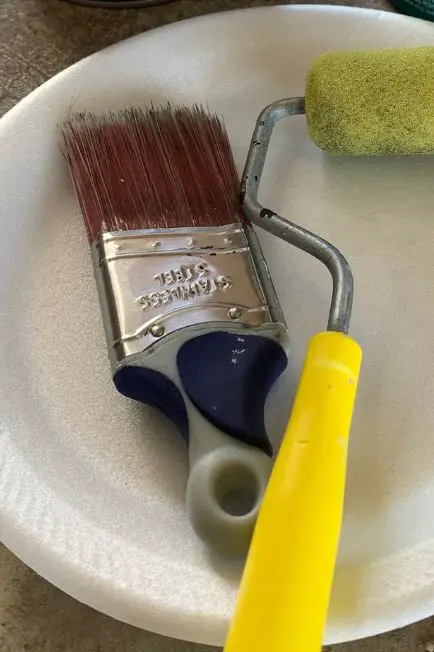
FoamPRO 164 Fine Finish Roller (4-Inch)
If you want the least amount of paint texture left from a roller (such as on metal or furniture), then this is the best roller you can use. The fine finish in the foam leaves the tiniest bit of texture that can easily be sanded between coats to get a finish almost as good as a sprayed finish. You can find this awesome foam roller here on Amazon.
If you’ve been curious about how we are decorating our 1950s Ranch, you should check out our “Shop Our Home” page. You can find products that we’ve personally bought to decorate our home.

By Christine
Christine is a blogger and DIYer who tackles home renovation and decorating projects alongside her husband, Adam, for their personal residence and rental properties. Although she successfully tackles large renovation projects to avoid expensive contractor fees and bring her vision to life now, her path to success was not easy.
Go here to read her story, “From a Clueless First-Time Homebuyer To A Confident DIYer Creating Her Dream Home One Project At A Time“.
Popular Posts


DIY With Christine is a participant in the Amazon Services LLC Associates Program, an affiliate advertising program designed to provide a means for sites to earn advertising fees by advertising and linking to Amazon.com.