*My posts may contain affiliate links, which means I may receive a small commission, at no cost to you, if you make a purchase through a link! Thank you for supporting my website!*
Last updated on September 11th, 2024 at 09:28 am
How To Finish The Inside Of A Closet
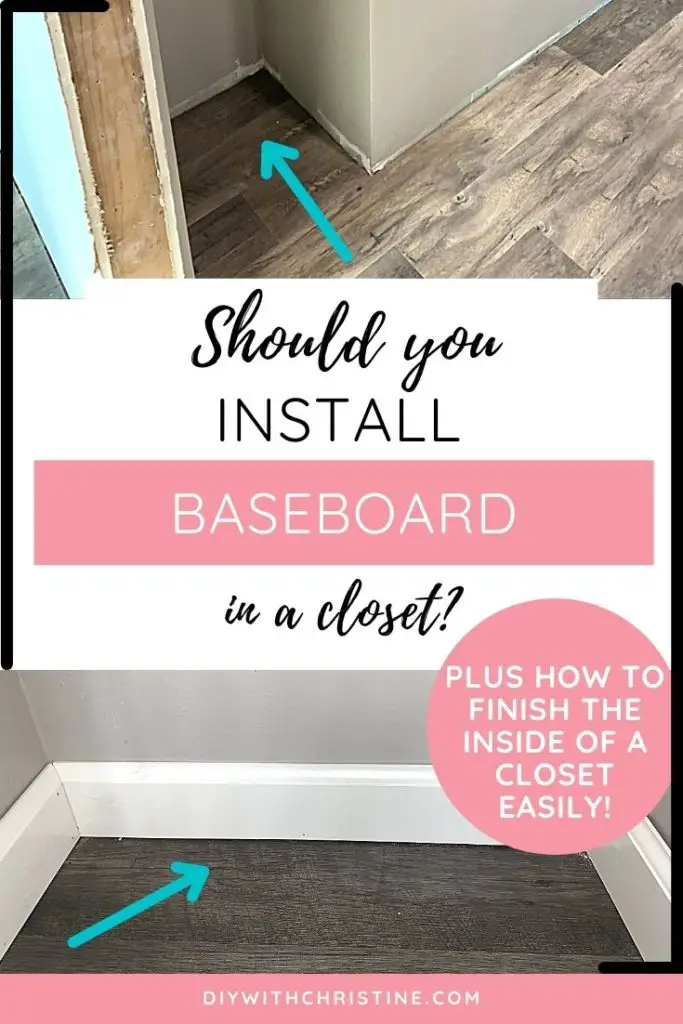
Wondering if you should put baseboards in your closet? Well, look no further because I have your answer!
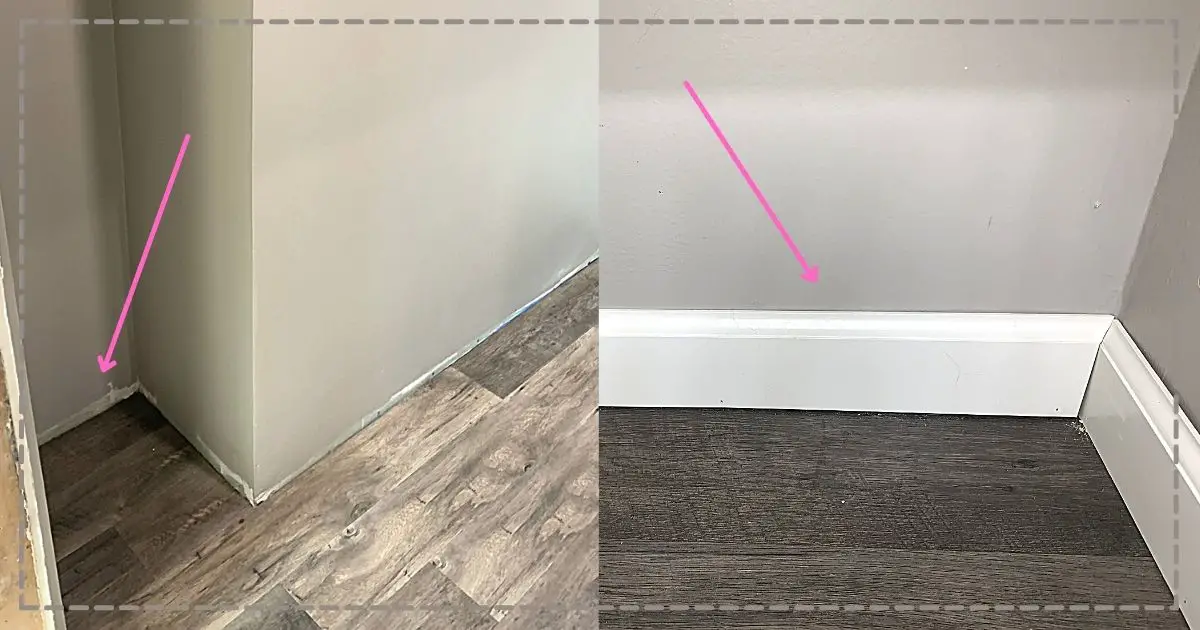
Baseboard should be installed inside closets because it hides gaps between the flooring and the wall, gives the inside of the closet a finished look, and helps hold floating floors in place so they don’t “unclick” while being walked on.
Now that we’ve got the basics out of the way, let’s further break down why you would want to install baseboard in closet and how you can do it easily.
Let’s dive in!
Quick Navigation: How To Install Baseboard In A Closet
- Why It’s Recommended To Install Baseboard Inside The Closet
- How To Finish Off The Edges Of Baseboard Inside The Closet
- Other FAQs About Trim Inside Closets
- Final Thoughts
Why It’s Recommended To Install Baseboard Inside The Closet
Just like any baseboard you install throughout your house, you will get the same benefits if you install the baseboard in the closet as well.
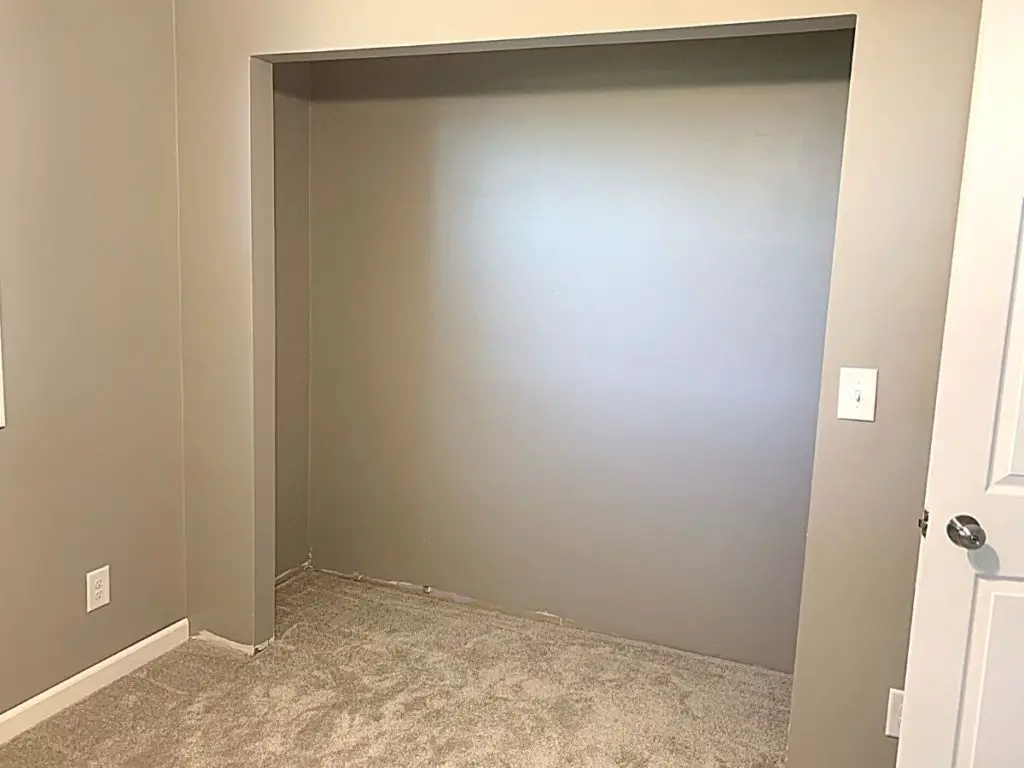
The main benefit of installing baseboard inside a closet is that it hides any gaps between the flooring and the wall.
This, in turn, makes the closet look finished.
Yes, while most people probably won’t be looking inside your closet, you will still want the bottom of the closet to look like it was finished by a pro.
The other big benefit of installing baseboard inside a closet is that it helps hold flooring in place (specifically floating floors).
If your flooring is laminate or vinyl plank, then the only thing that helps keep these floors “locked together” is the baseboard.
Since the floors float, they aren’t glued or nailed down. Instead, the baseboard rests on top of the edges of the planks. And because all of the pieces are locked together, the pieces can’t unlock with the baseboard resting on top.
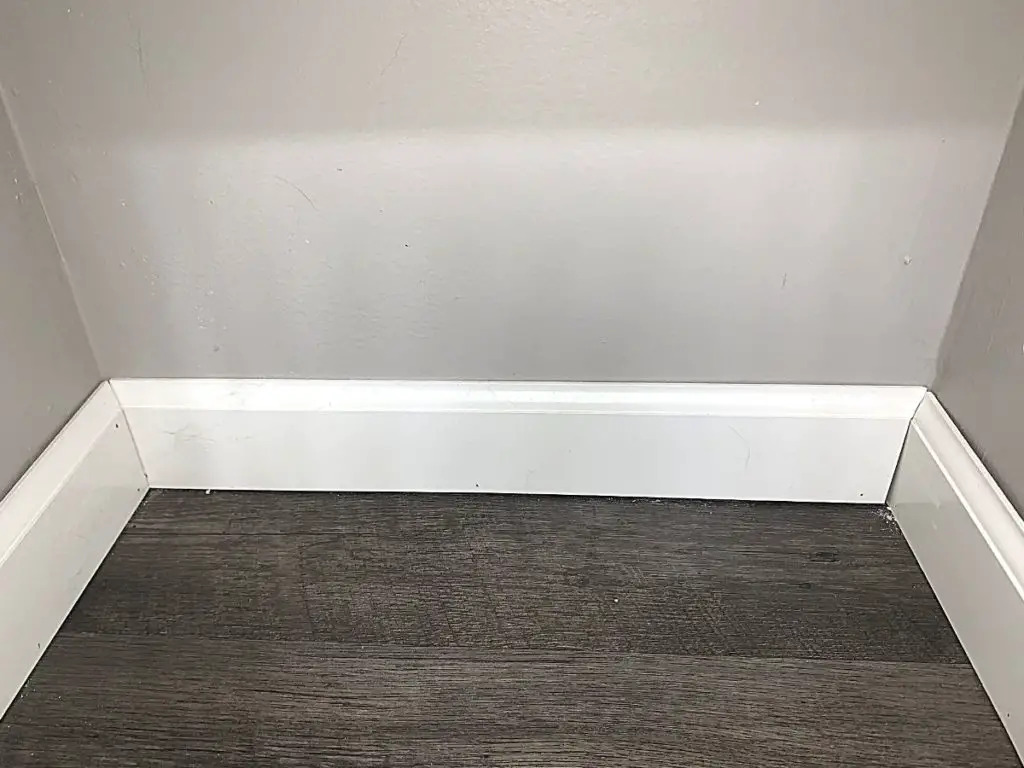
Even if your flooring is carpet or tile, the baseboard still helps hide the uneven edges, so it is still worth installing.
Now, the baseboard inside the closet is installed just like the baseboard is installed throughout the rest of the house.
But, there are two different ways you can finish the edge that meets on the backside of the door so that it does not get in the way of the door opening and closing.
Let’s go over those two options now!
How To Finish Off The Edges Of Baseboard Inside The Closet
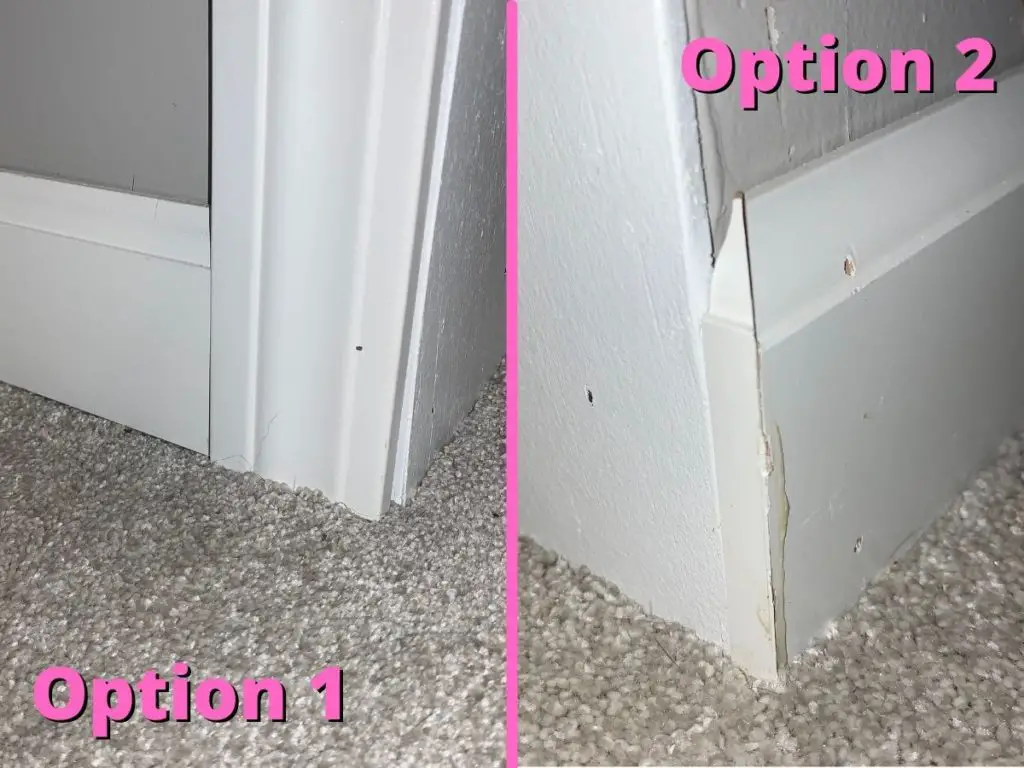
There are two options that you can choose from to finish the edge of your baseboard inside a closet.
Those two options are:
- Install casing on the inside of the closet
- Cut and install a reveal
Baseboard Finishing Option One: Install Casing On The Inside Of The Closet
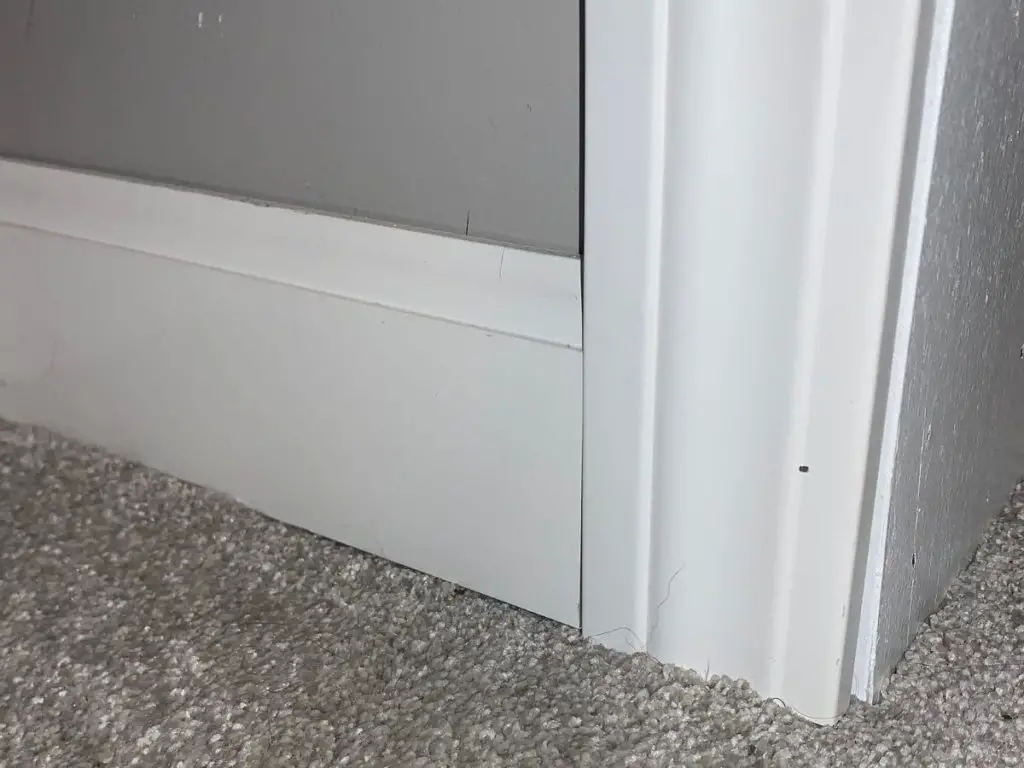
The first option to finishing the edge of baseboard is to install casing on the inside of the door and butt the baseboard up to it like you most likely did on the outside of the closet door.
This option is more expensive and more time-consuming because you are purchasing and installing more casing on the backside of the closet door.
If your closet is a walk-in closet, then this small extra expense and a little bit of extra time will be worth it because you can fully walk into the closet and easily see the backside.
To do this:
- Install the casing around the inside of the door
- Butt the baseboard up against the side of the casing with a straight cut
However, if your closet is not a walk-in one, then this might not be worth the extra effort and money.
So option two might be worth it for you.
Baseboard Finishing Option Two: Cut & Install A Reveal
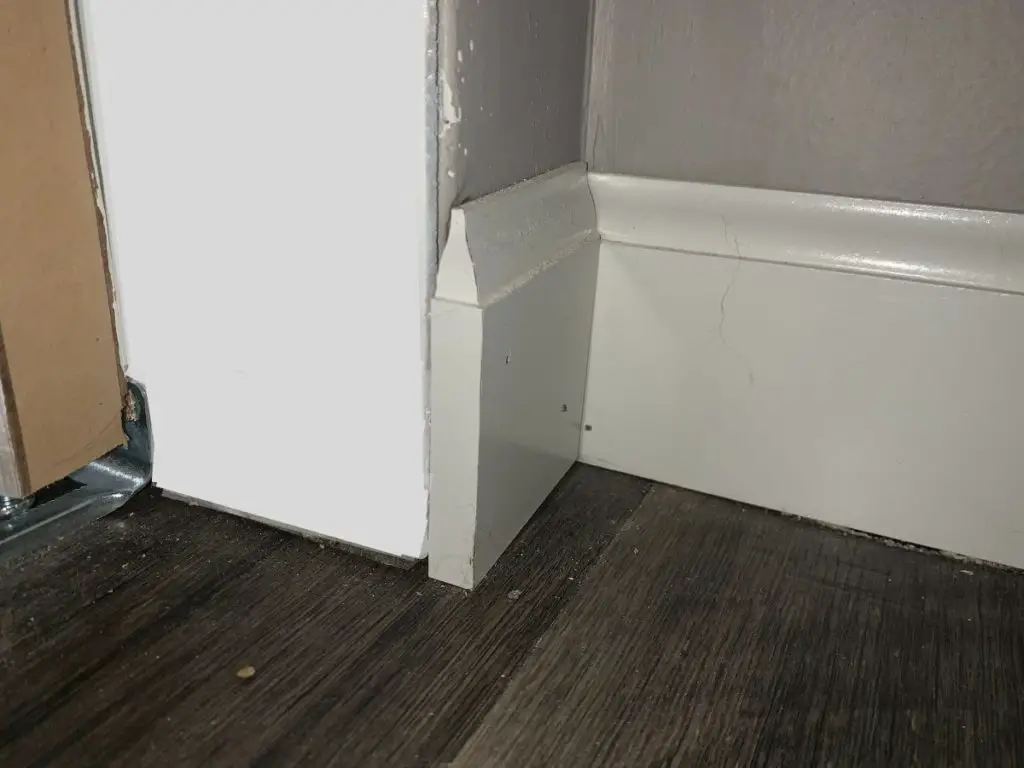
The second option to finishing the edge of baseboard is to cut and install a reveal on the unfinished baseboard edge.
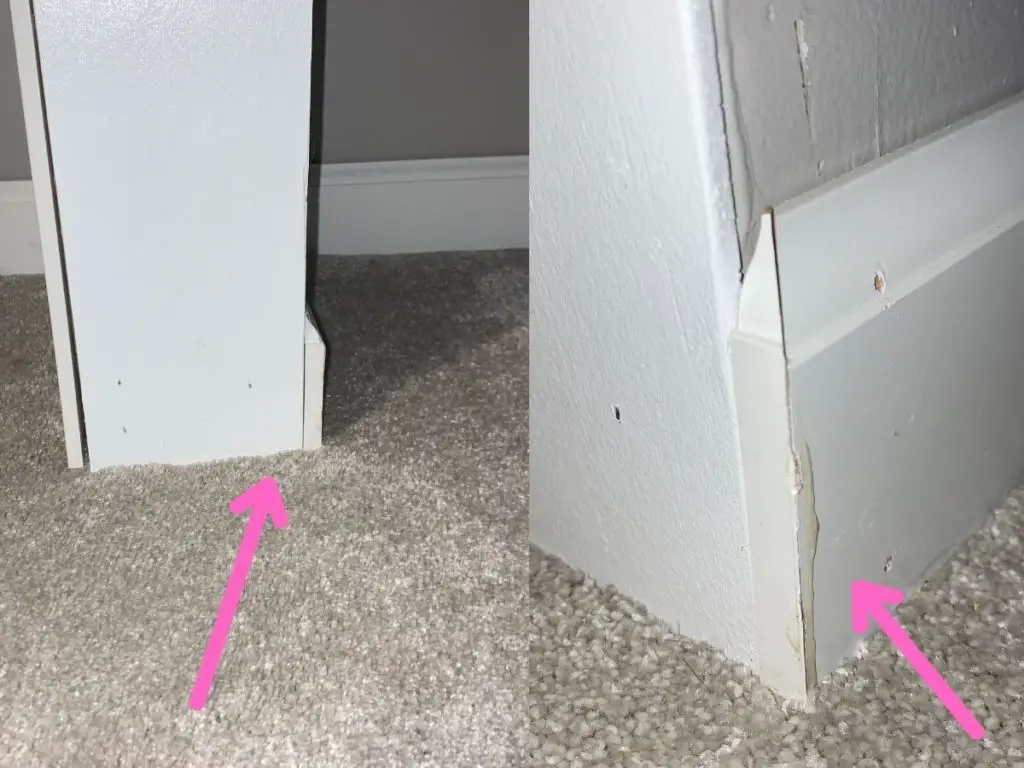
This option is certainly the cheapest and easiest way to hide an unfinished edge on the baseboard.
Since standard closets have little room to fully “walk into” them, the backside of the closet door is rarely seen.
So making this tiny extra cut and gluing the reveal on the unfinished edge is worth it.
To do this:
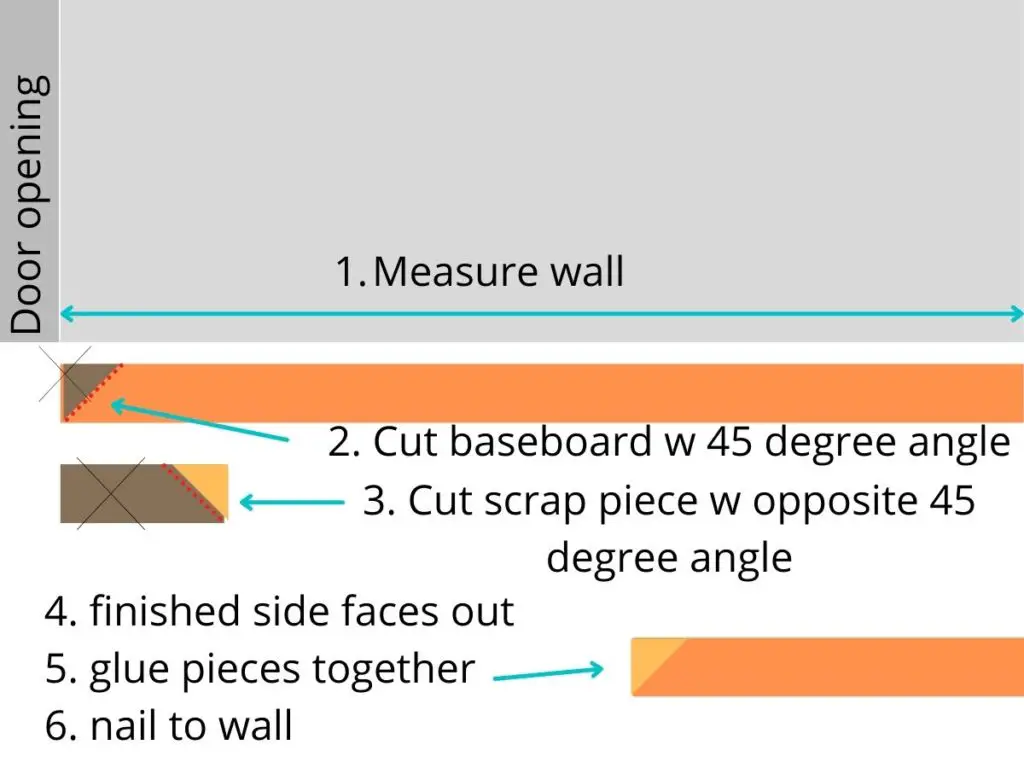
- Measure the full width of the wall the baseboard is going on
- Cut the end backward (away from the door opening) at a 45-degree angle
- Cut the opposite 45-degree angle off of a scrap piece of baseboard
- Take the tiny cut “end” and glue it to the 45-degree angle on the long piece of baseboard to hide the end
- Nail the baseboard in place like normal
This option gives the unfinished edge a clean look, doesn’t cost any extra money, and takes less than a minute to do. Win-win-win!
Other FAQs About Trim Inside Closets
Here are some other frequently asked questions about installing baseboard inside a closet to help you finish out your home remodel!
Do You Paint Baseboards Before Installing?
Painting baseboards before installing is easier and saves time. If the baseboards are painted before they are installed, you can put them on a sawhorse and quickly roll paint on several of them at once without worrying about getting paint on the wall or floor.
Then, you can cut and install the baseboard quickly and be done with the entire project. Of course, painting before installing is not a requirement.
Alternatively, you can purchase a pre-finished baseboard that requires no painting at all to make the project installation go even faster.
Do You Have To Caulk Baseboards?
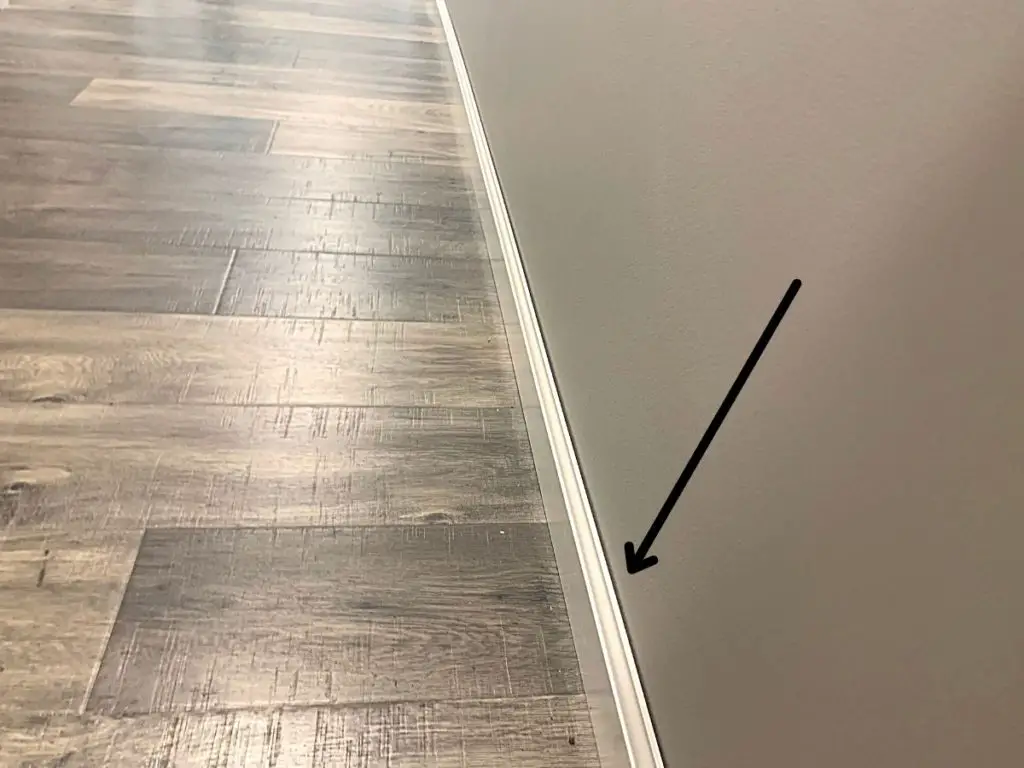
Caulking baseboards help hide any unevenness between the wall and baseboard, which gives the baseboard a flawless finish. Caulking the baseboards is a personal preference, not a requirement.
We chose not to caulk our baseboards. Although, if you look closely, you can see the waviness in the wall.
If that bothered us enough, we could caulk between the baseboard and the wall to hide that little bit of unevenness.
In the end, the effort was not worth it to us because the waviness in our walls was minuscule.
Do You Put Trim Around Bifold Doors?
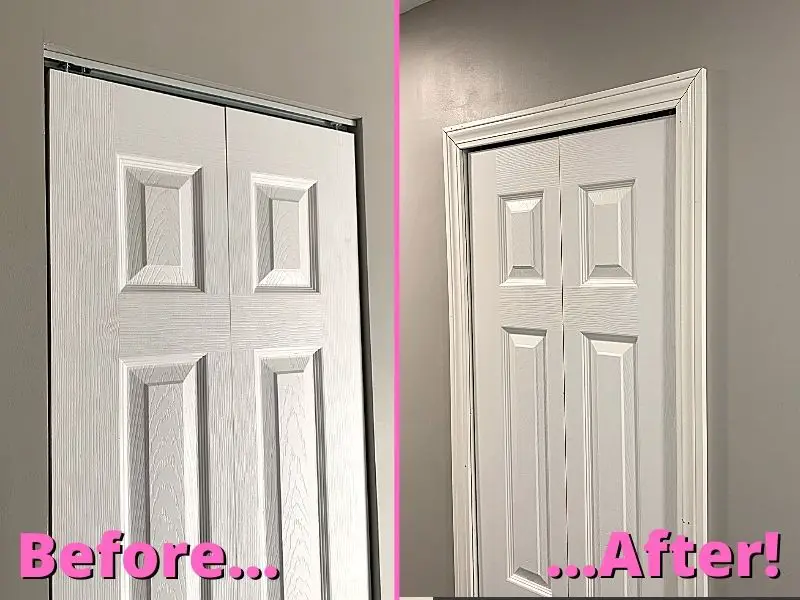
Installing trim around bifold doors is an easy way to make plain, boring bifold doors look high-end and elegant on a budget. Plus, it’s an excellent and easy way to hide the bifold door track!
Check out my full tutorial on how to put trim around bifold doors here.
How Do You Fill A Gap In Miter Joints In Trim?
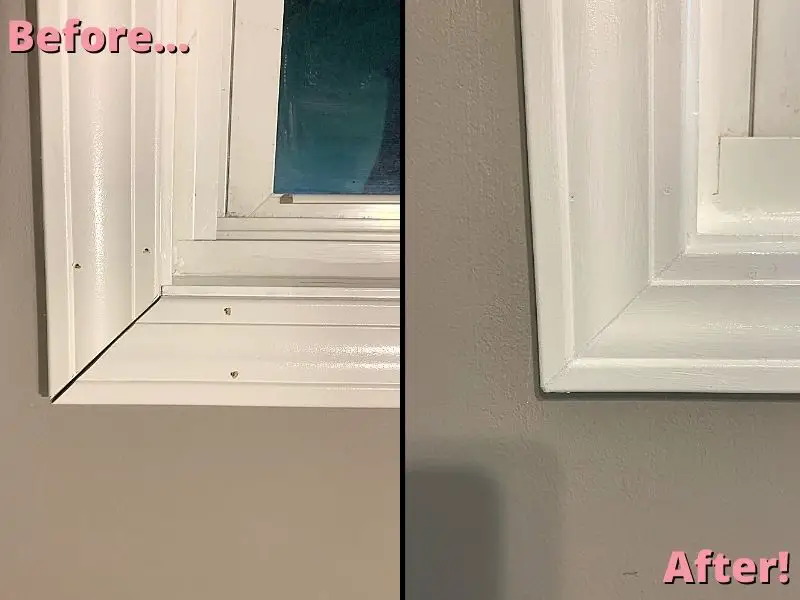
Getting the perfect miter joint in window and door trim can be hard when you’re first learning how to cut and install trim.
(At least, that’s what I found. The perfect mitered joints take more patience than I was willing to give haha!)
So I used this wood filler trick to make it look as if the mitered corners in my window trim look perfect.
Check out my full mitered joint tutorial here.
Final Thoughts On Putting Baseboard In Closets
There you have it!
Putting baseboard inside closets gives all of the same benefits as putting baseboard throughout the rest of your house; it hides gaps between the flooring and the wall, gives the inside of the closet a finished look, and helps hold floating floors in place so they don’t unclick while being walked on.
Plus, both of the baseboard edge finishing options listed above are cheap and easy to do, so there’s really no reason not to get the extra benefits!
Hopefully, this guide helped you choose which route you are going to take to finish installing the baseboard in your home.
Catch you in my next post!

By Christine
Christine is a blogger and DIYer who tackles home renovation and decorating projects alongside her husband, Adam, for their personal residence and rental properties. Although she successfully tackles large renovation projects to avoid expensive contractor fees and bring her vision to life now, her path to success was not easy.
Go here to read her story, “From a Clueless First-Time Homebuyer To A Confident DIYer Creating Her Dream Home One Project At A Time“.
Popular Posts
DIY With Christine is a participant in the Amazon Services LLC Associates Program, an affiliate advertising program designed to provide a means for sites to earn advertising fees by advertising and linking to Amazon.com.

