*My posts may contain affiliate links, which means I may receive a small commission, at no cost to you, if you make a purchase through a link! Thank you for supporting my website!*
Last updated on February 28th, 2024 at 10:59 am
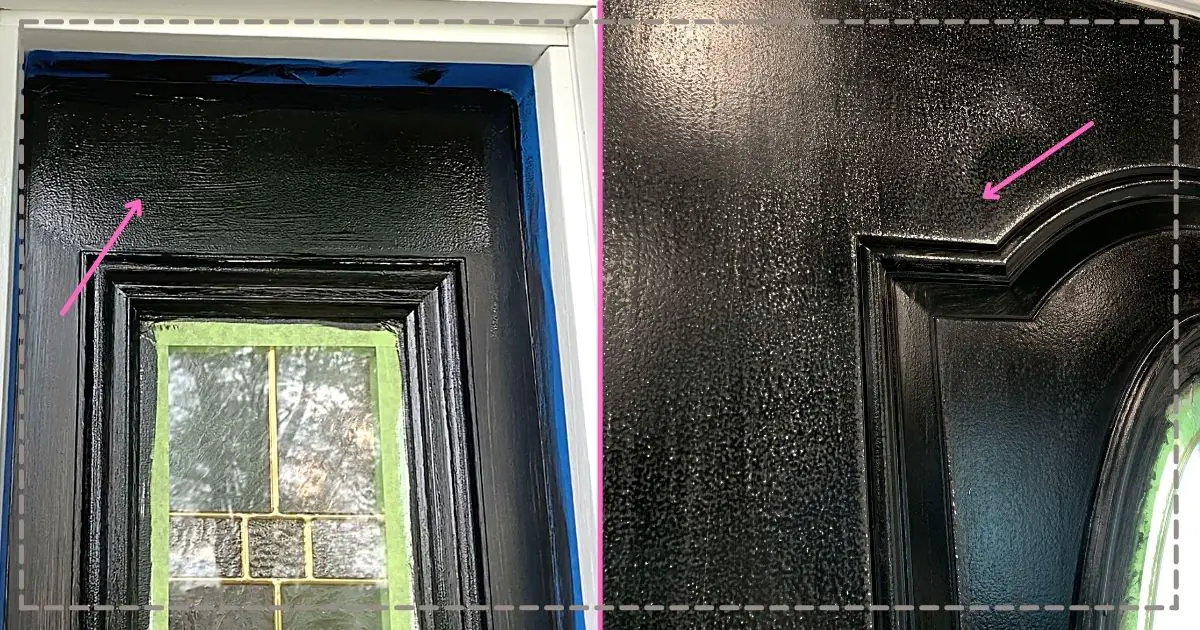
Wondering how to fix a terrible front door paint job? Well, look no further because I have your answer!
Most bad front door paint jobs result from the wrong type of paint or not sanding between coats. To fix brush marks/drips, sand the door until smooth and apply another coat of paint using a fine foam roller. To fix peeling paint, remove with paint stripper and a putty knife and re-paint with oil-based paint.
I Painted My Front Door & It Looks Terrible… Now What Do I Do?
For the most part, sanding and repainting will help. However, there are specific things that could have gone wrong during the painting process that would require a different type of fix.
Below, I’ll break down why each paint problem happened, how to fix it, and how to prevent it in the future, so you can get a beautiful finish on your front door.
Let’s dive in!
Quick Navigation: Tips To Fix Badly Painted Front Doors
- Your Paint Is Peeling/Not Adhering
- Your Paint Is Tacky
- Your Paint Has Prominent Brush Marks/Drips
- Your Paint Is Streaky
- Your Paint Is The Wrong Color
- How Our Painted Front Door Turned Out
- Other FAQs About Fixing A Bad Front Door Paint Job
- Final Thoughts
| Level Of Difficulty | Time To Complete |
|---|---|
| Medium | 2-3 Days |
| Material List | Tool List |
|---|---|
| 320 Grit Sandpaper | Mechanical Sander Or Sanding Block |
| Clean Microfiber Rag | Fine-Texture Foam Roller |
| Door Paint |
Problem One: Your Paint Is Peeling/Not Adhering
The first paint problem your front door might be having is that the new paint is peeling or not adhering properly.
Why It Happened
A newly painted front door could be peeling for several reasons:
- The wrong type of paint was used (most likely culprit)
- Existing peeling or flaking paint was not removed prior to painting
- The door was not thoroughly cleaned before painting
- Bare metal or wood was not primed prior to painting
Front doors see a lot of exposure to sun, wind, and rain. Because of this, normal interior latex paint cannot be used (especially on a metal front door).
The sun will make the paint peel right off and make it a nightmare to remove and repaint.
Instead, oil-based paint or exterior acrylic paint should be used.
Also, if any existing paint is flaking or there is dirt/grime between the door and the fresh coat of paint, then the new paint cannot properly adhere to the door.
The result will be a peeling front door.
And lastly, bare metal or wood needs a special coat of primer that helps the real paint get better adhesion. Without that, the paint can peel off of the bare spots on the door.
How To Fix It
If this problem is happening to your newly painted front door, then the only thing you can do is:
- Use paint stripper and a putty knife to scrape off as much paint as you can
- Restart using the correct primer and paint and cleaning thoroughly
How To Prevent It
To prevent front door paint from peeling in the future, do the following:
- Clean the door thoroughly using a damp microfiber rag and dawn dish soap (be sure to wipe the door down and remove the soap residue afterward)
- Prime the door with an oil-based primer or exterior acrylic primer (sand between coats)
- Paint the door with an oil-based paint or exterior acrylic paint (sand between coats)
For a more detailed tutorial with pictures on how to accomplish the steps above, check out my article here.
Problem Two: Your Paint Is Tacky
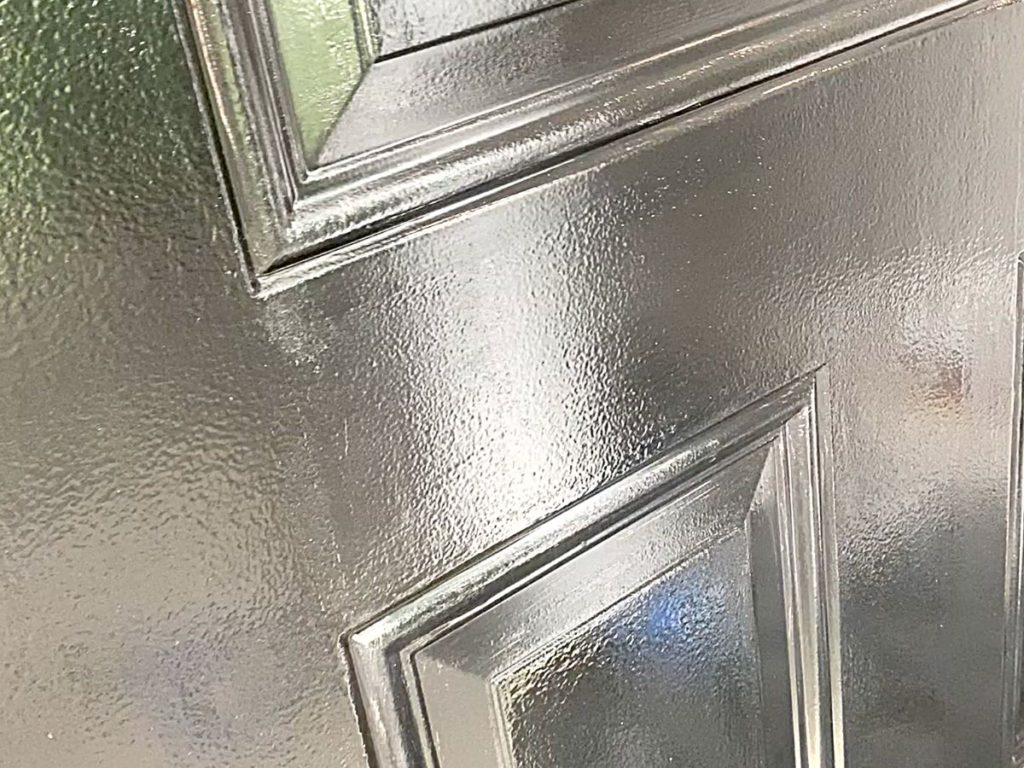
The next paint problem your front door might be having is your paint is tacky.
Why It Happened
Tacky front door paint occurs when there is either a humidity or temperature problem.
If the air is too humid or the temperature is too cold or too hot, then the paint will have a problem curing resulting in it still being sticky long after it “should” be dry.
How To Fix It
The best way to fix tacky paint is to let the paint fully cure. This means the paint could need several more days (depending on the weather) to fully dry and become hard.
If after several days of acceptable temperature and humidity (read the manufacturer’s requirements for these exact temperatures) and the door is still tacky, then there might be something wrong with the paint itself (could be old or defective).
At this point, the only thing you can do is use a paint stripper and a putty knife to remove as much of the paint and start over.
How To Prevent It
To prevent front door paint from being tacky in the future, do the following:
- Paint on a day that is the recommended temperature and humidity according to the paint manufacturer’s requirements (check the can before starting)
- Use fresh paint (not old paint that’s been sitting on the shelf for a long time)
- Let the paint dry fully between coats
- Avoid heavy use for at least a week after the door has been painted to let the paint fully cure
Problem Three: Your Paint Has Prominent Brush Marks/Drips
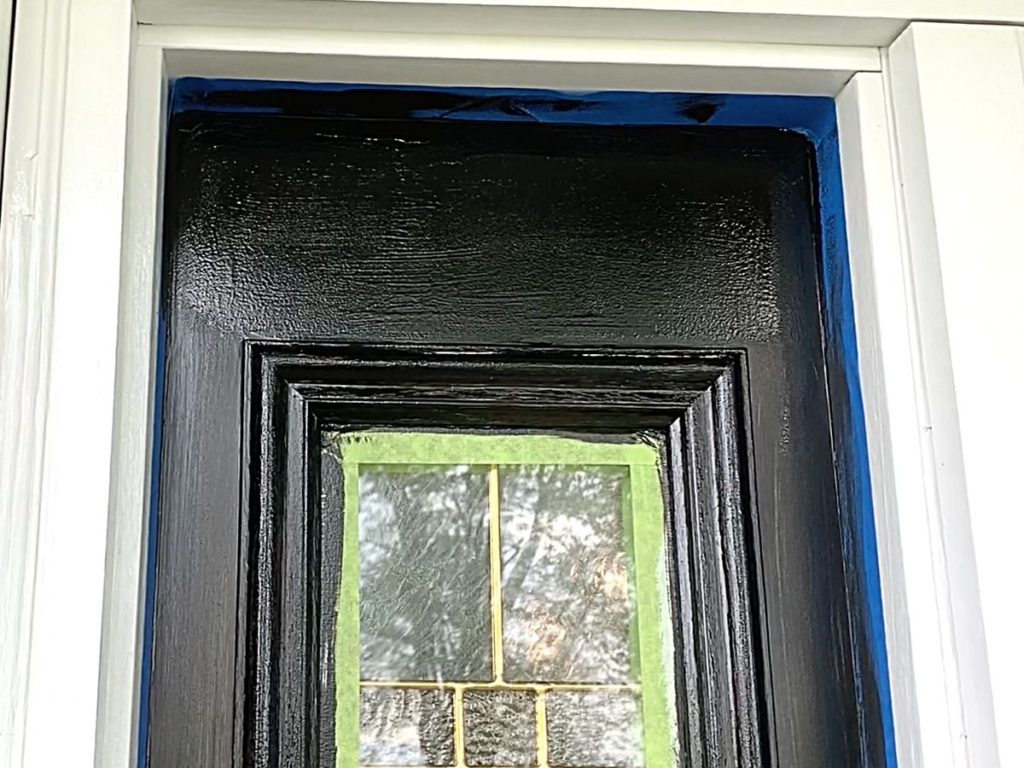
The next paint problem your front door might be having is prominent brush marks or drips.
Why It Happened
A newly painted front door could be showing brush marks or drips for several reasons:
- The wrong paintbrush or roller was used
- Didn’t sand between coats (most likely culprit)
- Used too much paint on the brush/roller while painting and missed the drips
Prominent brushmarks are mostly a brush and roller type/sanding problem.
Wood front doors with grain showing are less likely to show brushmarks because the brushmarks blend in with the wood grain pattern.
However, metal/steel front doors are smooth and show brush marks or roller texture extremely easily no matter how good of a painter you are.
The finer texture of a roller you can get and the more soft, natural bristles on a brush you can get, the fewer texture marks you will leave behind.
Ultimately, the only thing that will truly help is sanding between coats of paint to knock down that texture or any missed drips as you go.
How To Fix It
If you’ve painted your entire door and can’t stand the brush marks, the best next move to fix this is to sand heavily using 220 grit sandpaper until everything is smoothed out.
Then apply another coat of paint or two using a fine-texture foam roller and a natural-bristle paintbrush such as these two found at Amazon.
Although, using a brush and roller will always leave a little bit of texture no matter how much sanding you do.
So to get a no-texture look, spray painting the door is a better way to paint.
How To Prevent It
To prevent front door paint from showing brush marks and drips in the future, do the following:
- Clean the door thoroughly before painting and after sanding
- Prime before painting
- Sand between coats using 220 grit sandpaper
- Use a fine-texture foam roller and a natural-bristle paintbrush
- Use a moderate amount of paint on your brush/roller to avoid drips
- Check for drips while the paint is still wet to smooth them out before they dry
Problem Four: Your Paint Is Streaky
The next paint problem your front door might be having is streaky, uneven paint.
Why It Happened
Streaky paint on a front door can happen for a couple of reasons:
- The paint is thin, so the door just needs more coats of paint to cover fully
- The wrong colored primer was used (for white doors – use white primer, for dark-colored doors – use gray primer)
If you use specialty door paint like Rustoleum’s front door paint, then you shouldn’t have a problem with streakiness because it is a thick oil-based paint that covers easily in 2-3 coats regardless of the color primer used.
Other paints might be thinner, so they will require more coats of paint.
How To Fix It
The best way to fix streaky paint on a front door is to paint another coat or two of paint (or 3 if it requires it).
Sometimes painting a coat of primer then painting additional coats can help as well because the primer will give a solid base for the paint to adhere to and cover fully.
However, if you’ve painted more than 3 coats and you are still having streaky paint issues, then it might be time to hang up the towel and switch paint brands.
As mentioned above, Rustoleum’s front door paint found at Amazon gets full coverage easily in 2-3 coats.
How To Prevent It
To prevent front door paint from being streaky in the future, do the following:
- Use a high-quality oil-based or exterior acrylic paint that is thicker and only requires 2-3 coats for full coverage
Problem Five: Your Paint Is The Wrong Color
The final paint problem your front door might be having is the color is not what you wanted.
Why It Happened
This paint problem happens when we just simply do not like the paint color we’ve chosen and want to change.
Believe me, it’s hard to tell the vibe a color is going to give off until it’s on the object you want to paint, so this is a common problem.
How To Fix It
To repaint a recently painted front door a different color, do the following:
- Lightly sand the entire door to ensure the new paint adheres well
- Paint a coat of undercoat (not primer) that is a similar color to the new paint you will be using
- Paint with the new color of door paint
If the door was painted within a week and you are repainting, an undercoat might not be necessary.
However, if the new paint color is very different from the original, then the undercoat will help the paint color transition easier with fewer coats of paint.
How To Prevent It
Unfortunately, other than painting something that is a similar texture as the front door and holding it up to see what it looks like, it’s impossible to prevent front door paint from being the wrong color.
Sometimes colors just don’t turn out the way we envision, and there’s nothing wrong with that. That’s the beauty of paint! Just change it until you find the one you love.
How Our Painted Front Door Turned Out

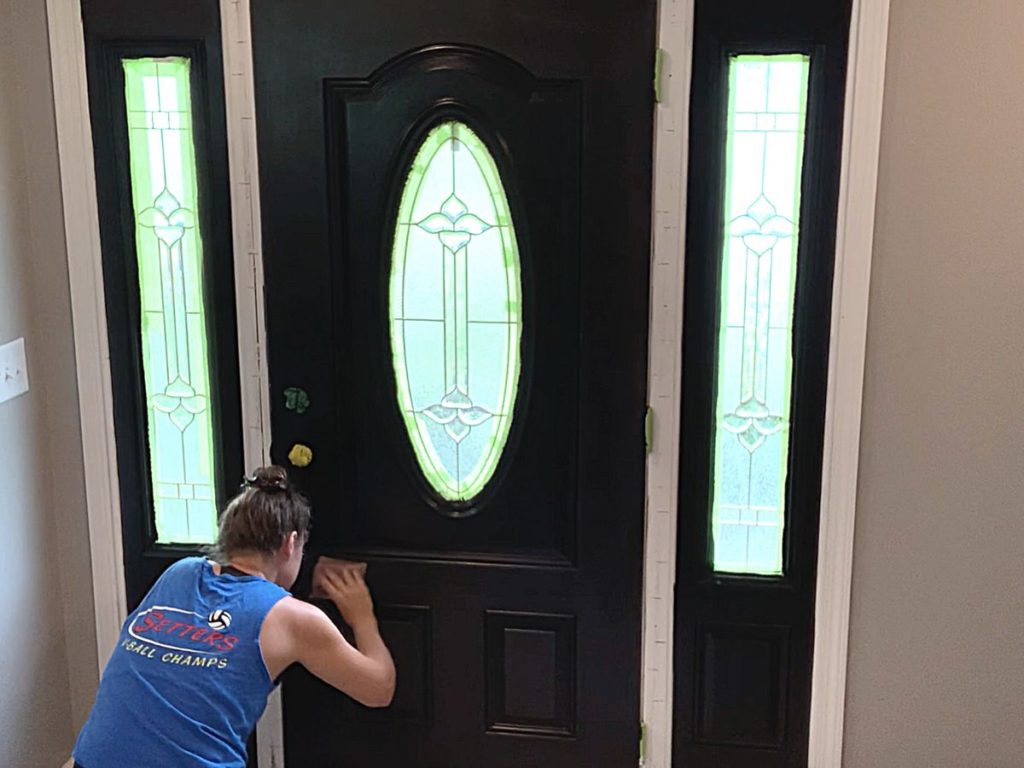
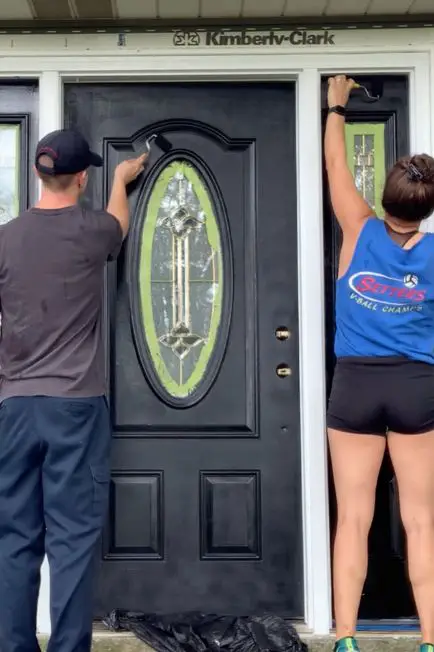
This is how our front door turned out after I fixed the brush mark problem.
I LOVE the stark black color against the white trim and gray siding.
Just know that you will always have a little bit of texture on a painted front door if you use a brush or a roller.
The only way to truly prevent brush marks is to spray paint the door.
So don’t be so harsh on your paint job. It’s what gives your front door character!
Other FAQs About Fixing A Bad Front Door Paint Job
Here are some other frequently asked questions about painting front doors to help you get a better finish!
How Long Does It Take For Front Door Paint To Cure?
Oil-based front door paint takes 6-8 hours to dry to the touch and up to 7 days to fully cure while exterior acrylic front door paint takes 1-2 hours to dry to the touch and up to 30 days to fully cure.
What Kind Of Paint Do You Use On A Front Door?
Front doors, metal or wood, should be painted with high-gloss oil-based or exterior-acrylic paint. These paints are durable and do well against sun, wind, rain, and snow. High-gloss paint is also easy to clean dirt/debris with water and soap.
Should I Use A Brush Or Roller To Paint A Front Door?
Use a brush to paint in the details and on the edges of a front door and use a roller to roll paint onto the flat surfaces and blend in the brushed on paint for a smoother finish.
Final Thoughts On Fixing A Bad Front Door Paint Job
There you have it!
Sometimes painting just doesn’t go the way we expect, but no worries. Any DIY project can be fixed with a little bit of elbow grease and patience.
Hopefully, these tips help you fix your door paint job and let you paint with ease in the future as well.
Catch you in my next post!
The Best Paint Supplies I’ve Used
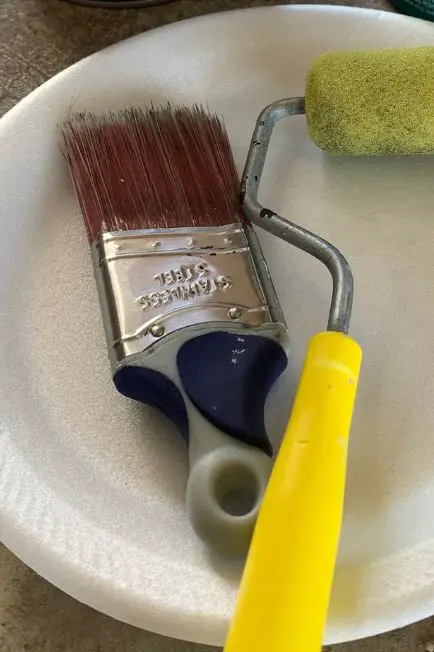
Wooster Shortcut Angle Sash Paintbrush (2-Inch)
This is my all-time favorite paintbrush because it is so lightweight! The short handle takes the pressure off your wrist and creates an extremely comfortable grip, so you can paint longer without feeling the weight on your wrist. I use this paintbrush on 99% of my paint projects. You can find this paintbrush here on Amazon.
FoamPRO 164 Fine Finish Roller (4-Inch)
If you want the least amount of paint texture left from a roller (such as on metal or furniture), then this is the best roller you can use. The fine finish in the foam leaves the tiniest bit of texture that can easily be sanded between coats to get a finish almost as good as a sprayed finish. You can find this awesome foam roller here on Amazon.
If you’ve been curious about how we are decorating our 1950s Ranch, you should check out our “Shop Our Home” page. You can find products that we’ve personally bought to decorate our home.

By Christine
Christine is a blogger and DIYer who tackles home renovation and decorating projects alongside her husband, Adam, for their personal residence and rental properties. Although she successfully tackles large renovation projects to avoid expensive contractor fees and bring her vision to life now, her path to success was not easy.
Go here to read her story, “From a Clueless First-Time Homebuyer To A Confident DIYer Creating Her Dream Home One Project At A Time“.
Popular Posts
DIY With Christine is a participant in the Amazon Services LLC Associates Program, an affiliate advertising program designed to provide a means for sites to earn advertising fees by advertising and linking to Amazon.com.

