*My posts may contain affiliate links, which means I may receive a small commission, at no cost to you, if you make a purchase through a link! Thank you for supporting my website!*
Last updated on February 28th, 2024 at 04:21 pm
Wondering what you can do to eliminate the stickiness of your wood stain? Well, look no further because I have your answer!
To fix sticky oil-based wood stain, add more stain to the wood, let it sit, wipe the excess off with a dry rag, and let it dry out. To fix sticky water-based stains, add water to the wood, let it sit, wipe the excess off with a dry rag, and let it dry out.
Now that we’ve got the basics out of the way, let’s break into the details a little further so you can fix sticky wood stains and find out what causes it to avoid them altogether in the future.
Let’s dive in!
Quick Navigation: How To Fix Sticky Wood Stain
- How To Fix Sticky Water-Based Stains
- How To Fix Sticky Oil-Based Stains
- How To Fix Sticky Polyshade
- What Causes Sticky Wood Stain?
- Other FAQs About Fixing Sticky Wood Stain
- Final Thoughts
| Level Of Difficulty | Time To Complete |
|---|---|
| Easy | 10 Minutes |
| Material List | Tool List |
|---|---|
| More Stain (For Oil-Based Stain) | Clean Rags |
| Water (For Water-Based Stain) |
How To Fix Sticky Water-Based Stains
Water-based stains are easy to fix if they become sticky during application.
You can apply a thin coat of water on top of the sticky stain. The water will mix with the pigments left on the wood’s surface and dissolve it.
Wait about five minutes before wiping the wood with a dry rag – this should fix the sticky stain.
Another option is to apply another layer of stain to the wood. This process does the same as applying a coat of water (because the stain has excess water in it to carry the pigment).
Wait five minutes, then wipe the stain off with a dry rag.
For both fixes, after you wipe away the excess water or stain, let the wood sit for the recommended dry time and temperature requirements according to the manufacturer.
The stain should be able to cure properly and will be ready for sealing.
How To Fix Sticky Oil-Based Stains
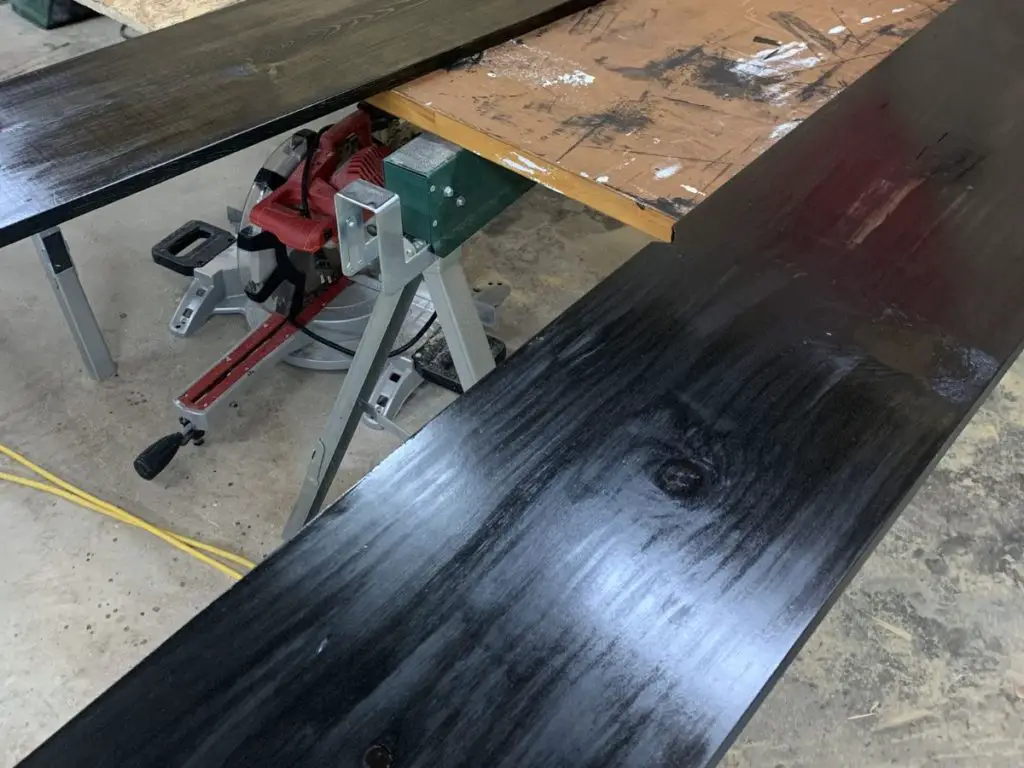
Oil-based stains are the more common type of stain to have this sticky problem.
Sometimes too much stain is applied and the wood cannot absorb all of it. So when the oil evaporates, it leaves a sticky pigment residue on the wood’s surface.
Luckily, the fix is just as simple as the water-based sticky stain fix.
You can use mineral spirits to clean a sticky oil-based stain. Apply some mineral spirits to a dry rag and wipe it over the sticky parts.
Or apply a layer of mineral spirits on the wood and wipe it off with a dry rag after a few minutes.
While mineral spirits will remove the residue, they will also remove some of the colors.
Therefore, the best way to remove a sticky oil-based stain is to add another coat of stain to the wood.
Like a water-based stain, the oil-based stain will mix with the sticky pigment and dissolve it.
You can then wipe the stain off with a dry rag and follow the manufacturer’s dry time and temperature requirements for the stain to cure properly.
Here is a fantastic video that demonstrates how to fix a sticky wood stain.

How To Fix Sticky Polyshade
If you’ve used Polyshade and you have a sticky residue still, then the fix isn’t quite as simple as the other two.
Since Polyshade is a mixture of stain and polyurethane, it acts more like a topcoat rather than a stain.
The polyurethane prevents the stain from soaking into the wood, so the only way to fix any sticky residue is to sand and strip the Polyshade from the wood completely and start from scratch.
What Causes Sticky Wood Stain?
Now that you know you can fix a sticky wood stain, let’s go over what is likely causing the sticky wood stain so you can avoid it in the future.
One: You Applied Too Much Stain
If you apply too much or too thick a layer of stain on the wood, the wood cannot absorb all of the stain.
The stain left over on the wood’s surface will become sticky as the liquid evaporates, and the pigment has nowhere to go.
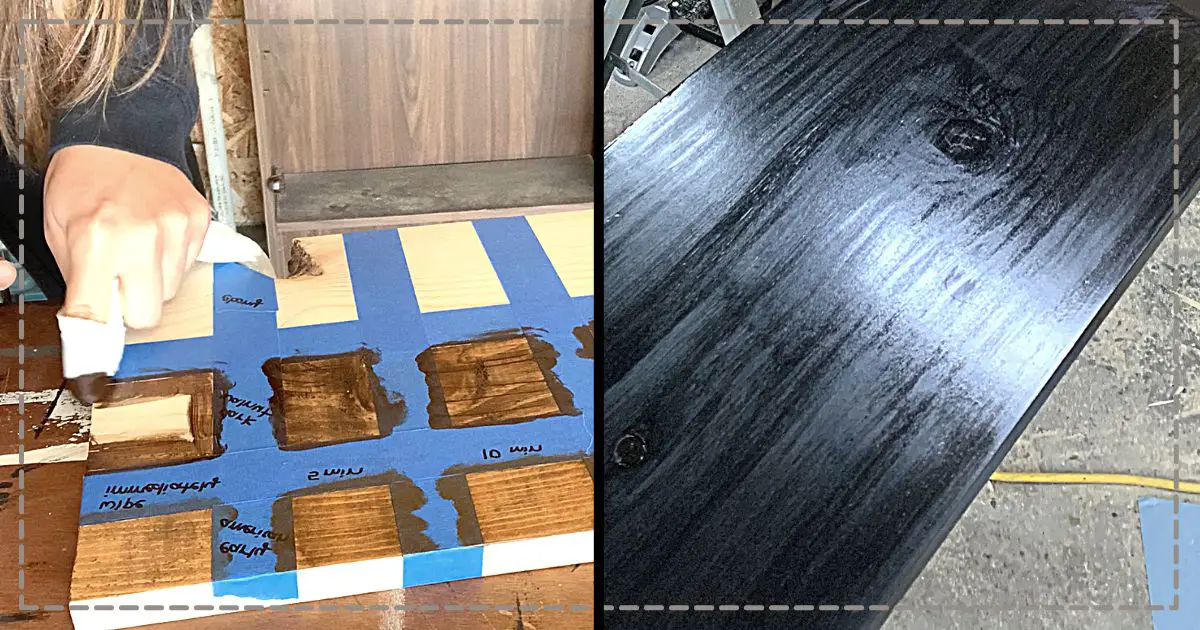
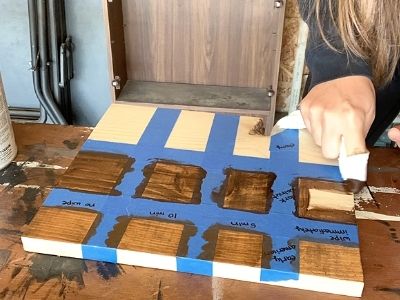
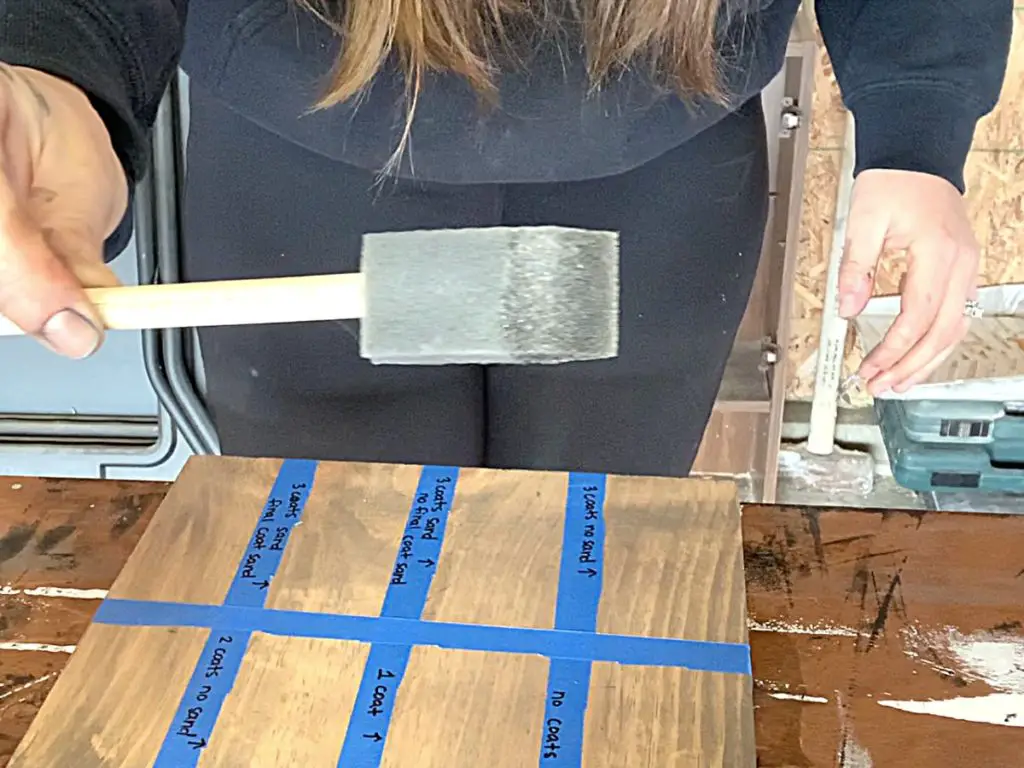
To avoid applying too much stain, it’s better to apply the stain with a rag or foam brush instead of a paintbrush.
This should help control how much stain you apply and reduce the chances of having a sticky stain on the wood’s surface.
Two: The Stain Hasn’t Dried
It’s possible that the stain just hasn’t had enough time to dry entirely yet.
If the temperature or humidity is off a little, or if this is your first time staining and you simply haven’t waited long enough, then you might just need to wait longer to let the stain dry fully.
Also, different types of stains have different drying times, so it’s best to check the stain’s packaging to see how long to wait for the stain to dry completely.
I recommend at least waiting as long as the package instructs before deeming the stain as “sticky” and trying any of the fixes listed above.
Three: You Waited Too Long To Wipe The Stain
If you wait too long before wiping the excess stain off, it can become sticky for the same reason the stain becomes sticky if you apply too much stain, to begin with.
If you let the stain sit for too long then most of the oil will evaporate out and leave too much pigment behind for the wood to absorb.
To avoid this, I recommend wiping on the stain and either immediately wiping away the excess or wiping it away within 5 minutes of applying.
You can always add more coats of stain to darken the color if you decide the wood needs more.
Four: The Weather Is Too Hot To Apply The Stain
If the weather is too hot or the humidity too low, the stain will dry before you have time to wipe the excess off.
Again, that can cause too much pigment to be left behind on the wood.
If possible, I recommend staining your wood on a cool, humid day.
This will make the stain application process much easier, and you can prevent sticky stains by doing so.
Five: The Stain Has Expired
Finally, your stain simply might have expired (specifically if you are using Polyshade).
Polyshades contain different ingredients than water-based or oil-based stains.
Because of this, it expires sooner and will turn sticky if you apply it after it has expired.
As a general rule of thumb, it’s best to check the “best used before date” before applying Polyshades to your wood.
Other FAQs About Fixing Sticky Wood Stain
Here are other frequently asked questions about fixing sticky wood stains to help you get a better finish on your wood project!
Can You Apply A Topcoat Over Sticky Stain?
Applying a topcoat over a sticky stain can cause several issues including causing the topcoat to peel or leave behind a muddied look. It’s best practice to fix or remove any sticky stain before applying a topcoat for a better wood finish.
Final Thoughts On Fixing Sticky Wood Stain
There you have it!
Fixing sticky stains isn’t a huge task when working with water-based or oil-based stains.
You can remove the sticky residue with some mineral spirits/water or by adding another coat of stain and wiping it off with a cloth.
Catch you in my next post!

By Christine
Christine is a blogger and DIYer who tackles home renovation and decorating projects alongside her husband, Adam, for their personal residence and rental properties. Although she successfully tackles large renovation projects to avoid expensive contractor fees and bring her vision to life now, her path to success was not easy.
Go here to read her story, “From a Clueless First-Time Homebuyer To A Confident DIYer Creating Her Dream Home One Project At A Time“.
Popular Posts


DIY With Christine is a participant in the Amazon Services LLC Associates Program, an affiliate advertising program designed to provide a means for sites to earn advertising fees by advertising and linking to Amazon.com.