
*My posts may contain affiliate links, which means I may receive a small commission, at no cost to you, if you make a purchase through a link! Thank you for supporting my website!*
Last updated on February 29th, 2024 at 04:59 pm
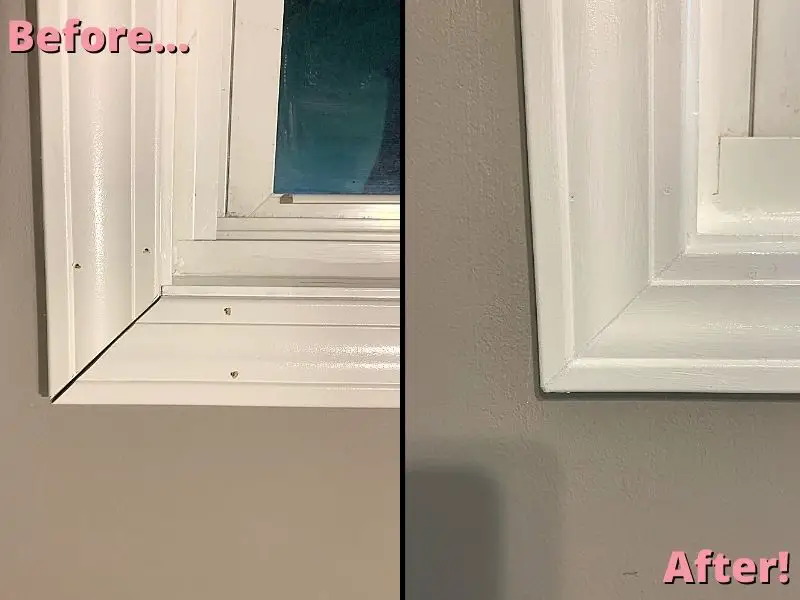
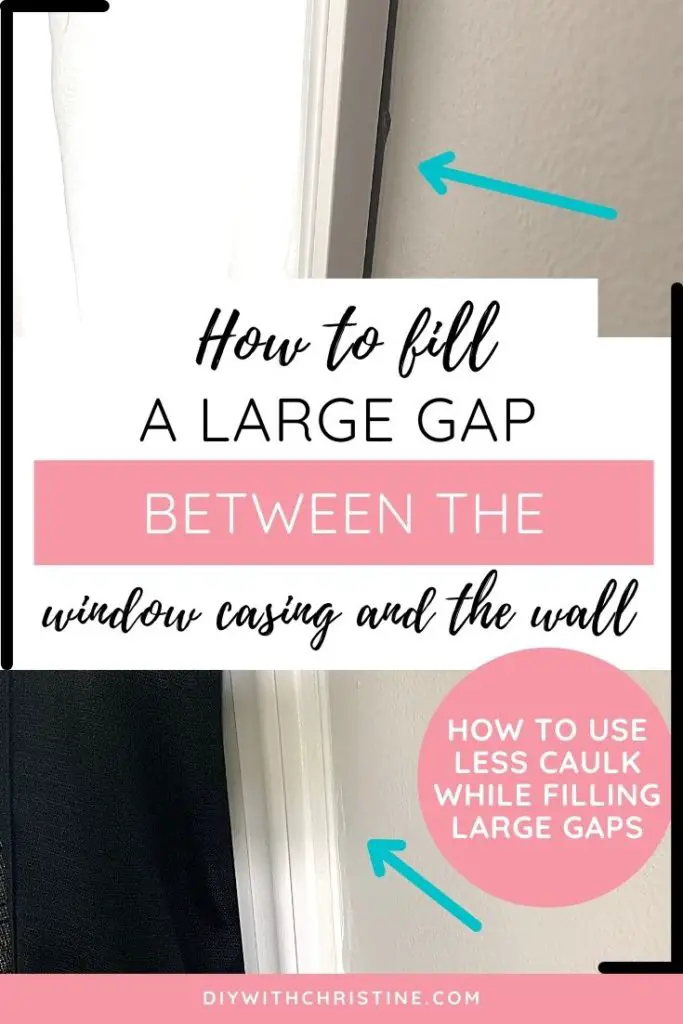
Have a big gap between your window trim and the wall and wondering how to fix it? Well, look no further!
To fix large gaps between the window casing and a wall, use a backer rod and caulk. If the gap is 1/4 inch or larger, the backer rod should be the same thickness to fill in most of the gap before caulking. This will use less caulk, which is a more cost-effective and easy way to fill large gaps in window trim.
Now that we’ve got the basics out of the way, let’s break down the details further so you can make your window trim look flawless with ease.
Let’s dive in!
Quick Navigation: How To Fill Gaps Between Window Trim & Wal
- Measure Thickness Of Gap
- Install Backer Rod (If Applicable)
- Caulk The Gap
- How To Fix Gaps In Mitered Joints
- Other FAQs About Filling Gaps Between Window Trim & The Wall
- Final Thoughts
| Level Of Difficulty | Time To Complete |
|---|---|
| Easy | 20 Minutes |
| Material List | Tool List |
|---|---|
| Painter’s Caulk | Tape Measure |
| Backer Rod | Caulk Gun |
| Paper Towels | Utility Knife |
| Cup Of Water | Putty Knife |
Step One: Measure Thickness Of Gap
The first step to filling a gap between the window trim and the wall is to measure the thickness of the gap.
Take a tape measure and measure the distance between the wall and the edge of the trim.
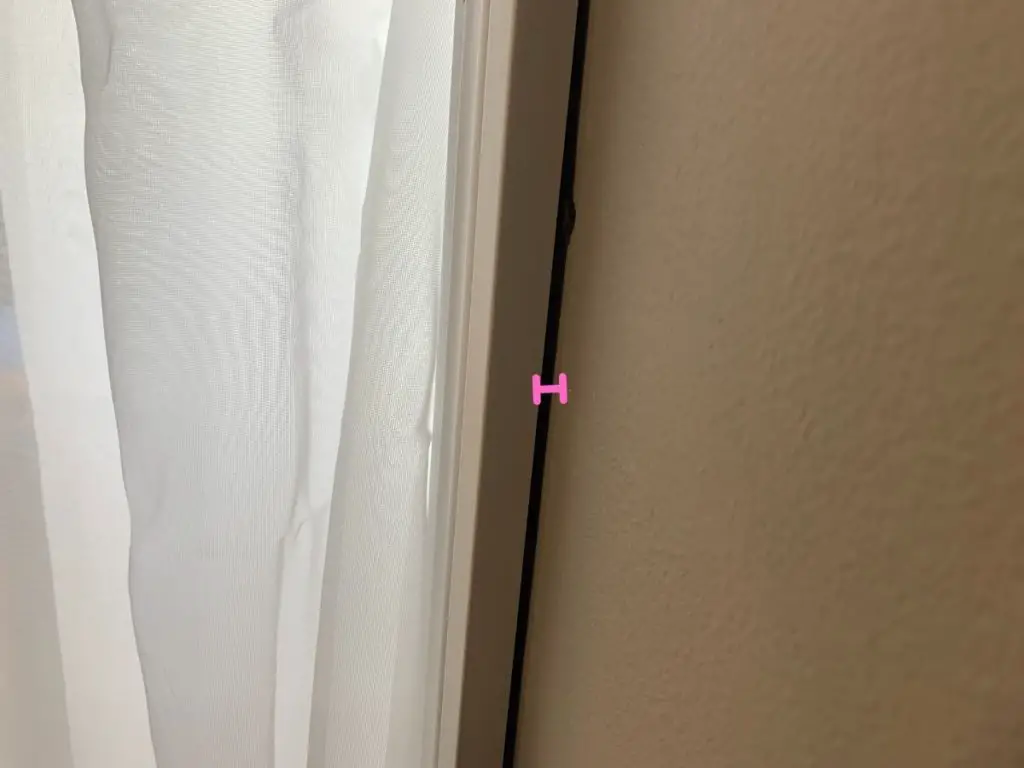
If the gap is less than 1/4 inch, then just applying a bead of caulk should be enough to seal the gap and give it a clean finish.
However, shoving a few shims into this small of a gap and breaking them off before caulking is still helpful because it gives the back of the trim more support to ensure the caulk doesn’t crack over time.
If that’s the case for you, then you can skip to step three.
Now, if the gap is thicker than ¼ inch, then you will want to fill the gap to give the trim more support and make caulking easier.
The best thing to use to fill large gaps before caulking is a backer rod or several shims.
Let’s go over how to fill these large gaps in the next step.
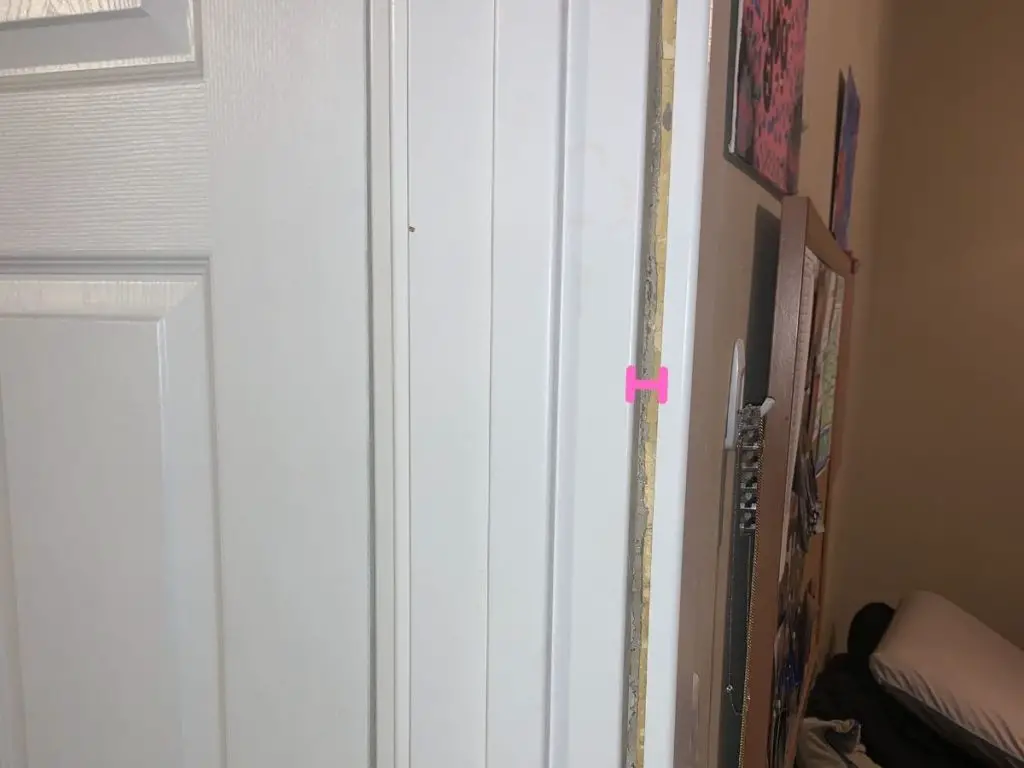
Step Two: Install Backer Rod (If Applicable)
The next step to filling a gap between the window trim and the wall is to fill the gap with a backer rod.
Backer rod is a skinny foam rod that is used to fill gaps to reduce the amount of caulk needed to cover the gap.
The backer rod should be the same thickness (or slightly smaller) as the gap.
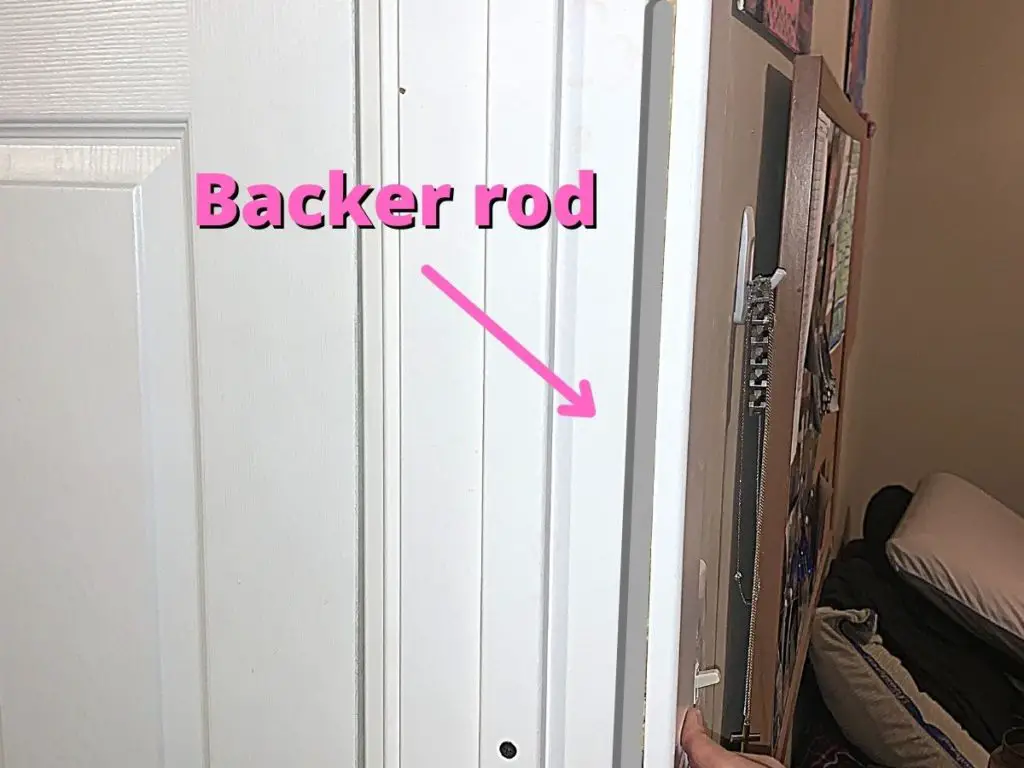
The rod gets pushed into the gap and takes up most of the space so that the bead of caulk has something to support it from falling into the gap.
Shims can also be used instead of a backer rod, however, shims will only be inserted every few inches, so much more caulk will be needed to fill the gap where there is no trim to support the caulk from falling all the way into the gap.
To install the backer rod on a gap that is 1/2 inch thick, buy a 1/2 inch backer rod, and push it into the gap with a putty knife.
Or if the gap is 3/8 inch thick, get a 3/8 inch backer rod, etc. Amazon has a wide selection of backer rod sizes including a 1/2 inch rod, 3/8 inch rod, and so on for a very inexpensive price.
(If your gap is between backer rod sizes, get a smaller rod size than the gap and twist them together to create a thicker rod.)
Then cut the rod to length with a utility knife. Install the backer rod in all gaps around the entire window.
Once the backer rod or shims are installed, it’s time to move on to the final step.
Step Three: Caulk The Gap
The final step to filling a gap between the window casing and the wall is to caulk the gap.
The best kind of caulk to use between the window casing and a wall is some painter’s caulk. It can easily be painted after it dries (hence its name) and it will expand and contract with the window to minimize cracking over time.
This Dap painter’s caulk found at Amazon is an excellent caulk to accomplish this task. (P.S. This link is to a 6-pack. If you are doing all of the windows in your house, then you will need this much. Otherwise, 1 tube should be sufficient to do a window.)
Also, I highly recommend this caulk gun found at Amazon because the rod retracts after each squeeze so caulk doesn’t come gushing out after you’re done and make a mess. Also, the handle and trigger are padded, which is so much friendlier on your hand than unpadded guns. And lastly, you can snip the tip of the caulk right on the gun! Much easier than using a utility knife the old-fashioned way.
If your gap was small enough, then simply run a bead of caulk along the length of the gap.

And if you had to use a backer rod, then now you also will run a bead of caulk along the length of the gap.
You will now be able to use a similar amount of caulk as if the gap was less than 1/4 inch because the backer rod is taking up the extra space.
Then take a cup of water and a wet paper towel. Dip your finger in the water and run it along the bead of caulk so that it fills the gap in a uniform fashion.
Make sure to remove your finger before too much caulk accumulates on it, wipe the excess caulk on the wet paper towel, and re-dip your finger in the water before continuing on down the bead of caulk.
(Working in 12-inch sections will help minimize the amount of caulk build-up and mess that comes with wiping away too much caulk at a time.)
The water on your finger helps smooth the caulk out, so you can get a clean finish, and the wet paper towel makes wiping the excess caulk off your finger much easier.
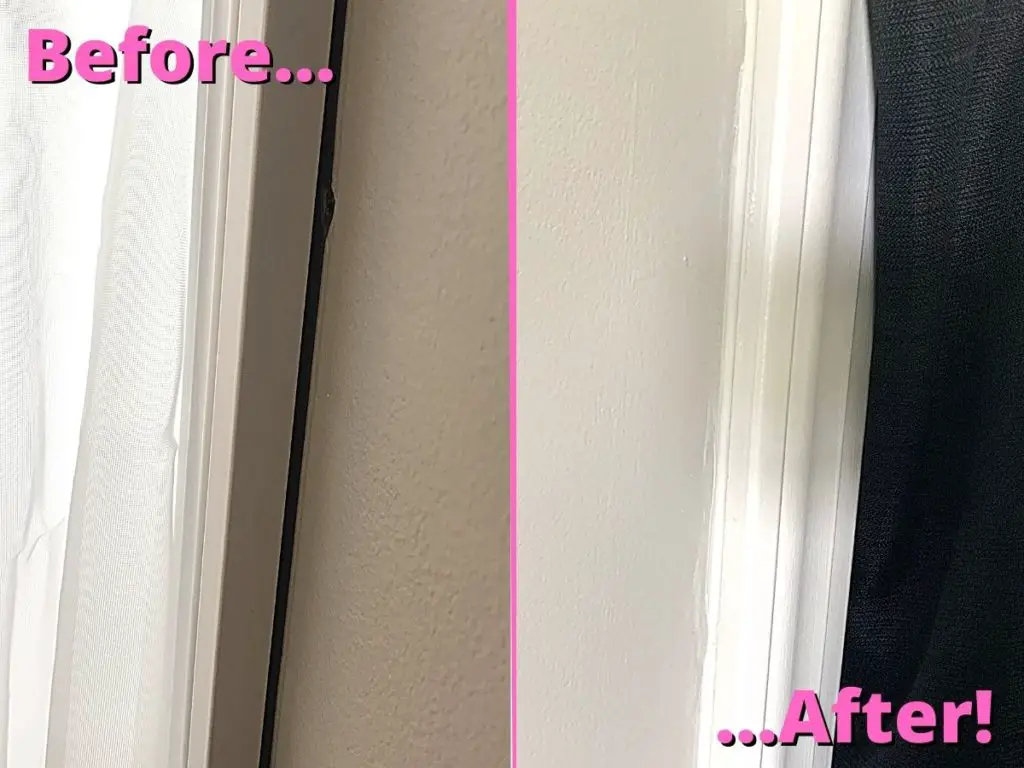
Continue to caulk and wipe until all of the gaps around the window trim and wall are filled.
Then you’re done! Let the caulk dry and admire your handiwork!
How To Fix Gaps In Mitered Joints
Now that your window trim is secure against the wall, it’s time to fix any gaps in the miter joints on your window trim.
It’s crucial that the trim is caulked and secured against the wall before fixing the imperfect mitered corners because otherwise, any fix you do will crack as soon as the window is bumped.
That would be a big waste of time and money. So, now that your casing is secure, check out my tutorial for easy steps to fix those mitered corners.
It will help your window trim look perfect!
Other FAQs About Filling Gaps Between Window Trim & The Wall
Here are some other frequently asked questions about filling gaps between the window casing and the wall to help you make your trim look flawless!
Should There Be A Gap Between Window & Trim?
Gaps between window and trim should be filled in with backer rod (if the gap is 1/4 inch or larger) and caulk. Filling the gap helps support the window trim from moving and coming loose, and also gives the window a clean look.
What To Use To Fill Gaps Around Interior Windows?
To easily fill gaps around interior windows, use painter’s caulk. This caulk is easy to paint and expands and contracts as the window moves with minimal cracking. Painting the caulk can help hide the “yellowing” that caulk naturally does over time.
Final Thoughts On Filling Gaps In Casing
There you have it!
Filling gaps around window casing is a relatively simple task that makes a big difference in the appearance of your windows.
And it’s a super cheap and quick DIY, both of which are things that we love to see in a solid DIY project!
Hopefully, this helps you finish the trim around your windows easier.
Catch you in my next post!

By Christine
Christine is a blogger and DIYer who tackles home renovation and decorating projects alongside her husband, Adam, for their personal residence and rental properties. Although she successfully tackles large renovation projects to avoid expensive contractor fees and bring her vision to life now, her path to success was not easy.
Go here to read her story, “From a Clueless First-Time Homebuyer To A Confident DIYer Creating Her Dream Home One Project At A Time“.
Popular Posts


DIY With Christine is a participant in the Amazon Services LLC Associates Program, an affiliate advertising program designed to provide a means for sites to earn advertising fees by advertising and linking to Amazon.com.