*My posts may contain affiliate links, which means I may receive a small commission, at no cost to you, if you make a purchase through a link! Thank you for supporting my website!*
Last updated on September 11th, 2024 at 09:26 am
The Best Placement For Outlets In A Kitchen
Wondering where you should install outlets in your kitchen? Well, look no further because I have your answer!
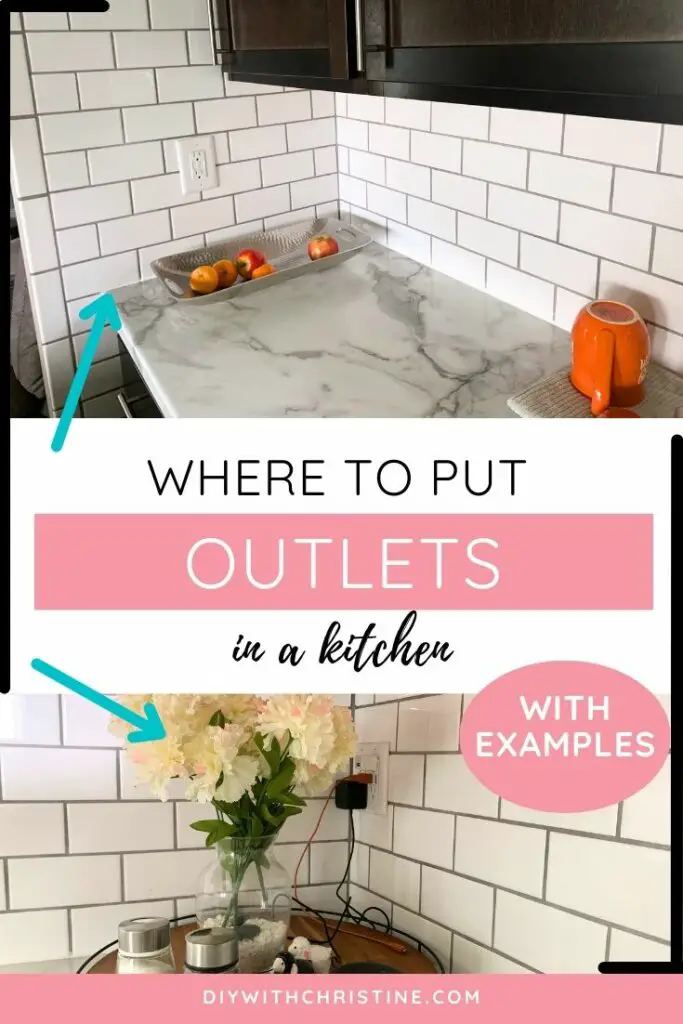
The best places to install outlets in a kitchen are by the sink, by the stove, behind the refrigerator, in each corner, above or behind the microwave, on the side of the kitchen island, and in any area where there isn’t an outlet within a 48-inch span.
Now that we’ve got the basics out of the way, let’s break into the details further so you can ensure you have plenty of outlets to make your daily life easier.
Let’s dive in!
Quick Navigation: Where To Install Outlets In A Kitchen
- Install One Outlet By The Sink
- Install One Outlet By The Stove
- Install One Outlet Behind The Fridge
- Install A Double Outlet In The Corner
- Install An Outlet Above Or Behind The Microwave
- Install A Double Or Two Single Outlets In The Kitchen Island
- Install An Outlet If There Isn’t One Within A 48 Inch Span
- Other FAQs About Outlet Placement In A Kitchen
- Final Thoughts
*NOTE: Be sure to check your local Electrical Code before installing outlets in your kitchen island to ensure you are staying compliant. Each state has completely different rules, so your rules might not be strict on the placement of the outlets!
One: Install One Outlet By The Sink
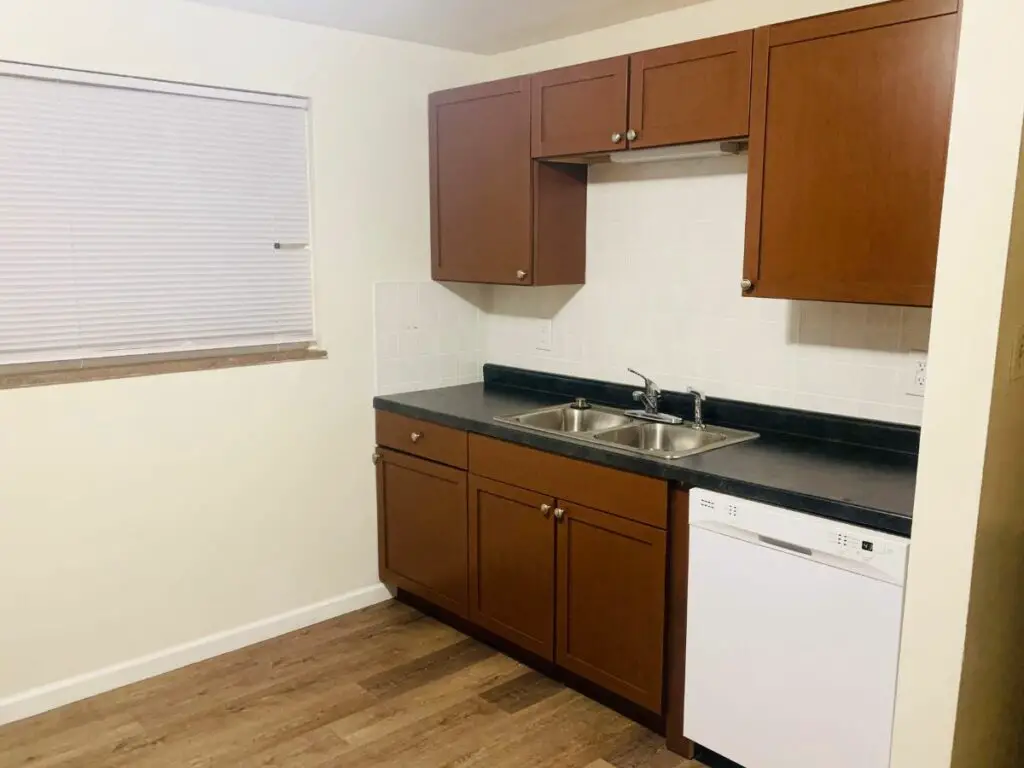
The best location to install an outlet near a kitchen sink is typically within 2 feet of the sink. This location will be most convenient to use small appliances such as a crockpot or blender then have it in close range to be able to wash when you’re done.
Also, if you have any cleaning tools that you need to be plugged in while using the sink, then this will let the cord be close enough to the sink for the tool to be able to reach whatever you are cleaning.
Keep in mind, according to the National Residential Electrical Code, an outlet must be within 2 feet of the sink to be compliant.
Two: Install One Outlet By The Stove
The best location to install an outlet near a stove or range is typically within 2 feet of the range. This location will be most convenient to use any small cooking tools such as an electronic whisk or mixer while you are cooking or baking.
Other small appliances such as crockpots, blenders, countertop skillets, or toasters are convenient to use next to a stove because oftentimes, you are preparing more than one food item at once.
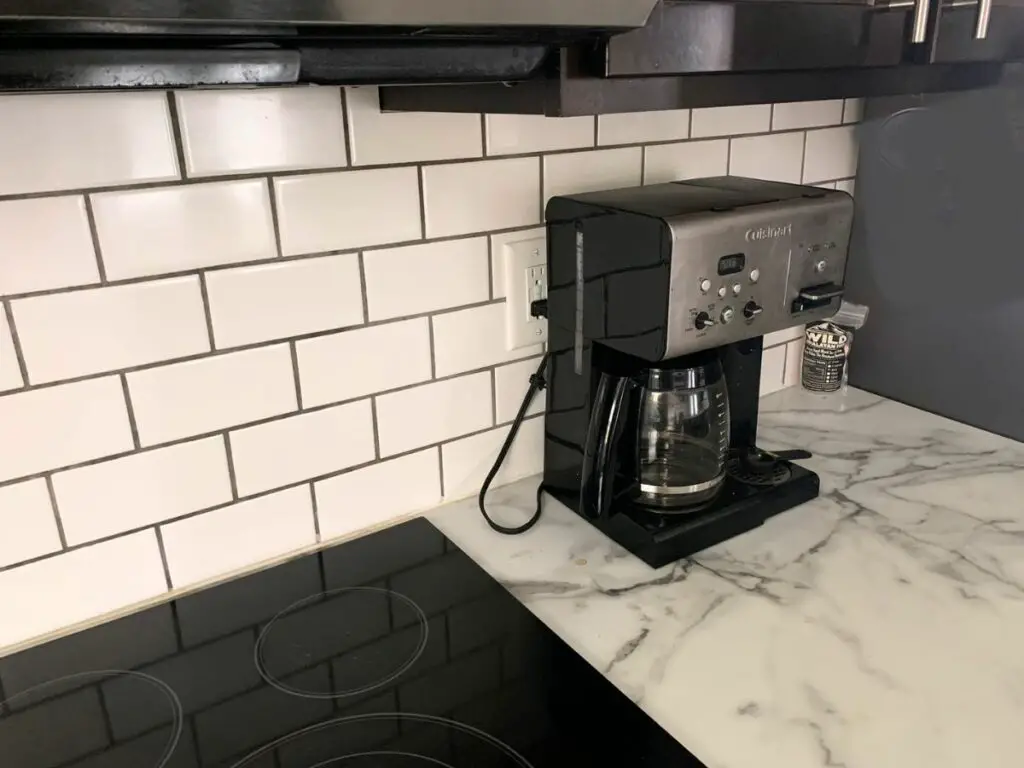
You will also need a 50 amp range power outlet and a range power outlet cover installed 1-2 feet from the ground to be able to plug in your range.
Three: Install One Outlet Behind The Fridge
The best location to install an outlet near a refrigerator is typically installed 1-2 feet from the ground behind the refrigerator. This location will be the easiest for the refrigerator cord to reach and it will keep the cord out of your line of sight.
Outlets for refrigerators should be on a 20 amp circuit with GFCI protection.
If you can run a new electrical wire to put the refrigerator on its own breaker, then that’s even better. That will prevent another appliance from randomly tripping the breaker and the refrigerator from losing electricity in the process.
Four: Install A Double Outlet In The Corner
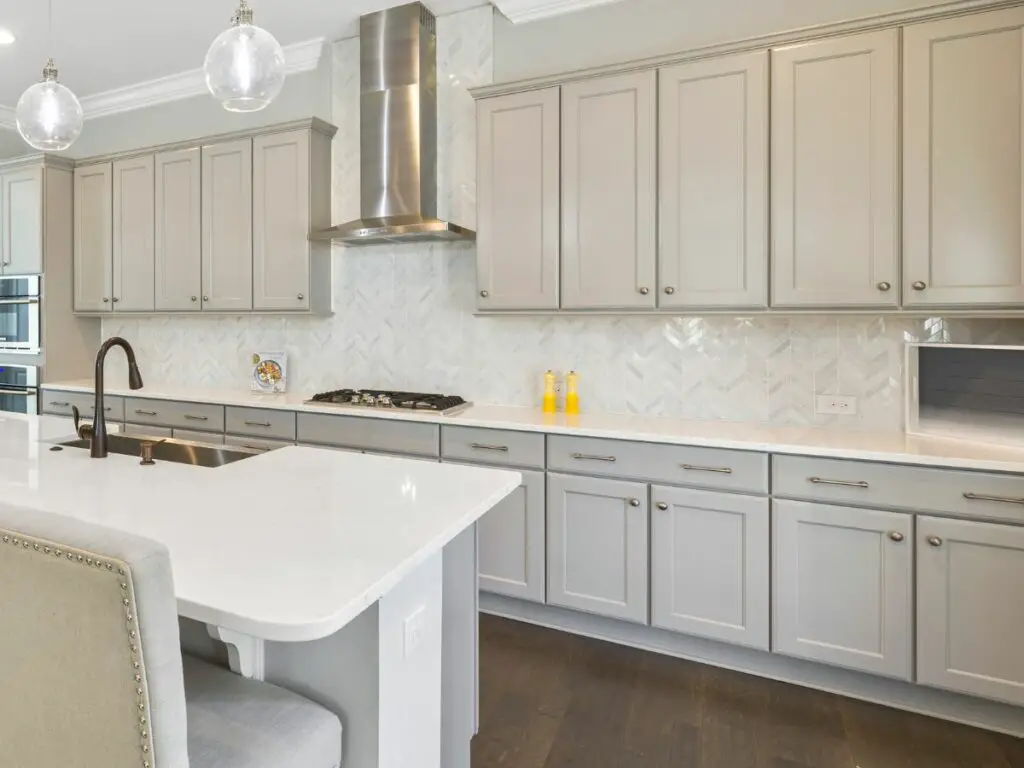
The best locations to install an outlet over a countertop are typically in each corner and on each end of the wall with the countertop underneath. These locations will provide plenty of access to electricity for all of your small appliances, phone chargers, smart speakers, and more.
Plus, with the outlets being located in the corners and ends of the countertops, you’ll be able to hide the cords to the appliances that sit on the countertop permanently more easily.
If there is already an outlet near one of these locations because of one of the locations listed in the other steps, then it’s up to you whether you make this location a double outlet or not.
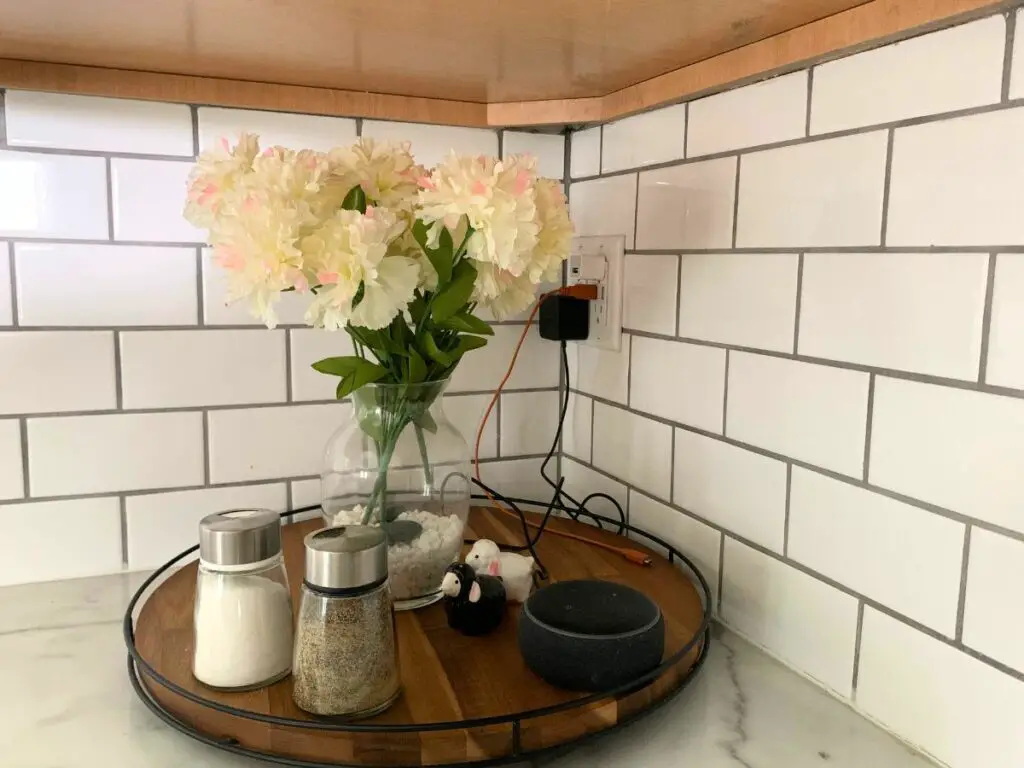
For our kitchen, we find it really convenient to have a double outlet in the corner of our L-shaped kitchen that has USB ports because we can keep our Alexa smart speaker plugged in with the cord mostly hidden, and we can charge our phones with the cord mostly hidden while we are using the kitchen.
If you have a U-shaped kitchen, then having access to outlets in both corners and the ends of the U will give you plenty of spots to plug items in. Or if you have a galley or single-wall kitchen, then adding an outlet to each end of the run of cabinets will provide the same outcome.
Five: Install An Outlet Above Or Behind The Microwave
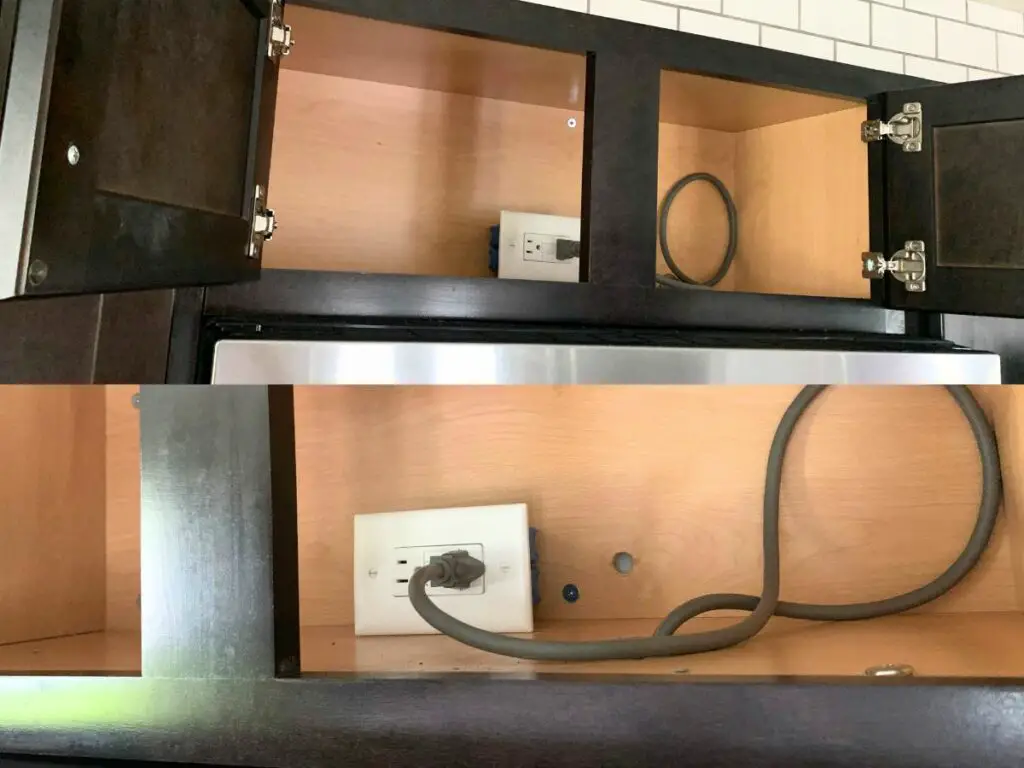
The best location to install an outlet for a microwave is typically in the cabinet above the microwave (if it’s mounted over the stove) or in the back of the cabinet that the microwave is sitting in (if’s installed in the kitchen island or in a pantry cabinet). These locations will hide the microwave cord fully.
Since our microwave is mounted over the stove, we had to install an extra outlet in the small cabinet above and drill a hole through the bottom of the cabinet to be able to feed the plug through the cabinet and plug it into the outlet.
A similar setup would be required if we had our microwave installed in the kitchen island or our pantry cabinet.
Six: Install A Double Or Two Single Outlets In The Kitchen Island
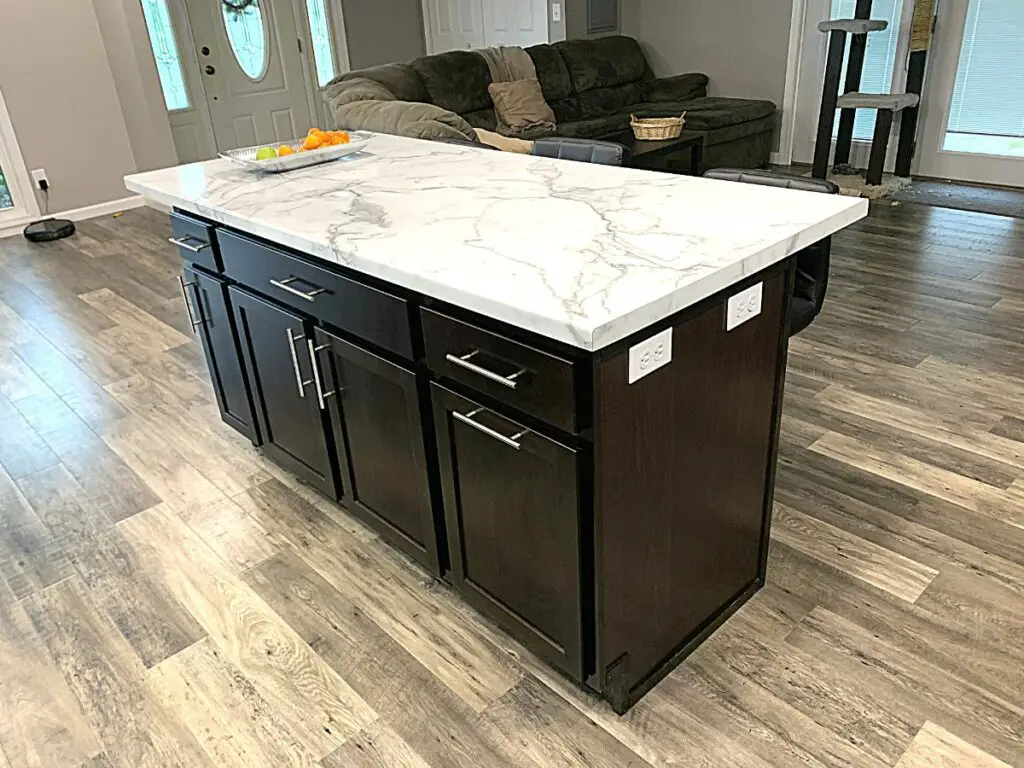
The best location to install outlets on a kitchen island is typically on a side without an overhang, preferably nearest the sink and/or stove. This location will be most convenient to use small appliances such as a crockpot, toaster, blender, etc while cooking.
You can check out my other article that goes into more detail on where and how to install outlets in the kitchen island here.
Seven: Install An Outlet If There Isn’t One Within A 48 Inch Span
Other great locations to install outlets in a kitchen are any area where the cabinets span more than 12 inches and the next closest outlet is over 48 inches away. The National Residential Electric code requires there to be outlets within 4 ft of each other so cords are never dangling across the kitchen.
When you are planning out the locations of the outlets after following the 6 steps above, do one final check to see if there is any span of cabinets that doesn’t have an outlet within a 48-inch reach.
If there is a section, add another outlet between the other two to allow for easier plug-in access for most appliances.
One final tip when installing outlets in the kitchen – to keep the outlets more inconspicuous, install them lower on the countertop so small appliances and decorations can easily mask them.
That’s it! If you install outlets in all of these locations, you will have plenty of areas to plug in your kitchen appliances, and you should be up to code.
As a reminder, I am not a certified electrician, so if you are ever worried about something, contact a local Electrician to verify your plan before starting any installation or rewiring.
Other FAQs About Outlet Placement In A Kitchen
Here are some other frequently asked questions about outlet placement in a kitchen to help you plan out your wiring with ease.
What Goes First Outlets Or Backsplash?
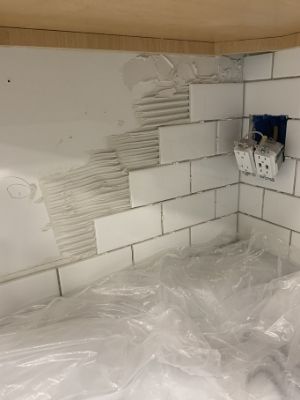
The electrical box is installed before the drywall is installed. Then the backsplash is installed on the drywall around the electrical box, then some spacers and the outlet are installed so the outlets are even with the thickness of the backsplash. Finally, the outlet plate cover is installed.
Use these outlet spacers found at Amazon to adjust your outlets to the thickness of your backsplash so the outlet cover will sit over the outlet properly and the outlet will have the proper support.
Do All Outlets In A Kitchen Need To Be GFCI?
According to the National Residential Electric Code, all outlets within 6 feet of a water source or used for items on a countertop should be GFCI compliant. If a regular outlet is connected to a GFCI outlet then it is considered to be GFCI compliant.
Final Thoughts On Outlet Placement In A Kitchen
There you have it!
Oftentimes, the more outlets you can install, the more convenient using the small appliances in your kitchen will be.
At a minimum, you want to install 5 GFCI outlets in a kitchen (one by the sink, one by the stove, one behind the refrigerator, one behind or above the microwave, and one more if an area is more than 4 ft away from another outlet or if there is a kitchen island.
Ideally, you would install 6 or 7 to provide plenty of spots to plug in your appliances.
Hopefully, this guide helped you plan out the best locations for the outlets in your kitchen.
Catch you in my next post!

By Christine
Christine is a blogger and DIYer who tackles home renovation and decorating projects alongside her husband, Adam, for their personal residence and rental properties. Although she successfully tackles large renovation projects to avoid expensive contractor fees and bring her vision to life now, her path to success was not easy.
Go here to read her story, “From a Clueless First-Time Homebuyer To A Confident DIYer Creating Her Dream Home One Project At A Time“.
Popular Posts
DIY With Christine is a participant in the Amazon Services LLC Associates Program, an affiliate advertising program designed to provide a means for sites to earn advertising fees by advertising and linking to Amazon.com.

