*My posts may contain affiliate links, which means I may receive a small commission, at no cost to you, if you make a purchase through a link! Thank you for supporting my website!*
Last updated on February 28th, 2024 at 04:23 pm
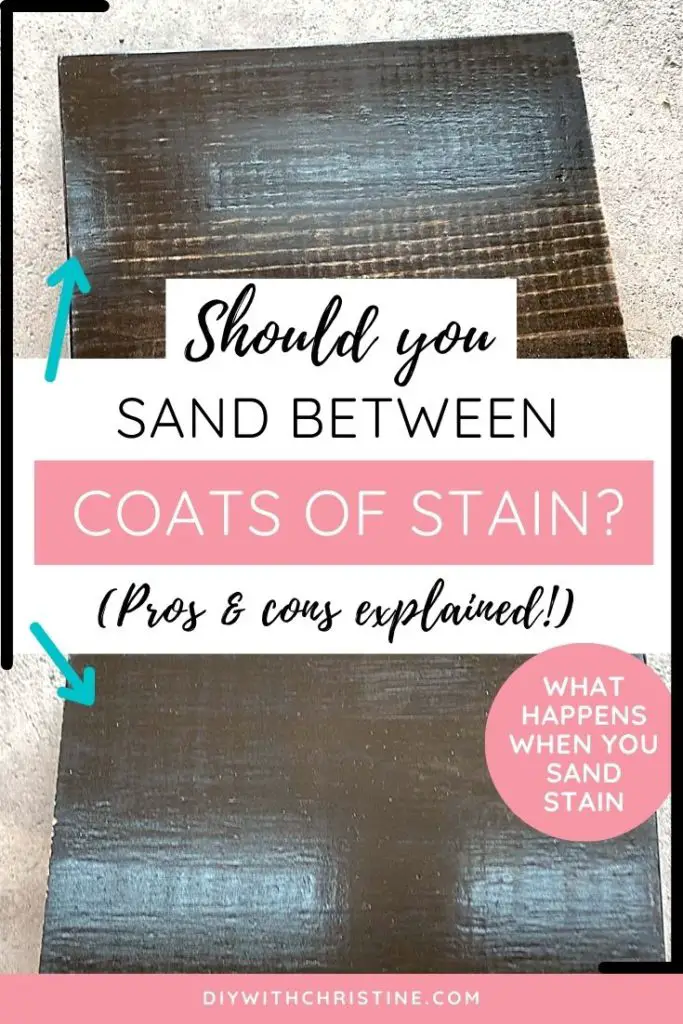
Wondering if you need to sand between coats of stain? Well, look no further because I have your answer!
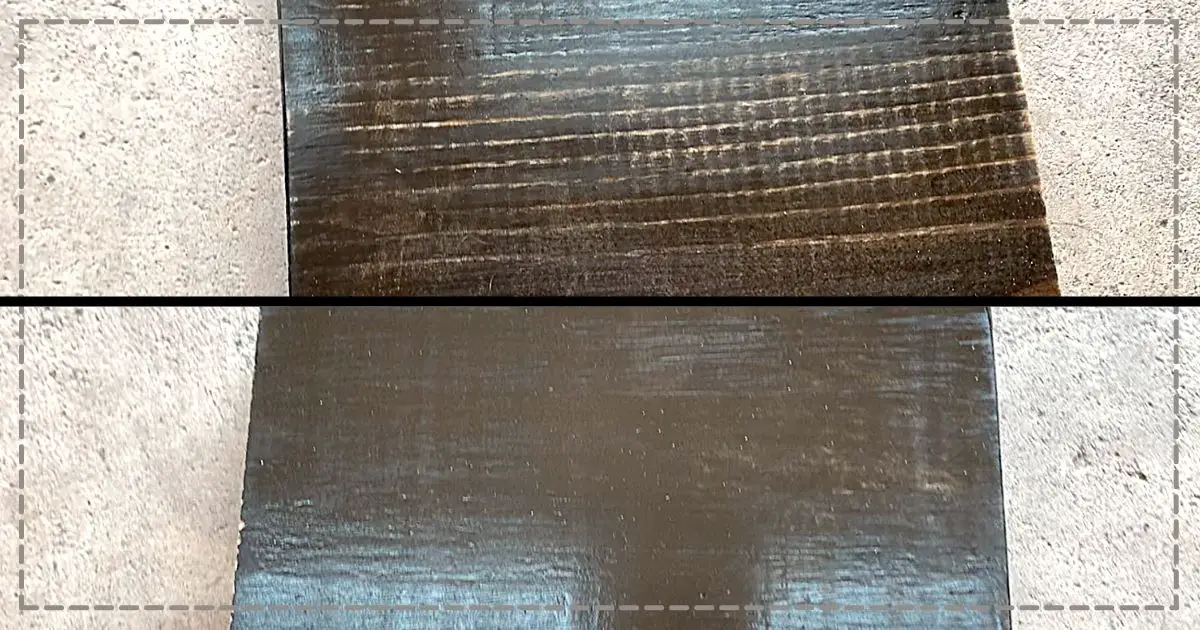
A light sanding between coats might be necessary when using water-based stains to remove any roughness from the grain raising. Over-sanding or sanding other types of stain can remove the layer of stain altogether, so oftentimes it is better to not sand between coats of stain at all.
Now that we’ve got the basics out of the way, let’s break into the details a little further so you can get the best stain application on your wood project.
Let’s dive in!
Quick Navigation: Sanding Between Coats Of Stain Pros & Cons
- When Should You Sand Between Two Coats Of Stain?
- Pros Of Sanding Between Two Coats Of Stain
- Cons Of Sanding Between Coats Of Stain
- Other FAQs About Sanding Between Coats Of Stain
- Final Thoughts
When Should You Sand Between Two Coats Of Stain?
Generally, it is not necessary to sand between two coats of stain.
You should always sand the wood before applying the first coat of stain. However, after that, you can simply apply additional coats of the stain without sanding the surface again. This is the case for most types of stains.
However, when using a water-based stain, it is recommended to sand between each coat of stain.
This is because water stain raises the grain in the wood and creates a rougher texture after each coat of stain is applied.
To smooth this rough texture out, use 300 grit or higher sandpaper and sand very lightly so as not to remove a minimum amount of the actual stain layer.
For other stains, such as gel-based or oil-based, you should not sand the wood between two coats of stain.
These stains do not raise the grain of the wood, so there shouldn’t be a rougher texture to sand away after the initial sanding.
Any sanding between coats for gel- or oil-based stain just risks the color of the stain being sanded off.
Pros Of Sanding Between Two Coats Of Stain
While sanding between coats of stain isn’t necessary, it can be helpful in some cases.
When sanding between water-based stain coats, we recommend using a fine grit, such as 320 or 400. This will ensure that you don’t make visible scuff marks on the wood.
After sanding, wipe the wood thoroughly to remove dust before applying the next coat of stain.
(Note: Do not wet the rag with water before wiping otherwise you will just raise the wood grain again and have to sand again.)
Pro #1: Sanding Eliminates Uneven Spots
Despite your best efforts, the stain might leave some rough spots on the wood.
To remove the uneven areas and ensure your finished product is smooth and flawless, you can sand the wood lightly after applying the first coat of stain.
Water-based stains are a bigger problem as they cause the wood to swell and the grain to stand out on the surface.
Lightly sanding the wood will smooth everything over and result in a higher-quality finished product.
Pro #2: Sanding Helps Lighten The Stain
Sometimes a stain turns out much darker than you anticipated.
First, you can lighten the stain by sanding off some of the stain. This will lighten the stain and also show the grain more.
Then, you can apply a lighter (or less concentrated) stain to ensure the wood doesn’t turn too dark again.
Cons Of Sanding Between Coats Of Stain
Now that we have considered the advantages of sanding between coats of stain, you might wonder if there are cons to doing so.
Is there a reason you shouldn’t sand between coats? Well, yes, there are. There are three main disadvantages of sanding between coats of stain.
Con #1: Sanding Can Remove The Majority Of The Stain
The majority of stains (water-, oil-, or gel-based) recommend avoiding sanding between coats.
This is because you risk sanding too much and removing the stain color entirely. Most store-bought stains are more “paint-like” than “stain-like”.
When I say “paint-like”, I’m referring to the fact that the majority of the color pigments are sitting on top of the wood rather than fully being absorbed into the wood.
When that happens, it is much more likely for the stain to just be sanded off even with finer grit sandpaper resulting in more work and a poorer quality stain job on your end.
However, dyes actually absorb into the wood. Just like the store-bought stains, though, oil-based dyes do not need to be sanded between coats they do not raise the wood grain.
And water-based dyes can and likely should be sanded between coats to reduce the wood grain swelling during application.
Con #2: Sanding Can Alter The Wood’s Grain
As mentioned above, sanding wood too much between stain coats can alter the wood’s appearance.
For example, if you sand too much of the wood away, the natural grain will disappear, and your wood won’t look as beautiful.
In addition, the more you sand with a finer sandpaper, the more closed the wood grains get. So over-sanding actually blocks the wood from absorbing more stain.
Since sanding between coats requires such a fine sandpaper grit, it’s usually recommended to minimize the amount of sanding or skip it altogether.
Furthermore, sanding will lighten the current stain coat. This may be the opposite of what you aim to do if you apply a second stain coat to darken the wood.
If you want to darken the wood with two coats of stain, we recommend wiping away the excess stain, letting the wood dry, and then applying another coat of stain.
Con #3: Sanding Takes Time And Is Messy
Since the majority of stains recommend NOT sanding between coats, why take on this extra step?
Sanding is often messy and creates extra work. If sanding between coats of stain isn’t creating a huge advantage, I often opt to not take on the extra work.
Although, if you still aren’t sure whether sanding between coats of stain is worth the extra effort or not, I always recommend testing it on a scrap piece of wood before doing it to your real project.
That will give you the best solution to what you should and should not do for your unique stain type and wood type.
Other FAQs About Sanding Between Coats Of Stain
Here are some other frequently asked questions about sanding between coats of stain to help you get a better stain application on your wood project!
What Happens If You Sand After Staining Wood?
Sanding after staining wood can lighten the color of the stain or remove the layer of stain altogether and alter the grain of the wood. Most stain manufacturers recommend NOT sanding between coats of stain for best results.
Should You Apply A Second Coat Of Stain?
Applying a second coat of stain is usually not necessary, but it can help darken the color of the stain if desired. Wait until the first coat of stain is fully dry before applying the second coat of stain.
Final Thoughts On Sanding Between Coats Of Stain
There you have it!
Sanding between coats of stain is typically not necessary unless you are working with water-based stain because of the roughness the water causes in the wood. Other stains, such as oil and gel stains, do not cause this roughness.
Oftentimes, it is better to not sand between coats of stain, and only sand between coats of polyurethane.
Catch you in my next post!

By Christine
Christine is a blogger and DIYer who tackles home renovation and decorating projects alongside her husband, Adam, for their personal residence and rental properties. Although she successfully tackles large renovation projects to avoid expensive contractor fees and bring her vision to life now, her path to success was not easy.
Go here to read her story, “From a Clueless First-Time Homebuyer To A Confident DIYer Creating Her Dream Home One Project At A Time“.
Popular Posts


DIY With Christine is a participant in the Amazon Services LLC Associates Program, an affiliate advertising program designed to provide a means for sites to earn advertising fees by advertising and linking to Amazon.com.