*My posts may contain affiliate links, which means I may receive a small commission, at no cost to you, if you make a purchase through a link! Thank you for supporting my website!*
Last updated on February 29th, 2024 at 04:57 pm
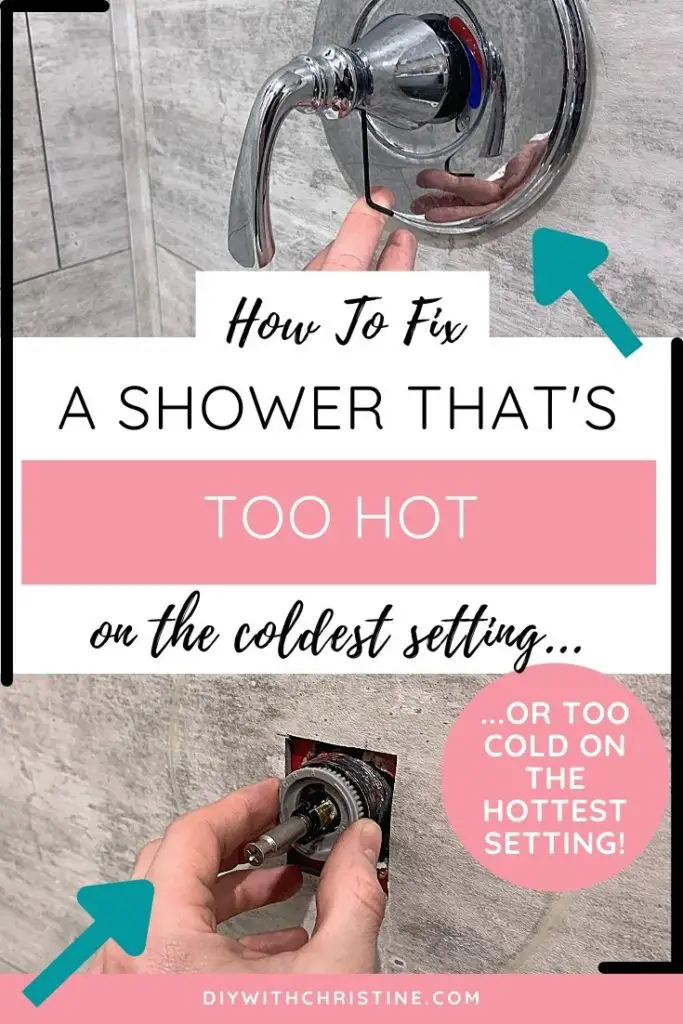
Wondering why your shower water is way too hot even though you’ve got it set to the coldest setting? (Or vice versa – why your shower water is way too cold even though it’s set to the hottest setting?) Well, look no further because I have your answer!
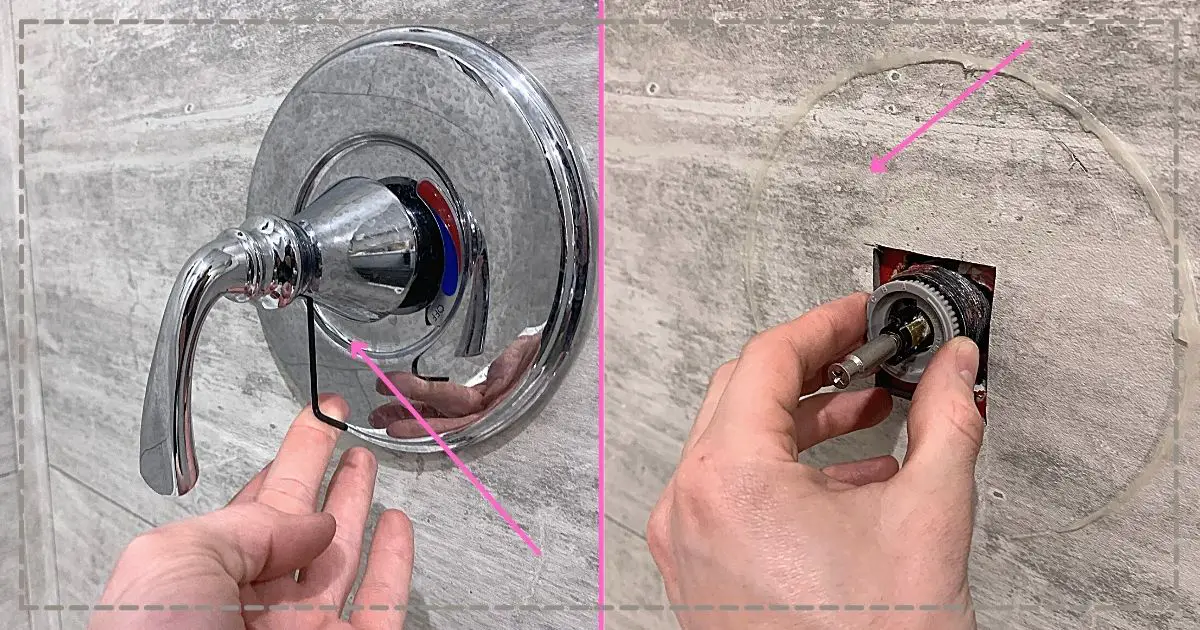
To fix shower water that is too hot (or too cold), remove the faceplate and handle, pry out the plastic temperature limiter, rotate it a 1/4 turn to the right to lower the temperature (or to the left to raise it), push it back in, and reinstall the faceplate and handle. The water can now limit (or allow more of) the hot water amount.
Now that we’ve got the basics out of the way, let’s break into the details a little further so you can achieve a water temperature that’s safe to use and also hot enough to have a comfortable shower.
(P.S. This tutorial is specifically designed for a Moen brand shower valve, but most other brands will have a temperature limiter inside that can be adjusted similarly as well.)
Let’s dive in!
Quick Navigation: How To Adjust Shower/Bathtub Water Temperature Control
- Remove Set Pin Underneath Faucet Handle
- Score Caulk Around Faceplate & Remove
- Move The Plastic Temperature Limiter
- Put The Faceplate & Handle Back On
- Screw The Set Pin Back In
- Caulk Around The Faceplate
- Other FAQs About Adjusting The Shower/Bathtub Water Temperature Control
- Final Thoughts
| Level Of Difficulty | Time To Complete |
|---|---|
| Easy | 10 Minutes |
| Material List | Tool List |
|---|---|
| Clear 100% silicone kitchen and bath caulk | Utility Knife |
| Flathead screwdriver | |
| Allen wrench set | |
| Caulk gun |
Step One: Remove Set Pin Underneath Faucet Handle
The first step to adjusting the shower water temperature control is to remove the set pin underneath the faucet handle.
To do this, you need a tiny allen wrench to untwist and remove the set screw.
I find these allen wrench sets found at Amazon to be extremely handy because you can try several of them until you find the perfect size for your project.
You also probably have a hundred of these laying around your house because every item that needs to be assembled nowadays seems to come with one haha.
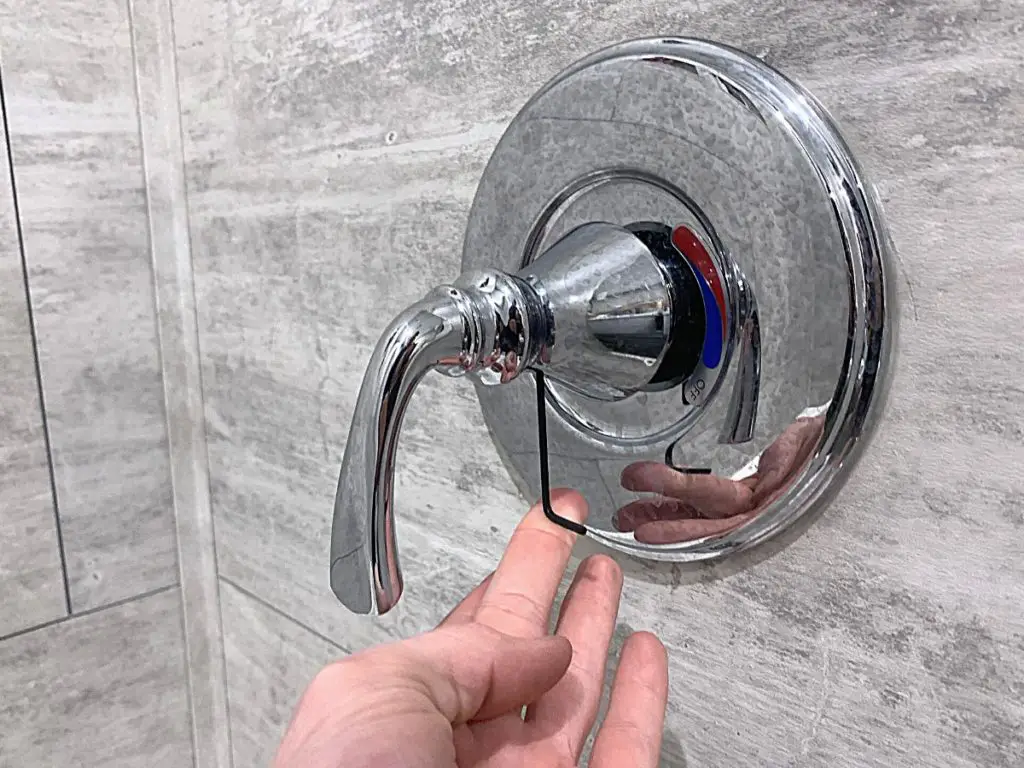
Once the set pin is off, slide the handle and the neckplate off the wall.
Step Two: Score Caulk Around Faceplate & Remove
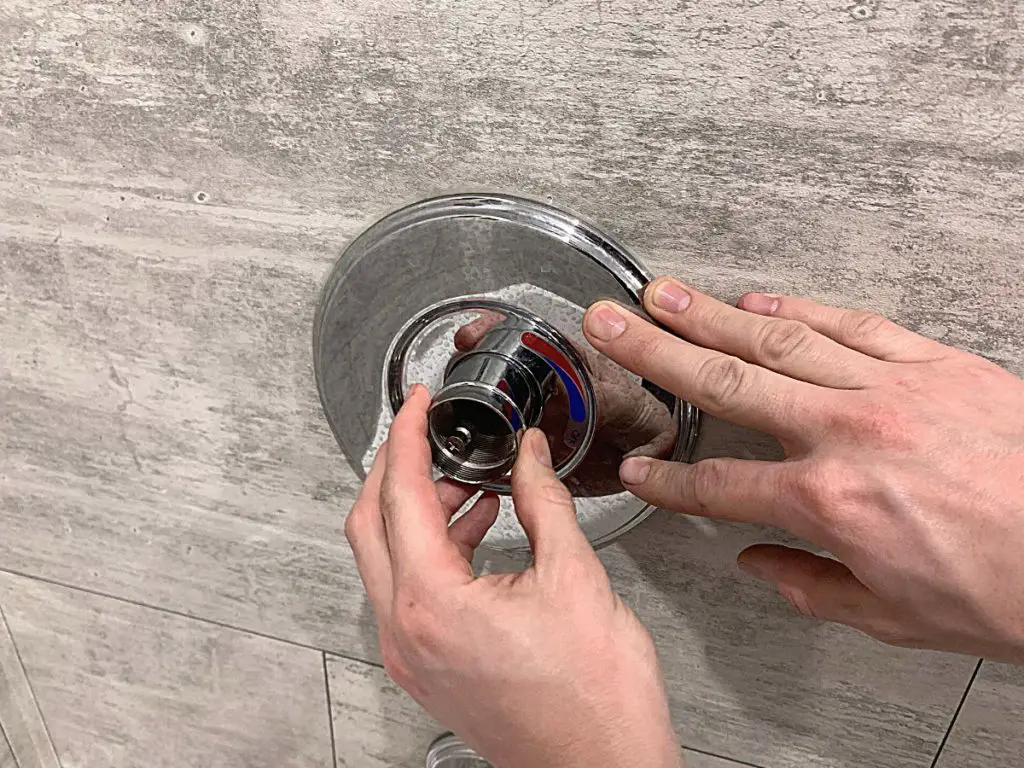
The next step to adjusting the shower water temperature control is to cut the caulk around the faceplate and remove it.
The faceplate around the handle is caulked 3/4 of the way around it to make sure water runs off and into the drain (instead of behind the handle and damaging the wall).
Use a utility knife to cut the caulk and pull the faceplate off.
Step Three: Move The Plastic Temperature Limiter
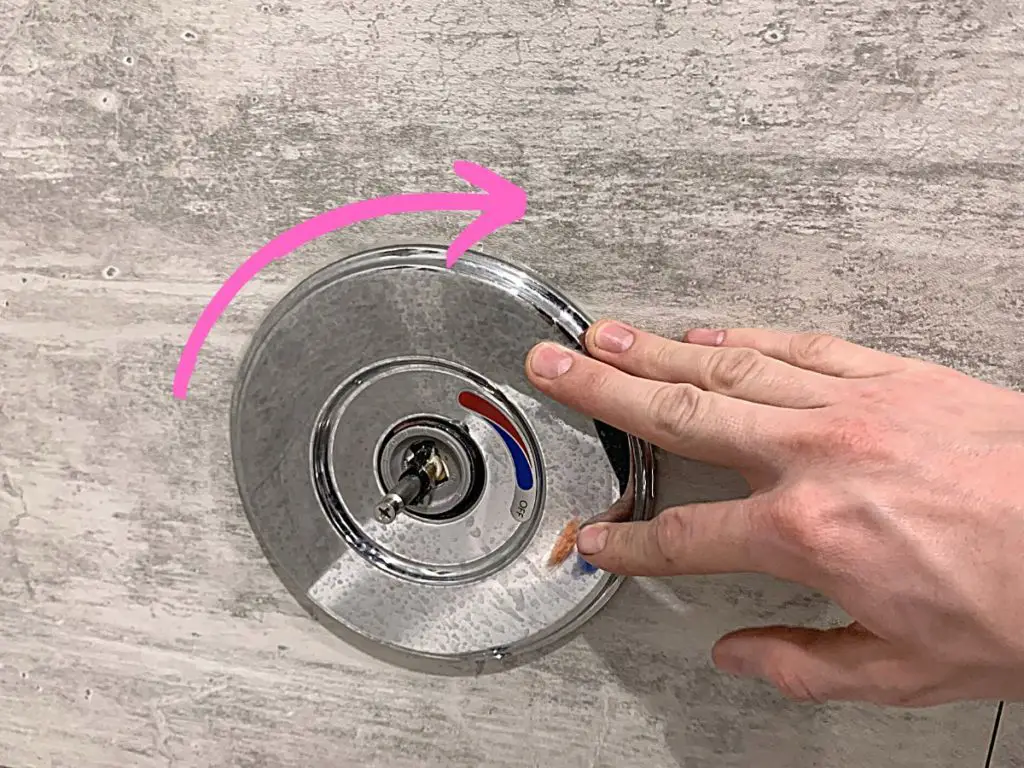
The next step to adjusting the shower water temperature control is to move the plastic temperature limiter.
These little, plastic pieces are set on the colder side as a safety feature to prevent a child or unaware person from accidentally receiving third-degree burns from too hot of water.
It’s an excellent safety feature that does let the water get hot enough to have a comfortable shower temperature without worrying about it causing major damage to a person.
However, if you like your shower a little hotter (or especially if you want to fill up a bath with a little hotter water so the warmth will last longer), then this valve will prevent you from getting the water hot enough.
Or on the flip side, maybe someone has already adjusted this valve in your shower and made it too hot for your children to safely use without your supervision.
Either way, it is an easy problem to fix.
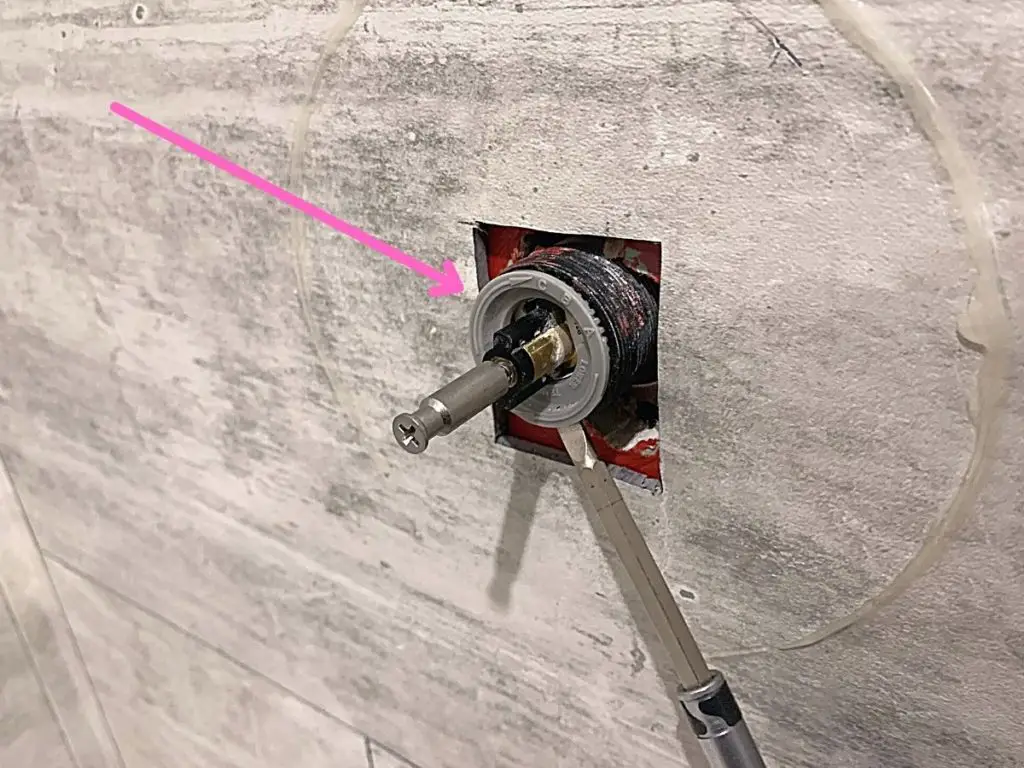
Use a flathead screwdriver to pop out the plastic limiter. On it, it will have directions for which way to rotate it to allow for hotter or colder water control.
For Hotter Water On A Moen Shower Valve: Twist the limiter 1/4 turn to the left.
For Colder Water On A Moen Shower Valve: Twist the limiter 1/4 turn to the right.
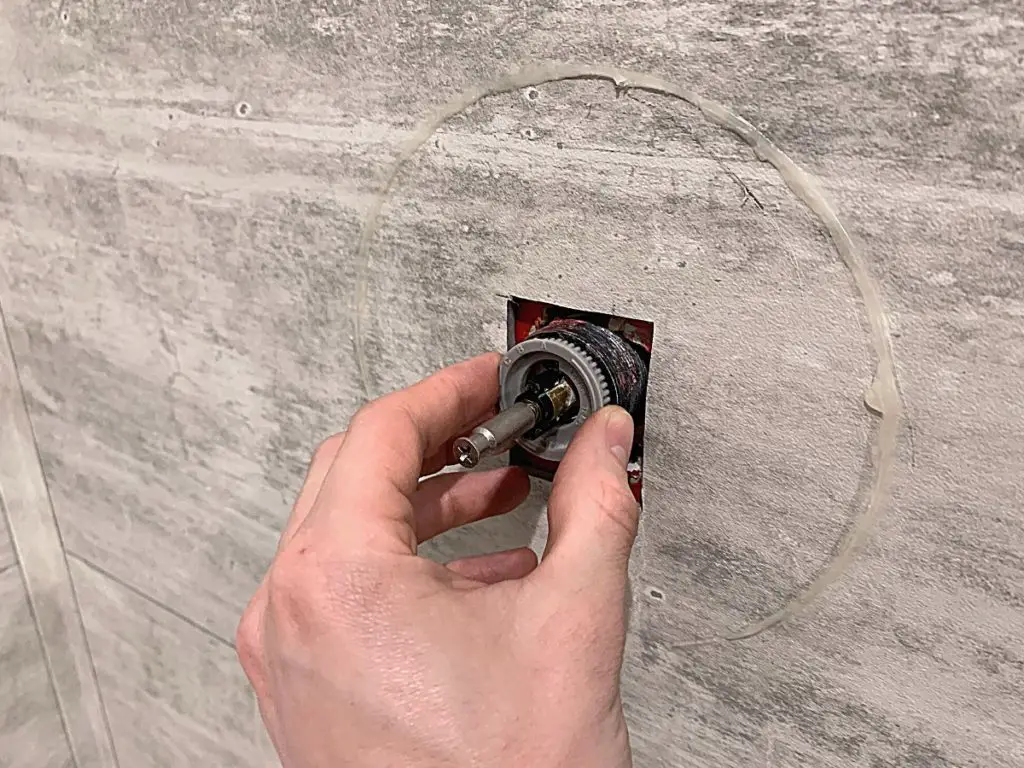
Then push the limiter back in place.
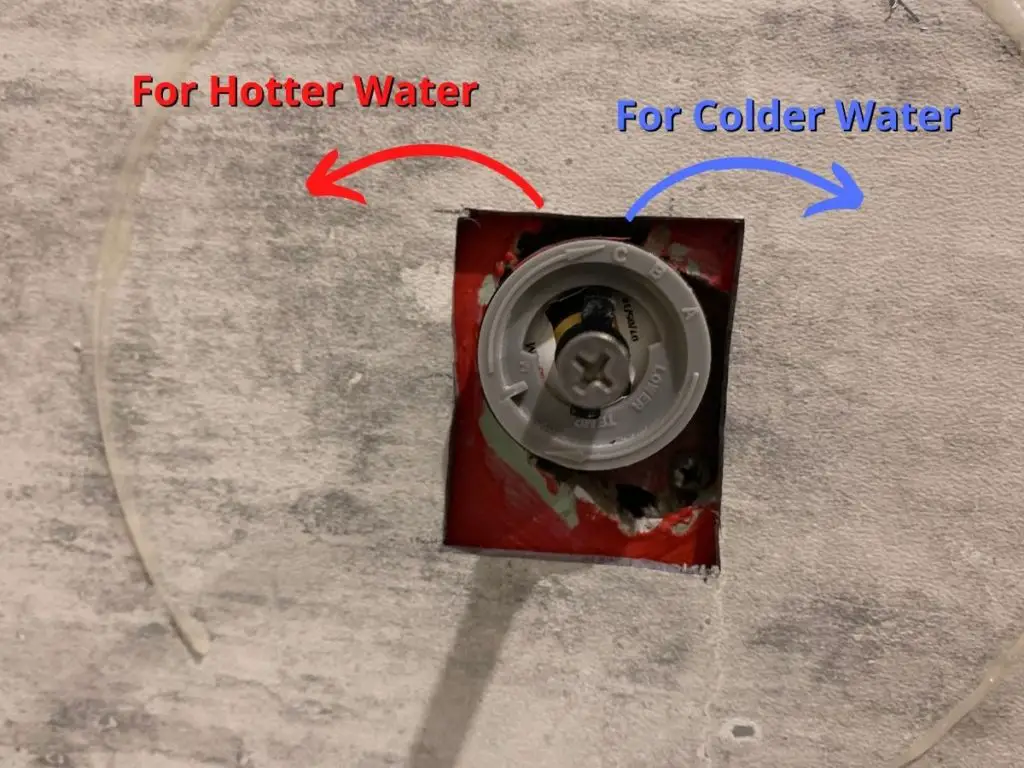
Ta-da! When you put the handle back on, you will be able to get hotter water on the hottest setting (or colder water on the hottest setting).
Step Four: Put The Faceplate & Handle Back On
The next step to adjusting the shower water temperature control is to put the handle back together.
First, put the handle back on and test the temperature to make sure it’s hot enough (or cold enough) on the setting that you want.
If it isn’t, then take the handle back off and twist the plastic limiter further and retest.
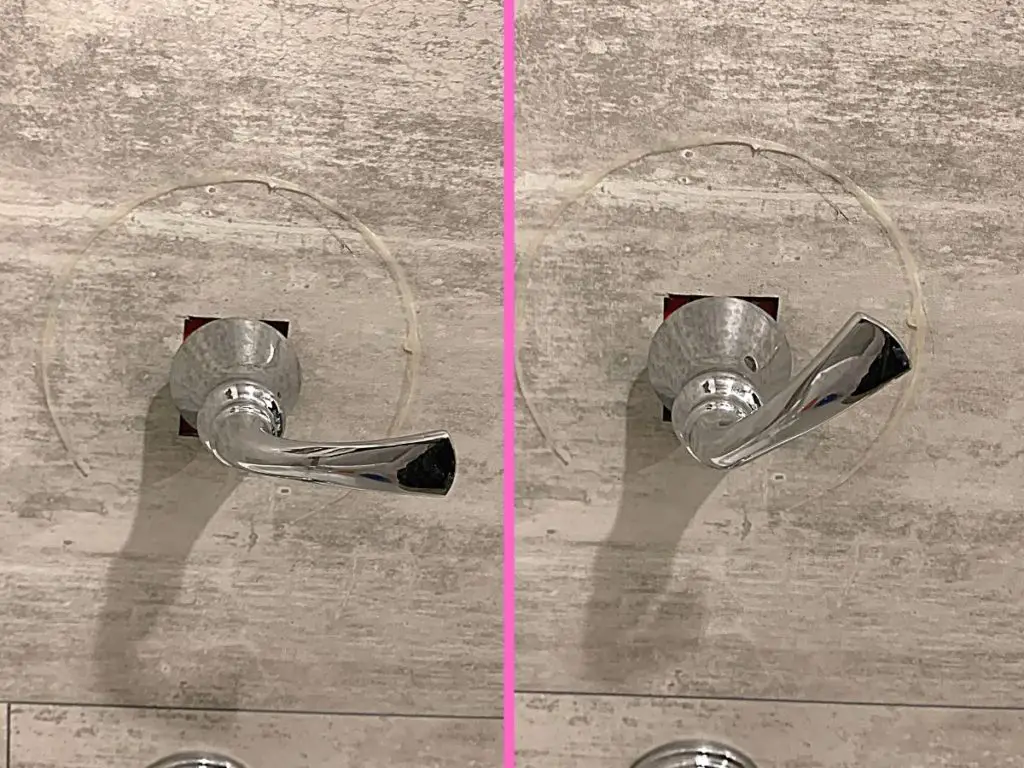
Once the temperature is correct, remove the handle and put the faceplate back on.
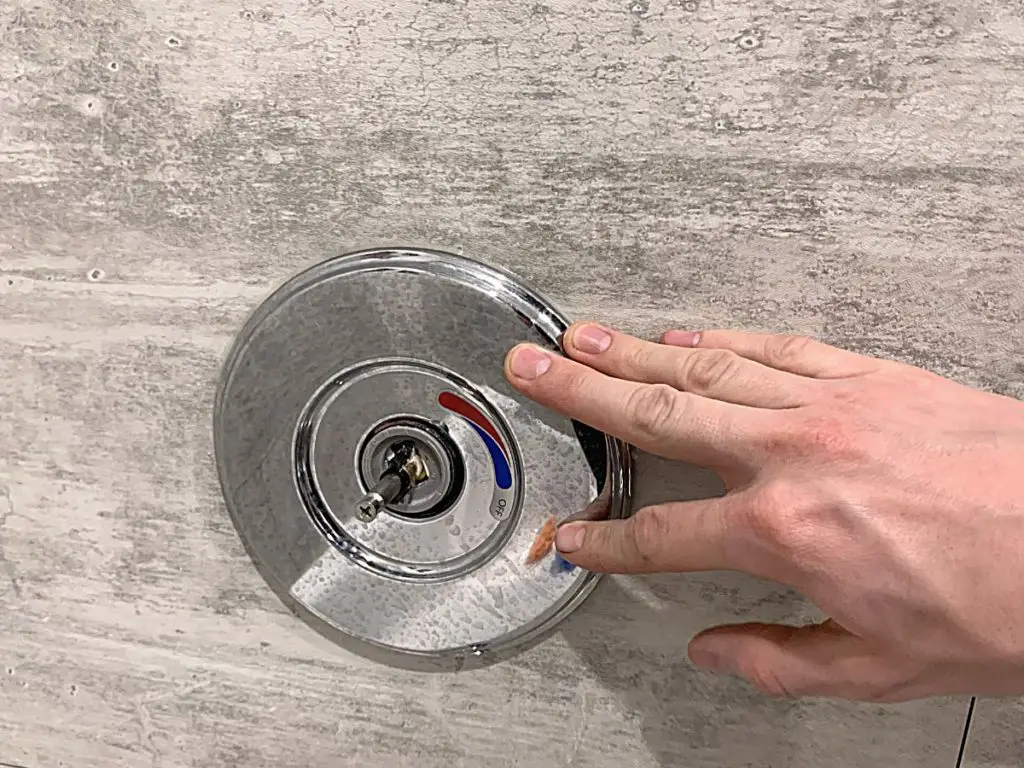
Then put the neckplate back on. (I honestly don’t know what that piece is called, so that’s what we are going with, haha!)

Then, finally, push the handle back on.
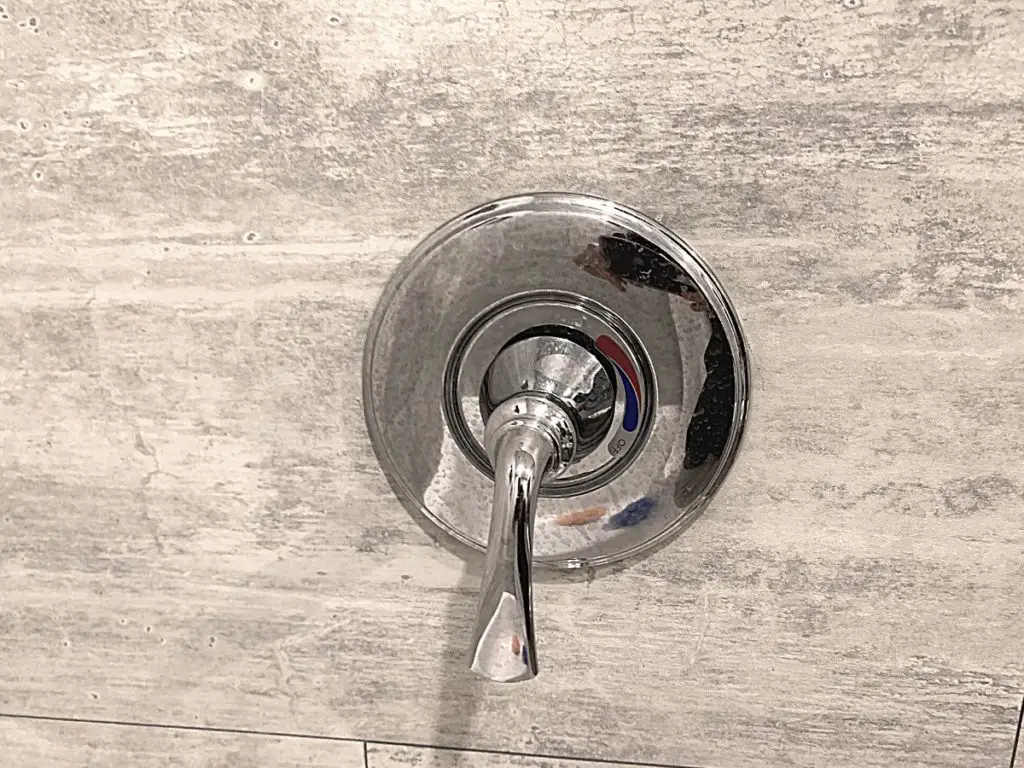
Step Five: Screw The Set Pin Back In
The next step to adjusting the shower water temperature control is to screw the set pin back in place.
Once the handle is fully assembled again, screw the set pin back in with the allen wrench.
The handle will be fully secured in place again.

Step Six: Caulk Around The Faceplate
The final step to adjusting the shower water temperature control is to caulk around the faceplate again.
As I mentioned above, only 3/4 of the faceplate is caulked. The reason behind this is that most water will run off the top, down the bead of caulk, and into the drain.
If any water does get behind the handle and faceplate, you want it to be able to drain out. So leaving the bottom of the faceplate uncaulked will allow any rogue water to escape.
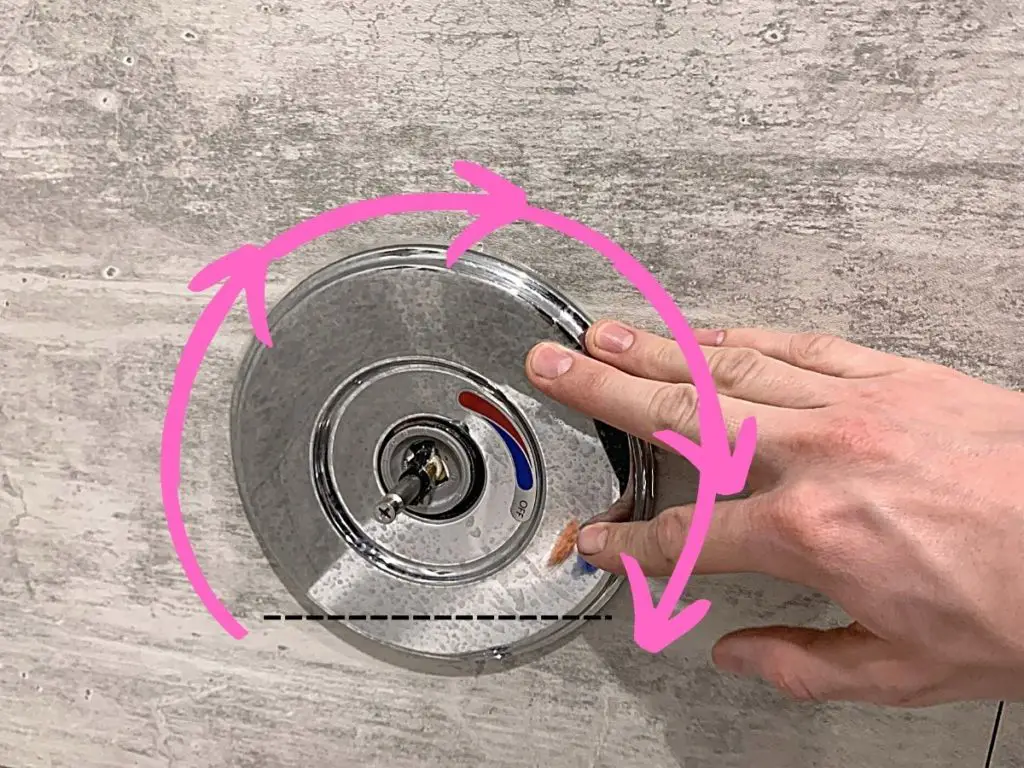
Use clear caulk to caulk around 3/4 of the faceplate and let the caulk dry fully before showering again.
I really like this caulk gun found at Amazon because it has a tip cutter built-in and it’s got a pressure-release function so that caulk does not continue to ooze out when you set the gun down. Pretty useful if you ask me.
All done! Your shower/bathtub water temperature control should be a better temperature to suit your bathing needs!
Final Thoughts On Adjusting The Shower/Bathtub Water Temperature Control
There you have it!
Adjusting the shower water temperature control on a Moen faucet is so easy and makes a world of difference!
Hopefully, this tutorial helped you make this simple fix, so you can enjoy your shower or baths more.
Catch you in my next post!

By Christine
Christine is a blogger and DIYer who tackles home renovation and decorating projects alongside her husband, Adam, for their personal residence and rental properties. Although she successfully tackles large renovation projects to avoid expensive contractor fees and bring her vision to life now, her path to success was not easy.
Go here to read her story, “From a Clueless First-Time Homebuyer To A Confident DIYer Creating Her Dream Home One Project At A Time“.
Popular Posts
DIY With Christine is a participant in the Amazon Services LLC Associates Program, an affiliate advertising program designed to provide a means for sites to earn advertising fees by advertising and linking to Amazon.com.

