*My posts may contain affiliate links, which means I may receive a small commission, at no cost to you, if you make a purchase through a link! Thank you for supporting my website!*
Last updated on February 28th, 2024 at 04:26 pm
Wondering if you have to sand the wood before staining? Well, look no further because I have your answer!
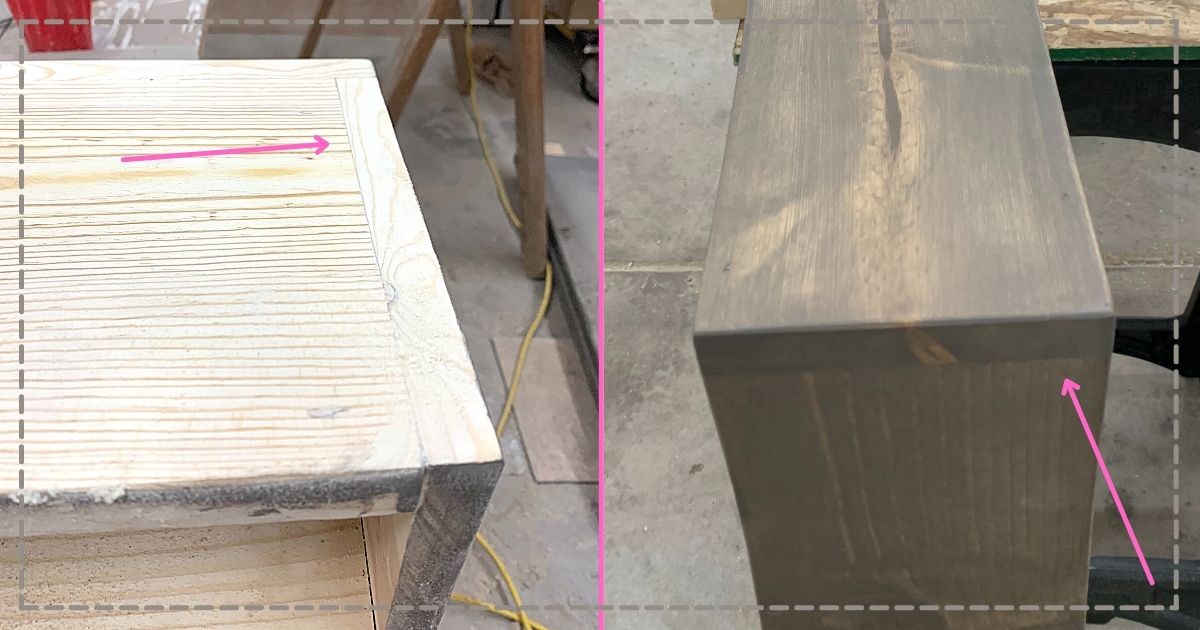
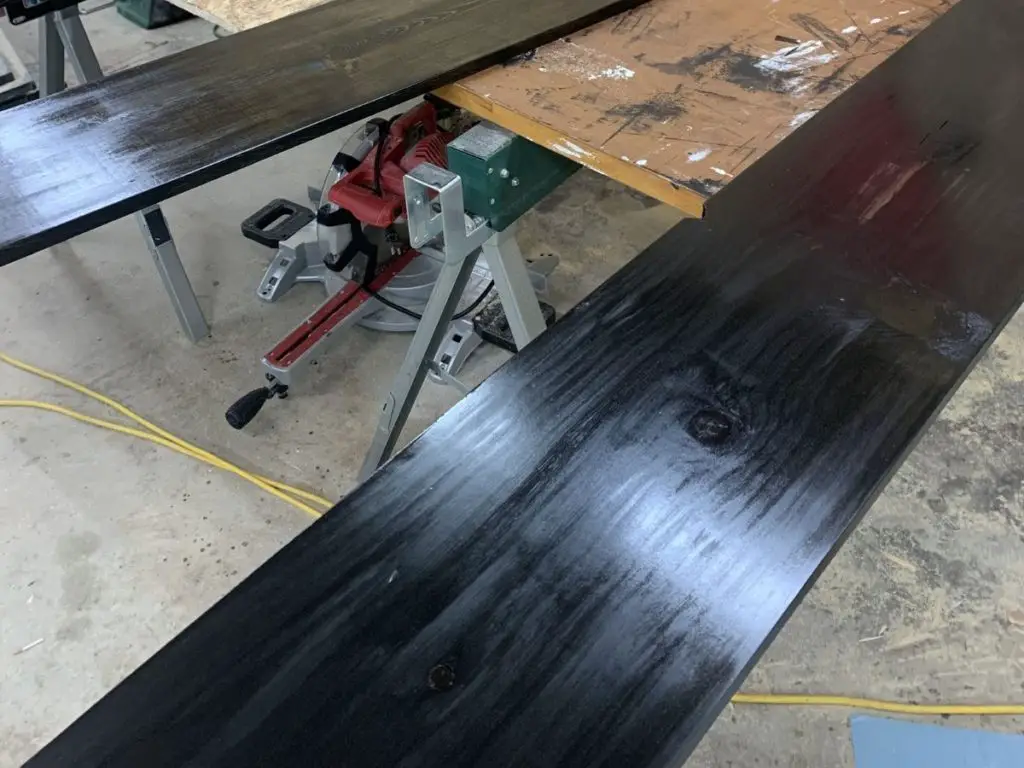
The secret to beautifully finished woodwork is to sand the wood down until perfectly smooth and blemish-free. The stain brings out scratches and uneven patches from orbital sanders, leaving an unprofessional, blotchy finish, so taking extra time to sand will render a sleek, beautiful finish.
Now that we’ve got the basics out of the way, let’s break into the details a little further so you can properly prep your wood project for stain.
Let’s dive in!
Quick Navigation: How To Sand & Prepare Wood For Stain
- Benefits Of Sanding Wood Before Staining
- Drawbacks Of Sanding Wood Before Staining
- What Happens If You Don’t Sand Wood Before Staining?
- How To Sand Wood Before Staining
- Other FAQs About Sanding Wood Before Staining
- Final Thoughts
Benefits Of Sanding Wood Before Staining
The case for sanding wood before staining is stronger than staining without sanding.
Here are some excellent reasons for sanding before staining:
- Sanding will remove the defects and blemishes from the wood.
- If you sand the wood thoroughly, you will get even stain coverage over the whole project.
- Sanding opens up the pores in the wood, which allows even stubborn, solid woods to accept the stain.
- There is less chance of blotchiness or bleeding back.
- Sanding helps to achieve the desired stain color.
- You can control the shape of the surface, especially when hand-sanding.
Drawbacks Of Sanding Wood Before Staining
There are two sides to a debate, so let’s consider the drawbacks of sanding before staining your wooden item:
- If you don’t sand the wood correctly and get all the scratches out, the stain will highlight them.
- You expose yourself to the wood dust, possibly leading to respiratory illnesses like asthma or causing allergic reactions.
- It is time-consuming and labor-intensive.

What Happens If You Don’t Sand Wood Before Staining?
If the wood looks smooth and even, it should be fine to proceed without sanding, correct? Not necessarily!
You should always sand the wood before staining it.
Liquids will always raise the grain in the wood, and the surface will be bumpy and rough.
When you look at the unfinished wood, you may not notice it, but the stain will emphasize the glaring defects once you’ve applied it.
It is worth taking the time to sand the wood down well rather than having to go back to sand off all the wood stain and now noticeable scratches after the fact.
How To Sand Wood Before Staining
Some dents and dings are hard to see, so make sure the wood is absolutely smooth before applying the stain. If you miss any ugly defects, the stain will highlight them and spoil the finish.
To get the perfect smoothness for staining, you have to choose the correct grit.
Start by sanding the entire piece using an orbital or palm sander with 120 grit sandpaper (or use 100 grit if there are large imperfections that need to be smoothed out).
Then sand the entire piece again with 180 grit sandpaper. And finally, sand the entire wood piece one more time with 220 grit sandpaper.
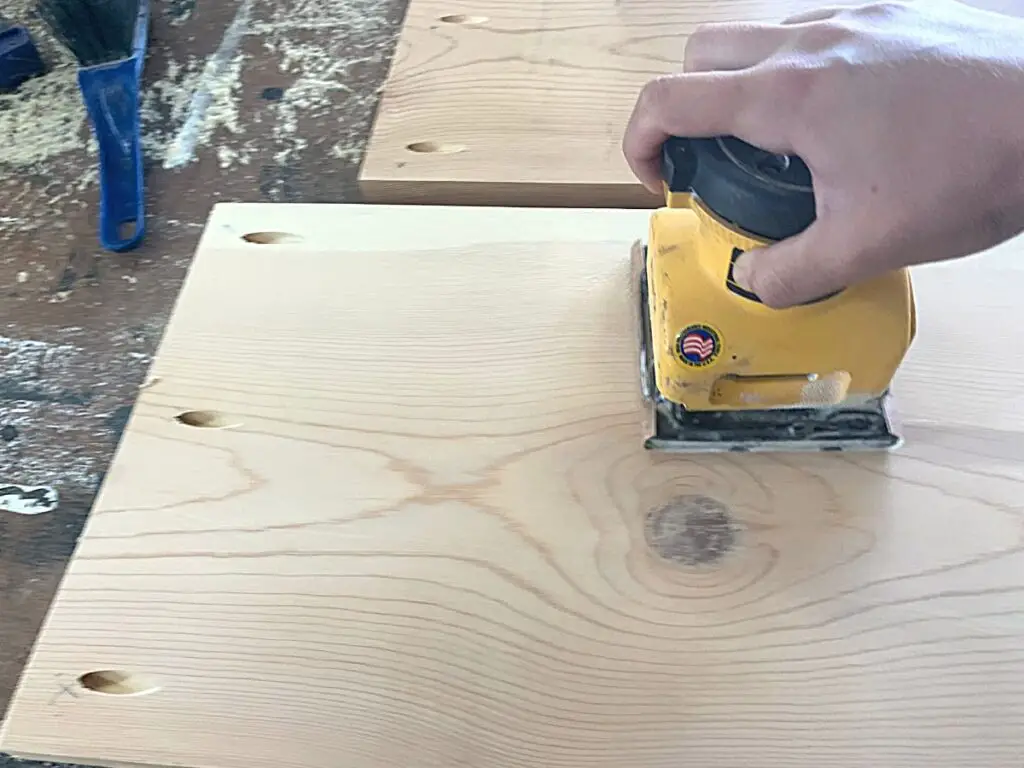
Each time you use a finer grit, you will be smoothing out scratches and imperfections in the wood more and more until they become almost invisible.
Then you will have a silky, even surface ready for its stain.
(If the wood you are using is already sanded/doesn’t have many imperfections, then just sand a thin layer off of the entire piece with 220 grit before staining. That will be enough sanding to open up the pores for an even application.)
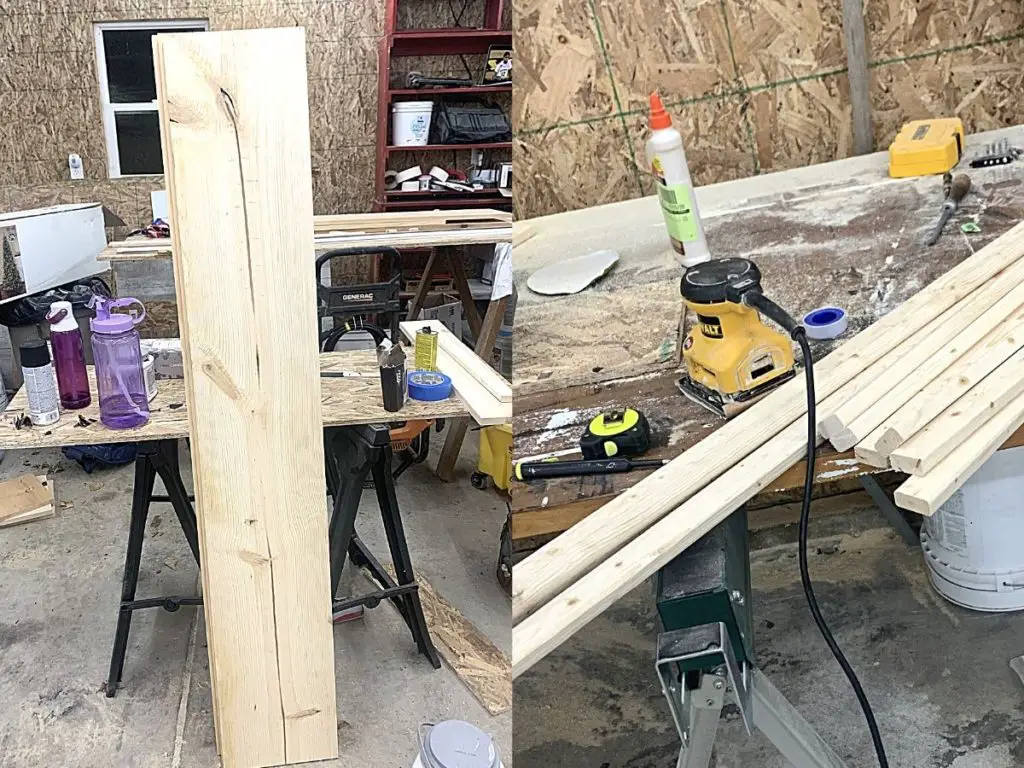
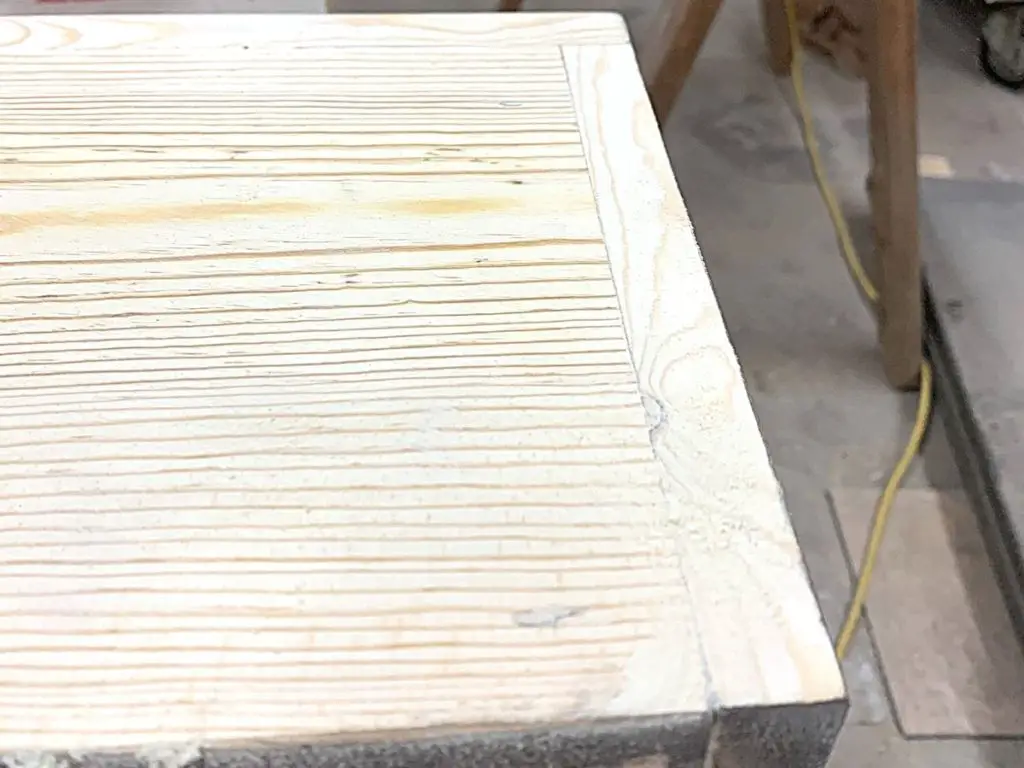
How To Inspect Your Sanding Job Before Staining
When you’re sanding, it’s helpful to inspect your wood between each grit. Wipe the wood down with a microfiber cloth. It picks up all the dust from the pores and scratches.
Once it’s clean, hold the wood close to a light to check for imperfections. But look at it from a low angle rather than from above.
The “smooth surface” will now show its true colors. Or scratches. Now you can smooth the wood down perfectly before staining without needing to come back and fix any messes.
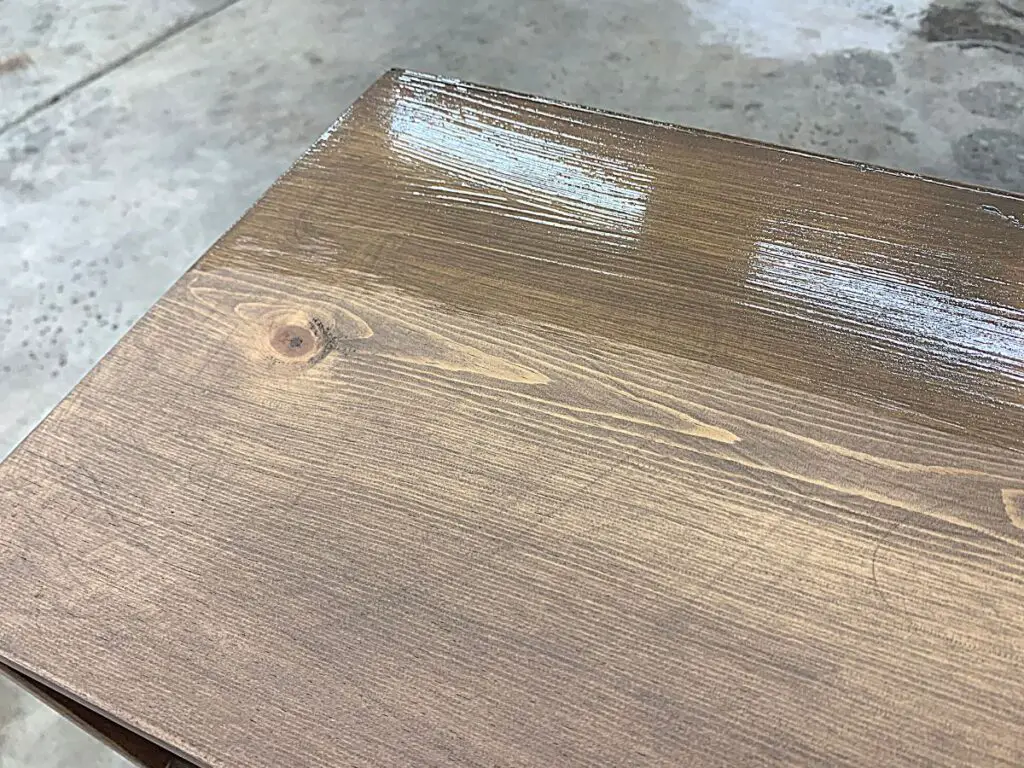
Popping The Grain Before Staining
When you’re finally satisfied that you’ve smoothed out the surface, you can use this technique to prepare the wood for smooth staining.
Vacuum the wood and workspace to remove the wood dust and dirt. Then wipe your wood down with a tack rag to get rid of any contaminants.
Wipe the wood down well with a clean, wet rag. The entire surface of the wood must be wet, but there should be no puddles. It must be wetter than damp but not dripping.
The pores open when you wet the wood, allowing the stain to spread evenly and sink deeply into the wood. This technique is called “popping the grain” and is very common in woodworking.
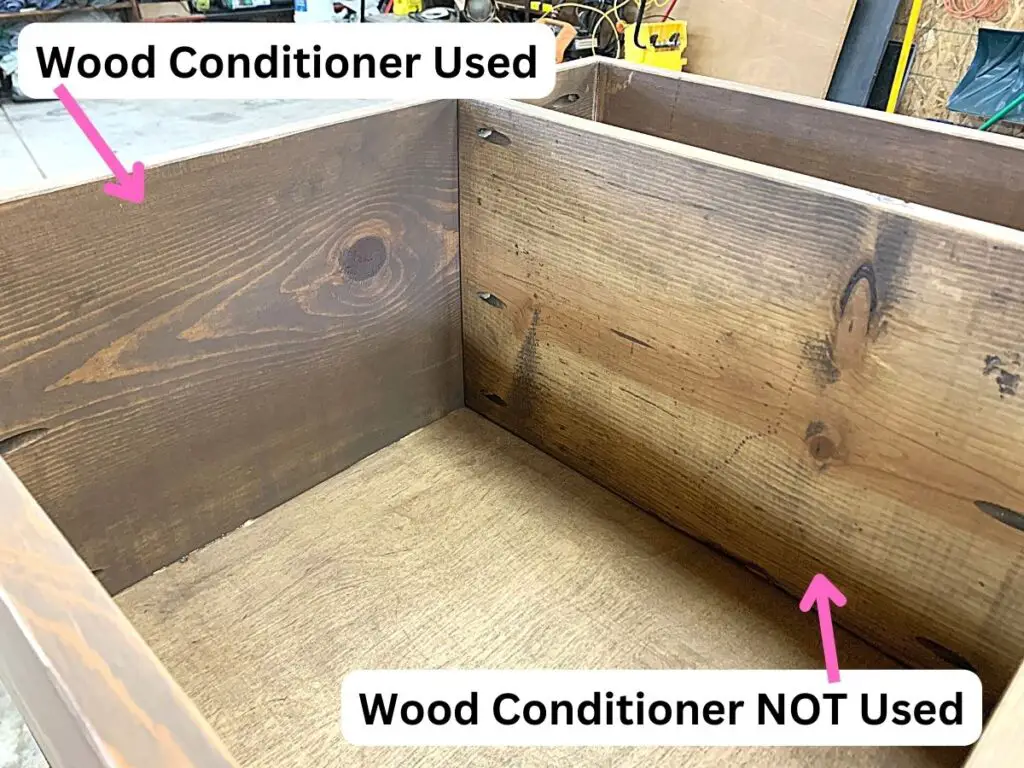
For water-based stains, you can use water. And for oil-based stains, you can use MinWax’s Pre-Stain Wood Conditioner found at Amazon.
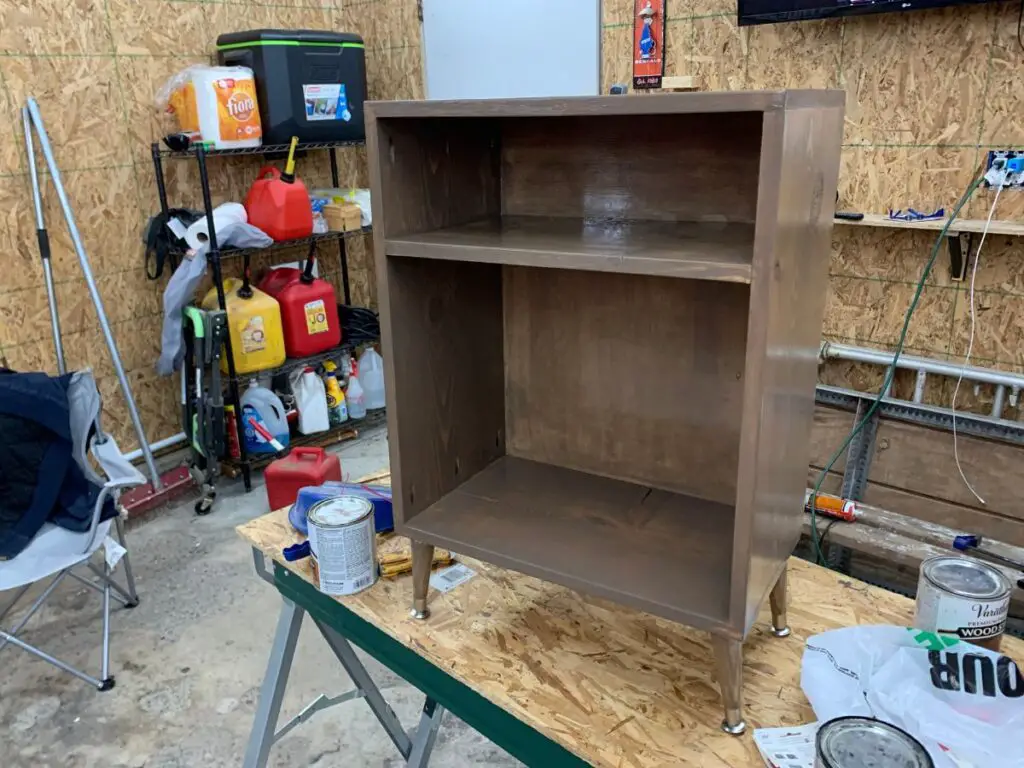
Sanding Before Restaining
If you’re restaining any wooden furniture or projects, following some general guidelines will help you get the best finish:
- When you want to stain the wood a darker color, you can leave the old wood stain and just stain overtop it. But you will have to first get sand off any old varnish, lacquer, or shiny topcoat that will stop the wood from absorbing the new color.
- When you’ve sanded the topcoat away, you will sand the surface evenly so that the wood absorbs the stain uniformly.
- Wood accepts the stain via its pores. If they are clogged, the stain can’t penetrate, so ensure that your sandpaper isn’t too fine, worn out, or dirty.
- Feel free to use an orbital sander to remove the previous lacquer, but it’s essential to do a subsequent round of hand sanding to rid the wood of any swirls caused by the machine.
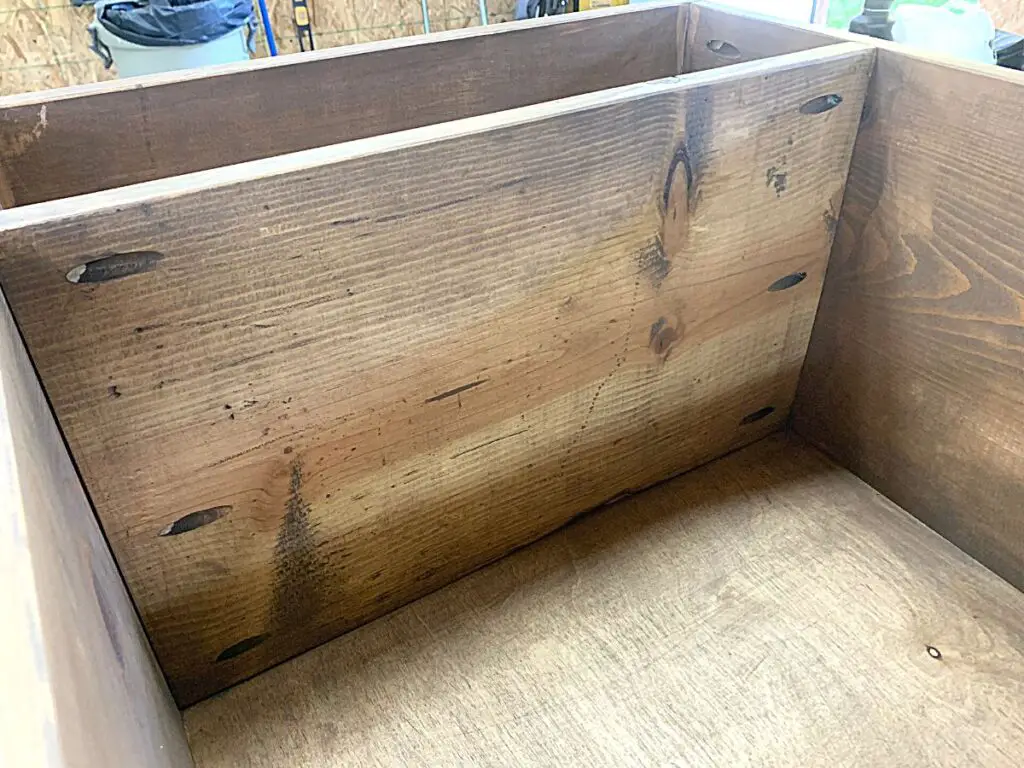
How To Apply Stain After Sanding
Staining is a reasonably straightforward process. Make sure that you stir the stain well before application (do not shake the can).
You can use a foam brush, or a microfiber staining pad to do the job. A clean cloth will also work.
Also, it’s best to use latex gloves when staining wood otherwise your hand will be stained for a few days as well.
Dip a section of the pad or cloth into the stain and squeeze it out. You don’t want to make puddles of stain everywhere or mess up your project.
Spread the stain across the wood in small, even strokes, wiping away any excess before it makes unsightly blotches.
Start staining the visible areas and finish up with those less visible. Spread the liquid in the direction of the grain.
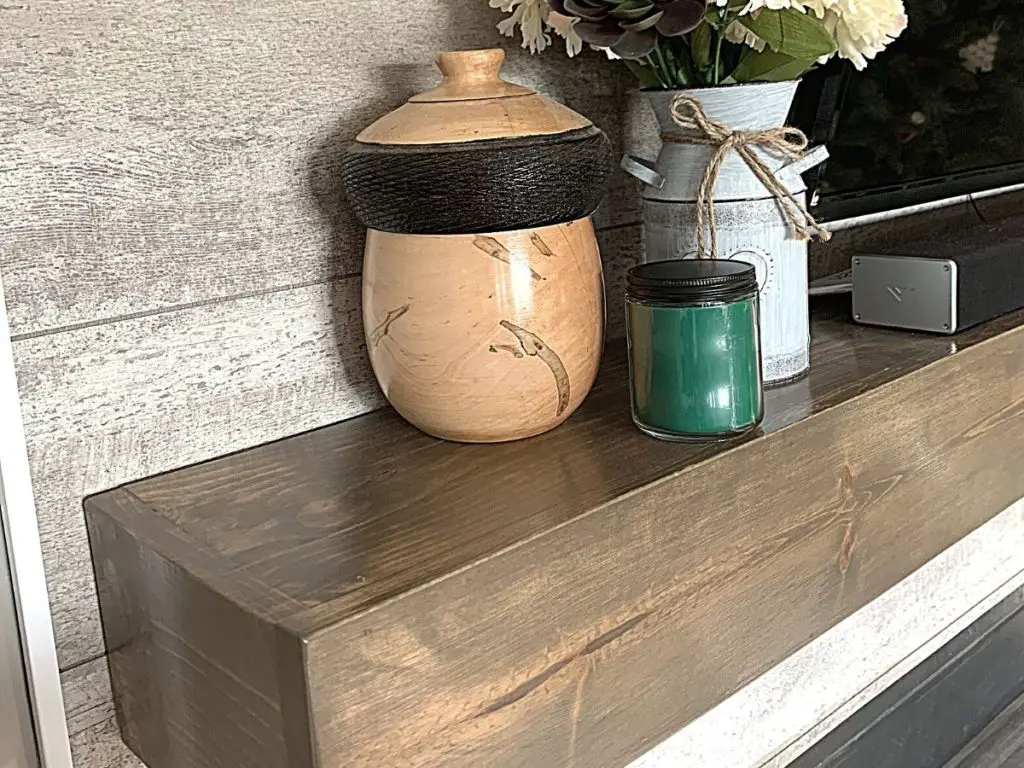
When you’re happy with your work, you will finish the item by applying a protective coating such as water- or oil-based polyurethane.
After all your hard work, you should have a beautifully stained piece of wood in front of you.
Other FAQs About Sanding Wood Before Staining
Here are some other frequently asked questions about sanding wood before staining to help you get the best stain application on your wood project!
How Much Do You Have To Sand Wood Before Staining?
Sanding a thin layer off of the entire piece of wood before staining using 120 grit sandpaper is enough to get an even stain finish. If there are major imperfections in the wood, then the wood should be sanded until all imperfections are smoothed out.
Can You Stain Raw Wood Without Sanding?
Staining raw wood without sanding can result in an uneven, blotchy stain finish. Sanding raw wood helps open up the pores of the wood so that the stain can be accepted more evenly across the entire piece of wood. Sanding also helps remove any small imperfections before the stain can highlight them.
Can You Sand Wood Too Much?
Wood that is sanded too much can start to discolor in some areas and a divot will be created. Once the wood feels smooth to the touch when you run your entire hand over it, the wood has been sanded enough.
Final Thoughts On Sanding Wood Before Staining
There you have it!
Some steps may seem tedious and time-wasting, like the repetitive sanding before staining.
But if you’re willing to take the extra time to perfect the surface before staining, you will end up with a masterpiece.
Catch you in my next post!


By Christine
Christine is a blogger and DIYer who tackles home renovation and decorating projects alongside her husband, Adam, for their personal residence and rental properties. Although she successfully tackles large renovation projects to avoid expensive contractor fees and bring her vision to life now, her path to success was not easy.
Go here to read her story, “From a Clueless First-Time Homebuyer To A Confident DIYer Creating Her Dream Home One Project At A Time“.
Popular Posts


DIY With Christine is a participant in the Amazon Services LLC Associates Program, an affiliate advertising program designed to provide a means for sites to earn advertising fees by advertising and linking to Amazon.com.
